Set up the Motif ES & MFC10 using three optional
Yamaha FC7 foot controllers for a 4-ZONE / 4-
Volume pedal control setup. The goal is to have
four independent voices in a multiple zone set-up
(using Master Keyboard mode), each voice using a
foot controller to control Volume (cc007). The
problem here is that if you use a PERFORMANCE
to play four PARTS simultaneously because they
are on the same MIDI channel, if you change the
Volume (cc007) for one of the Parts it will change
the Volume for all the PARTS. After all, they are
on the same MIDI channel. How come you can
individually control the volumes of PARTS in a
Performance with the CS? Because the CS in
Performance mode use System Exclusive
messages to individually control the PARTS 01-04.
A Foot Controller assigned to Control Change
message 007 will control all Parts on that MIDI
channel simultaneously. If you need independent
control via Foot pedals of four PARTS you will
need to use 4 separate MIDI channels and 3
additional FC7 pedals (the MFC10 provides you
with one assignable sweep pedal). Here’s how to
set it up:
All three optional FC7 pedals must be plugged into
the back panel of the MFC10, one FC7 into Foot
Controller 2, another FC7 into Foot Controller 3,
and the last one into Foot Controller 4. Foot
Controller 1 is the one built into the MFC10. The
MFC10 should be connected to your Motif ES.
1. Setup a SONG MIX with your 4 Voices in Parts 1-4
2. Associate this SONG MIX with a 4 Zone Master
Setup
3. Setup the MFC10 with 4 pedals each assigned to
control a Zone.
This example will use four Voices in the Motif ES
setup in four PARTS of a SONG MIX (alternatively
you can use a PATTERN MIX). Then we will
associate that MIX with a MASTER ZONE setup,
and assign the MFC10 to each channel in turn:
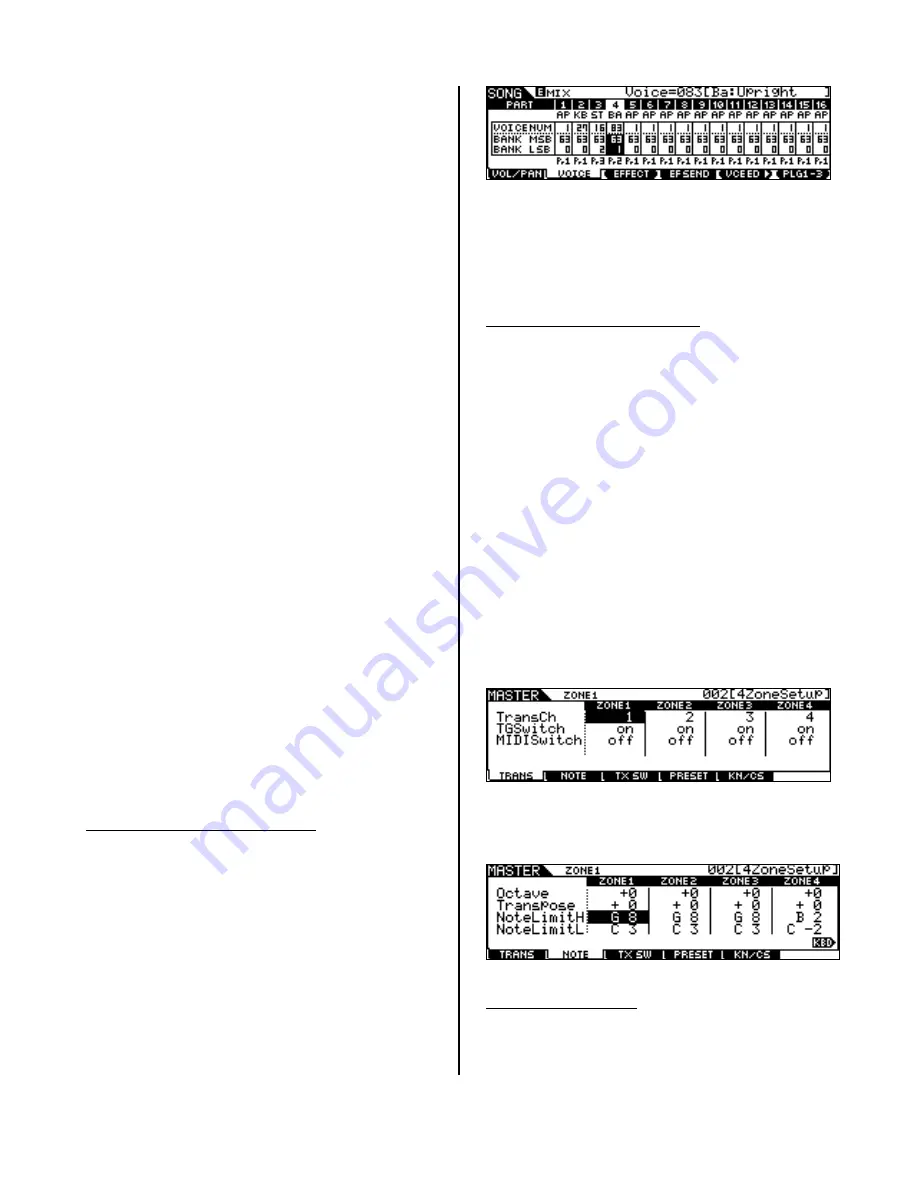
MOTIF ES: SETUP THE SONG MIX
Select your favorite Voices and assign them to the
first four PARTS of the blank SONG MIX:
MSB/LSB Voice
PRE1: 001 [Ap:Full Grand]
63/0 -- #1
PRE1: 027 [Kb:ChorusHard]
63/0 -- #27
PRE3: 016 [St:Background]
63/2 -- #16
PRE2: 083 [Ba:Upright ]
63/1 -- #83
•
Call up a blank Song location
•
Press MIXING
•
Press F2 VOICE
•
Use the TRACK SELECT buttons to select a
PART and assign your Voices to the PARTS.
•
Name the SONG using the SONG/ JOB / F6.
You can select the name function by returning
to the Main SONG screen (press SONG), then
press JOB followed by F6. Scroll down to the
SONG NAME job.
•
Store the MIX
MOTIF ES: SETUP THE MASTER
•
Press [MASTER]
•
Press [F2] MEMORY
•
On this page you can associate the MASTER
Memory with the SONG MIX you just created
and you can set up for ZONE operation.
•
Set the MODE to SONG and MEMORY to the
SONG location number.
•
Set the ZONE SWITCH to ON
•
Press EDIT and set the parameters for the
MASTER ZONE setup.
•
Press [COMMON] / F1 NAME and give your
setup a name. Press F2 OTHER and select a
function for your CS (pan, tone, assign, Part
EQ, Master Effects, arp effects, or zone
control).
•
Touch TRACK [1] to select ZONE parameters
You will want to activate all 4 Zones. Zone 1 to
MIDI channel 1, Zone 2 to MIDI channel 2 and so
on. Transmitting to the internal tone generator
(TG). Set the TG SWITCH for each to ON.
Set the other ZONE parameters as necessary for
your particular needs, that is, Note Limits, Octave,
transpose, etc. Press F2 to make these settings:
•
Store your MASTER setup.
PROGRAM THE MFC10
You will be editing the Foot Controller Data (page
22 in the MFC10 Owner’s Manual) in the MFC10.
You will use Control Change message 007 Volume.
A Control Change message is written “bx”, where
6


