PERIODIC MAINTENANCE AND ADJUSTMENT
7-16
7
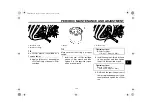
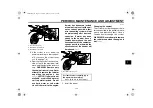
6. Remove the air filter case cover by
removing the screws.
NOTICE:
When removing the air filter
case cover, be careful not to al-
low foreign objects to drop into
the air intake manifold.
[ECA12881]
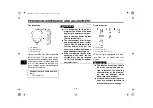
7. Pull the air filter element out.
8. Insert a new air filter element into
the air filter case.
NOTICE:
Make
sure that the air filter element is
properly seated in the air filter
case. The engine should never
be operated without the air filter
element installed, otherwise the
piston(s) and/or cylinder(s) may
become excessively worn.
[ECA10481]
9. Install the air filter case cover by in-
stalling the screws.
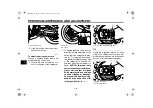
10. Place the fuel tank in the original
position. Make sure that the fuel
hoses are properly connected and
routed, and not pinched. Be sure
to place the fuel tank breather
hose and the fuel tank overflow
hose in the original position.
WARNING! Before placing the
fuel tank in the original position,
make sure that the fuel hoses
are not damaged. If any fuel
hose is damaged, do not start
the engine but have a Yamaha
dealer replace the hose, other-
wise fuel may leak, creating a
fire hazard.
[EWA11361]
11. Install the fuel tank bolt on both
sides.
12. Place the fuel tank cowling in the
original position.
13. Install the cowling bolts on both
sides.
1. Screw
1. Air filter element
2. Air intake manifold
1
1
1
2
2
1. Fuel tank overflow hose
2. Original position (paint mark)
3. Fuel tank breather hose
1
2
3
U39P10E0.book Page 16 Thursday, October 7, 2010 5:12 PM


