BRKT
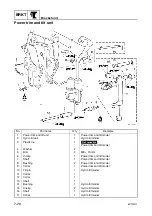
Bracket unit
7-27
6C13G11
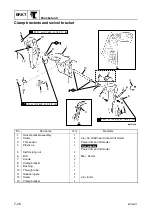
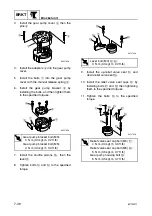
Removing the clamp brackets
1.
Remove the power trim and tilt or hydro
tilt. For removal procedure, see “Remov-
ing the power trim and tilt unit/hydro tilt
unit.”
2.
Loosen the self-locking nuts
1
, and then
remove clamp brackets
2
and
3
.
3.
Remove the trim sensor
4
.
Installing the clamp brackets
1.
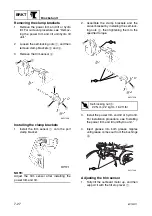
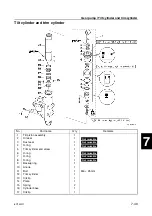
Install the trim sensor
1
onto the port
clamp bracket.
NOTE:
Adjust the trim sensor after installing the
power trim and tilt.
2.
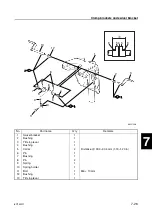
Assemble the clamp brackets and the
swivel bracket by installing the self-lock-
ing nuts
2
, then tightening them to the
specified torque.
3.
Install the power trim and tilt or hydro tilt.
For installation procedure, see “Installing
the power trim and tilt unit/hydro unit.”
4.
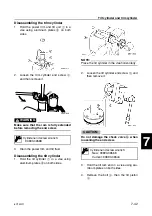
Inject grease into both grease nipples
until grease comes out from the bushings
a
.
Adjusting the trim sensor
1.
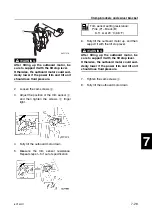
Fully tilt the outboard motor up, and then
support it with the tilt stop lever
1
.
S6C17330
1
2
3
4
1
T
R
.
.
Self-locking nut
2
:
22 N·m (2.2 kgf·m, 16.2 ft·lb)
S6C17350
2
2
A
A
A
A
A
A
a
S6C17360
Содержание F50F
Страница 1: ...F50F FT50G F60C FT60D SERVICE MANUAL 6C1 28197 3G 11 290551 ...
Страница 4: ......
Страница 48: ...SPEC Specifications 2 25 6C13G11 MEMO ...
Страница 147: ...6C13G11 6 4 1 2 3 4 5 6 7 8 9 Ring nut wrench 3 90890 06511 Ring nut wrench extension 90890 06513 Special service tools ...
Страница 165: ...6C13G11 6 22 1 2 3 4 5 6 7 8 9 Shimming F50 F60 6 Drive shaft and lower case F50 F60 Shimming F50 F60 ...
Страница 190: ...LOWR Lower unit 6 47 6C13G11 Shimming FT50 FT60 6 ...
Страница 195: ...6C13G11 6 52 1 2 3 4 5 6 7 8 9 MEMO Backlash FT50 FT60 ...
Страница 221: ...6C13G11 7 24 1 2 3 4 5 6 7 8 9 Steering arm ...
Страница 249: ...6C13G11 7 52 1 2 3 4 5 6 7 8 9 MEMO Power trim and tilt electrical system ...
Страница 272: ...ELEC Electrical systems 8 21 6C13G11 MEMO ...
Страница 301: ...6C13G11 i 5 1 2 3 4 5 6 7 8 9 Index MEMO ...
Страница 303: ......
Страница 304: ...YAMAHA MOTOR CO LTD Printed in the Netherlands Jul 2004 1 2 1 CR E_2 ...


