22
CRX-330/NS-BP110/NS-BP100
CRX-330/
NS-BP1
1
0/NS-BP1
0
0
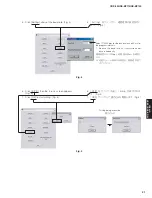
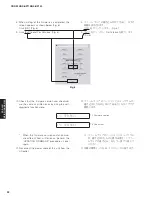
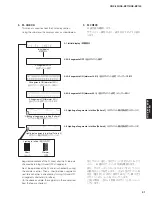
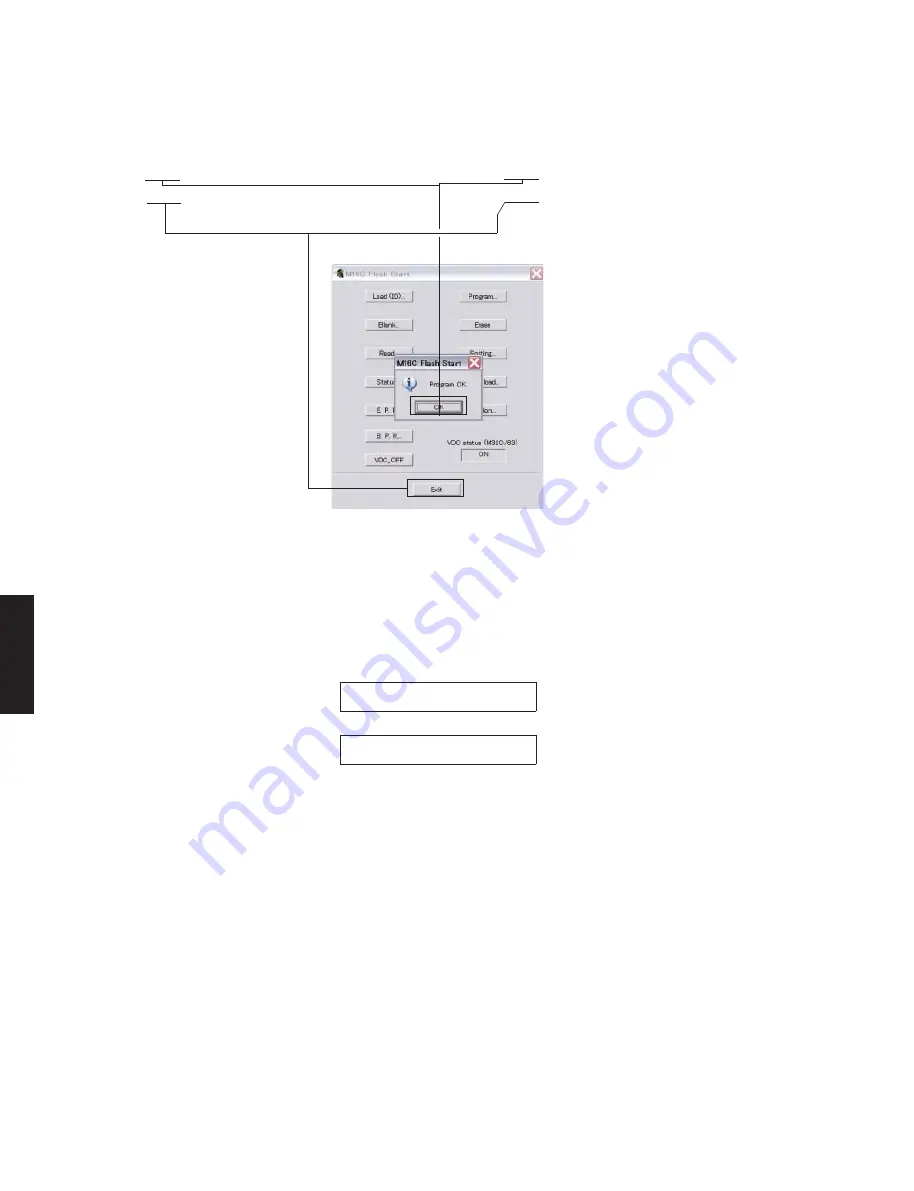
8. ファームウェアの書き込みが完了すると、以下の
画面が表示されます。
[OK]をクリックします。 (Fig. 6)
9. [Exit]をクリックし、FlashSta.exe を終了します。
(Fig. 6)
8. When writing of the firmware is completed, the
screen appears as shown below. (Fig. 6)
Click [OK]. (Fig. 6)
9. Click [Exit] to end FlashSta.exe. (Fig. 6)
Fig. 6
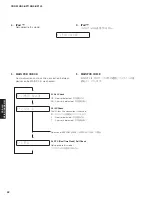
10. ファームウェアのバージョンとチェックサムが、
書き込まれたものと同じであることをダイアグで
確認します。
※ ファームウェアのバージョンとチェックサム
が、書き込まれたものと異なる場合、「 ファー
ムウェアの書き込み」をもう一度やり直して
ください。
11. 本機の電源コードを AC コンセントから抜きます。
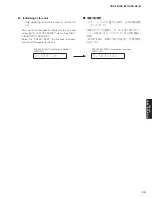
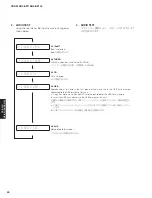
10. Check that the firmware version and checksum
are the same as written ones by using the self-
diagnostic function menu.
* When the firmware version and checksum
are different from written ones, perform the
“UPDATING FIRMWARE” procedure all over
again.
11. Disconnect the power cable of this unit from the
AC outlet.
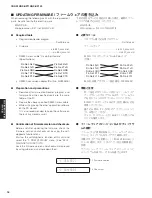
1 - 1 V E R : B 0 2 3
1-1 Firmware version
1 - 2 S U M : A B 0 E
1-2 Checksum
Содержание CRX-330
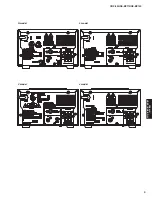
Страница 9: ...9 CRX 330 NS BP110 NS BP100 CRX 330 NS BP110 NS BP100 G model L model V model J model ...
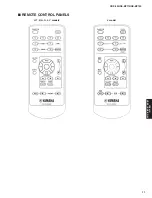
Страница 11: ...11 CRX 330 NS BP110 NS BP100 CRX 330 NS BP110 NS BP100 U T K A G L V models REMOTE CONTROL PANELS J model ...
Страница 56: ...CRX 330 NS BP110 NS BP100 56 MEMO MEMO ...
Страница 80: ...81 CRX 330 NS BP110 NS BP100 CRX 330 NS BP110 NS BP100 MEMO ...
Страница 81: ...CRX 330 NS BP110 NS BP100 ...

