CLP-F01
Recording Your Performance
ENGLISH
33
3
Engage Record mode.
Press the
[REC]
button to engage Record mode.
Recording does not actually start yet.
The
[TRACK 1]
or the
[TRACK 2]
indicator flashes
in red.
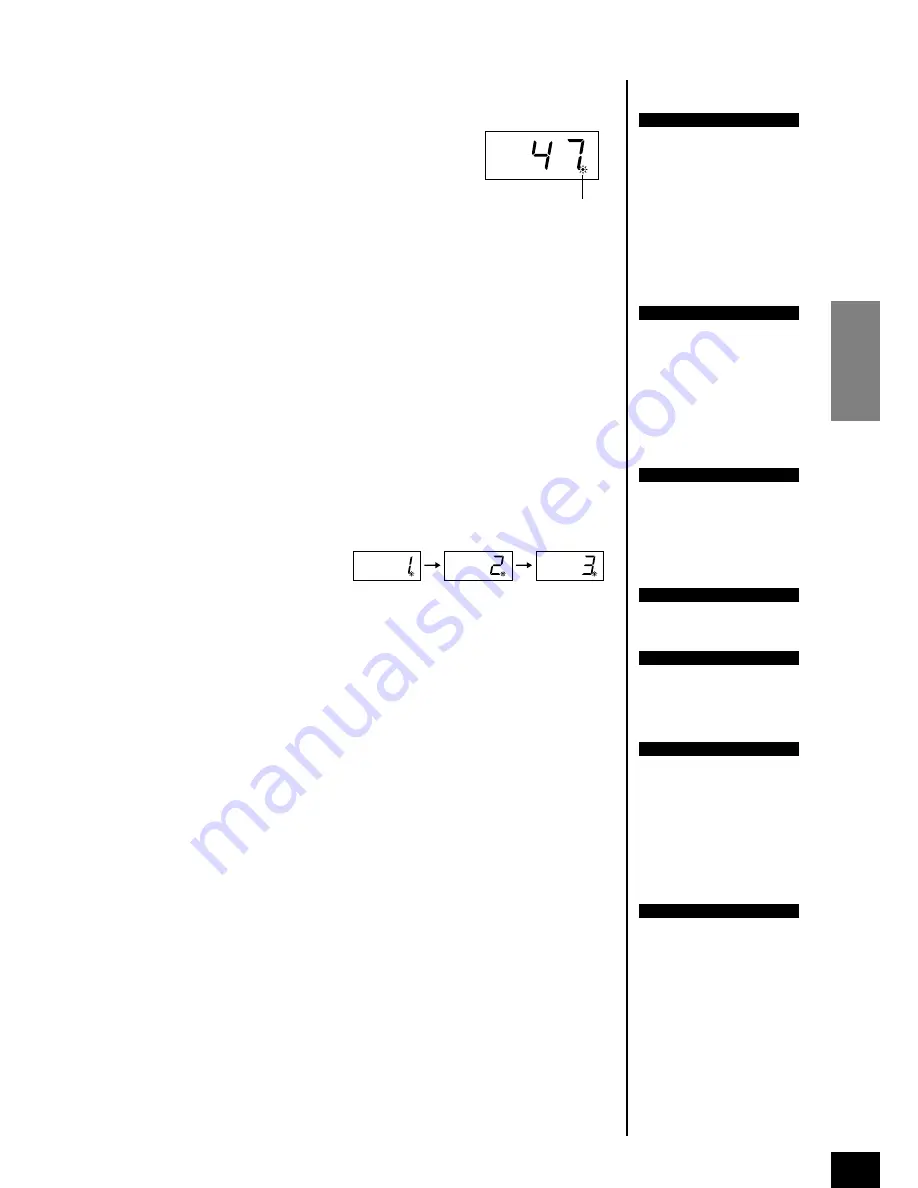
The amount of memory available for recording will
be shown on the LED display in approximate kilo-
bytes, and the right-most dot on the LED display
will flash at the current METRONOME tempo setting.
Record mode can be disengaged before recording by pressing the
[REC]
button a
second time.
4
Select the record track.
When Record mode is engaged in the previous step, the last-recorded track will
automatically be selected for recording and its indicator — i.e. the
[TRACK 1]
or
[TRACK 2]
button indicator — will glow red. If you want to record on a differ-
ent track, press the appropriate track button so that its indicator glows red.
5
Start recording.
Recording will begin automatically as soon as you play a note on the keyboard
or press the
SONG [START/STOP]
button. The current measure number will
appear on the display while recording.
6
Stop recording.
Press either the
[REC]
or
SONG [START/STOP]
button to stop recording.
The indicator of the recorded track will glow green to indicate that it now con-
tains data. (Record mode is disengaged automatically.)
7
Play back the recorded performance.
Press the
SONG[START/STOP]
button to play back the recorded performance.
To stop playback in the middle of a song, press the
SONG[START/STOP]
but-
ton.
NOTE
The amount of memory avail-
able for recording:
This value in KiloBytes (a unit
used of measurement for data)
indicates how much space
remains available for recording
on the Clavinova. You can
record up to a maximum of
about 9,400 notes on the CLP-
F01 depending on pedal usage
and other factors.
TIP
If a user song (
[USER 1/2/3]
) is
not selected (the lamp is not lit),
pressing the
[REC]
button will
result in the
[USER 1]
song’s
[TRACK 1]
being selected and
Record mode engaged.
At this time,
[TRACK 2]
play-
back will be turned off if the
track contains data.
TIP
If the metronome was on when
you started recording, you’ll be
able to keep time with the met-
ronome while recording, but the
metronome sound will not be
recorded.
TIP
For more recording information,
see page 35.
TIP
The left pedal can be assigned
to start and stop recording via
the “Left Pedal Mode” function
described on page 46.
NOTE
The record track indicator will
begin to flash when the recorder
memory is almost full. If the
memory becomes full during
recording, “FUL” will appear on
the display and recording will
stop automatically. (All recorded
data up to that point will be
retained.)
NOTE
Pressing the
SONG [START/
STOP]
button to start recording,
then pressing it again to stop
recording will erase all previ-
ously-recorded data on the
selected track.
flash


