2. Setting up the camera
A.
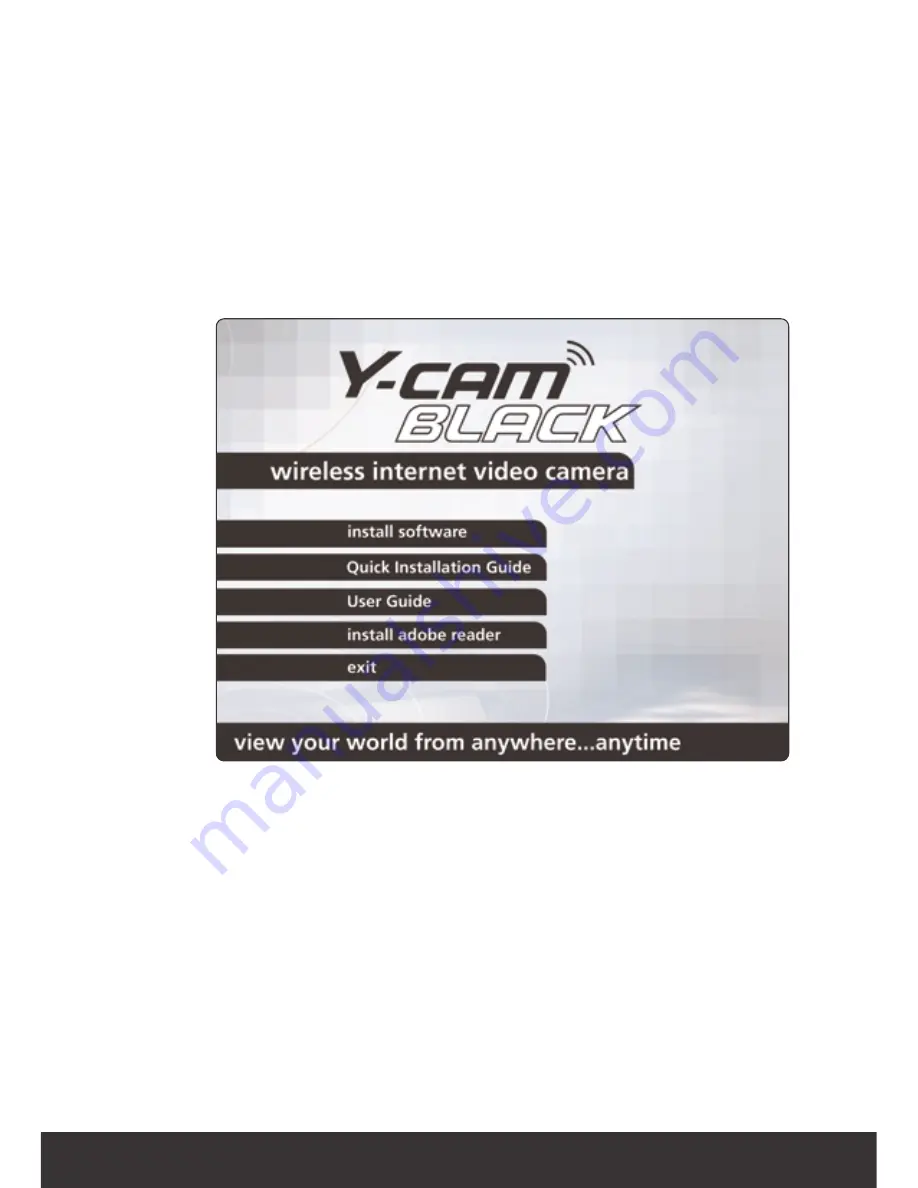
After you have connected the camera, insert the Setup CD into your CD-ROM drive
and the Installation screen should appear automatically. If it does not, click “Start”
and then “Run.” In the text field, enter “D:\autorun.exe” (if “D” is the letter of
your CD-ROM/DVD drive).
The following screen will be displayed.
3
B.
Click the “Install Software” button and this will install the utility that enables
you to view your cameras. Follow the on screen instructions and after the
installation finishes click “exit”.
C.
With the camera connected and the software installed, double-click the new
Y-cam setup icon on your desktop. The program will search for the camera(s)
connected to your local network and the following window will appear,
see fig 2.2
Note:
Windows may ask whether you wish to”Allow” or “Block” this software.
It is perfectly safe to run so click “Allow”
Fig 2.1


