background image

CCTV

Model:

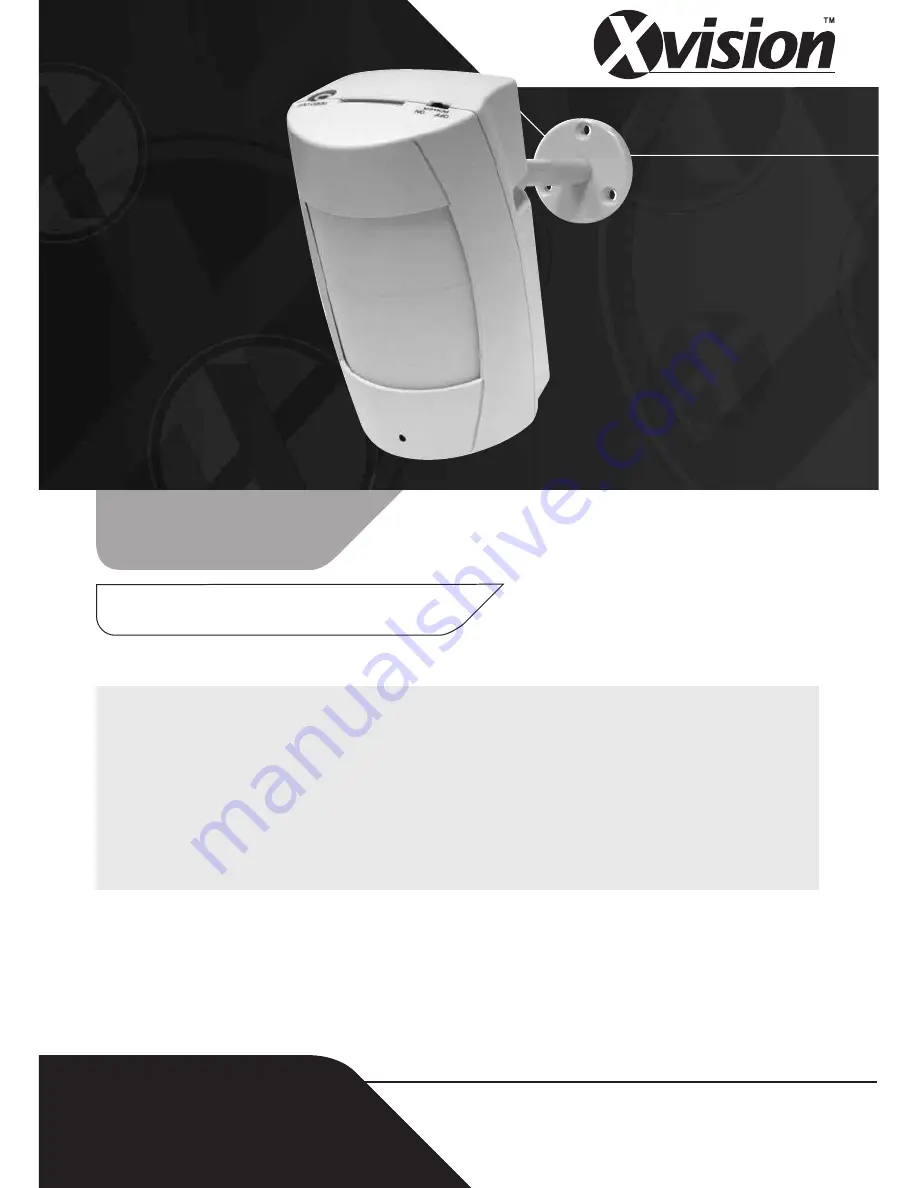
CVR811

Portable Colour Covert PIR 
Camera & DVR

Before you begin

Please unpack the box carefully and identify that all the parts are present.

Do not cut the camera cables, this will void the warranty.

Make sure you use only the recommended power supply. Damage caused to the camera by 

incorrect voltage or wiring is not covered by the warranty.

The camera is suitable for indoor use only. Please bear in mind the following points when
choosing a mounting position.

The camera must be positioned so that it will not point directly into the sun (sunrise and

sunset) or any bright light, as this may cause damage to the camera.

Avoid viewing areas where half the area is in bright sunlight and the other half is dark,

such as in the shadow of a building. All types of cameras have difficulty in ‘seeing’ with 
such a large lux level variation.

Model:

CVR811

Portable Colour Covert 
PIR Camera & DVR

Содержание CVR811

Страница 1: ...arranty The camera is suitable for indoor use only Please bear in mind the following points when choosing a mounting position The camera must be positioned so that it will not point directly into the sun sunrise and sunset or any bright light as this may cause damage to the camera Avoid viewing areas where half the area is in bright sunlight and the other half is dark such as in the shadow of a bu...

Страница 2: ...pinhole camera enables 3 types of recording modes Manual Continuous and Motion Detection recording enables images to be stored to an SD Memory card not supplied Complete with fixing bracket that makes it perfect for simple installation in many different situations The unit can be powered by four AA batteries or plug in power adaptor 12V DC We suggest using the plug in adaptor for extended periods ...

Страница 3: ...chedule Continuous and Schedule Motion Detection Supports both NTSC and PAL system Two resolution settings selectable 320x240 and 640x480 Selectable compression image qualities and frame rate Motion detection with adjustable sensitivity level Supports flexible playback mode Normal Playback Rewind Fast Forward and Step Playback Supports 12V DC or 4xAA batteries use if power outlet is not located ne...

Страница 4: ...et Fixing Guide 5 2 Camera Mounting Guide 5 3 Video Output and Power Supply Connection Guide 5 Installation Connect one end of the video lead to Video Out on the top of the camera unit and the other end to the Video Input of your monitor Connect the power supply lead to the 12V DC input on the back of the camera ...

Страница 5: ...is full One may select Overwrite the memory will be overwritten starting with the oldest data first Selecting Full Stop when the memory system is full switches from record mode to stop mode and the LED indicator on the front panel will start flashing Please note that this setup is only effective before powering up the unit 6 1 2 SD Card Socket The SD Card slot allows you to insert an SD Card of yo...

Страница 6: ...ase refer to the section on Function Setup Description 6 1 8 LED Power Indicator The LED indicator lit indicates that the device is powered up and when unlit indicates that the power is insufficient or switched off Function Description Table Please read the Function Description Table carefully before operation It will help you to understand the functions of the buttons in each mode The LED indicto...

Страница 7: ...the system memory Press record or playback the corresponding LED indicator will not light Play Menu and Rec indicator will flash quickly Please re format before proceeding 5 When system memory is writing data during recording record indicator will flash slowly 6 After power loss the system auto returns to the previous recording mode 6 2 Monitoring Mode 6 2 1 The monitoring mode is displayed accord...

Страница 8: ...s below 6 3 3 Record Display Indicates recording is in progress H Manual Record Schedule Record Motion Record 6 3 4 The event status is determined by the system recording according to the order of priority The order of priority Manual Record Motion Detection and then Schedule Record 6 3 5 Different recording modes may have different kinds of setups Basic setup video size recording frames video qua...

Страница 9: ... Mode 6 4 1 Selectable Playback format Continuous Playback and Searching Playback 1 Normal Playback Press Play 4 button to playback according to the system memory file order 4 Normal speed playback Press Play 4 again to pause playback 78 During normal playback press 7 3 or 8 4 button to fast forward or rewind Speed x2 x4 x8 x16 x32 Press Play 4 button to return to normal playback During playback p...

Страница 10: ... immediately shows the first image of the highlighted event on the screen display background 4 Displays the time highlighted by the event bar 5 Blue Manual Record H Red Motion Detection Record White Schedule Record NOTE Select the desired playback starting time press MENU and select PLAY and then press MENU again to start playback NOTE Press Rec n l button to stop playback and the system will retu...

Страница 11: ...b menu 4 Press STOP n button l Under second or third menu layer the system will return to the previous menu layer second layer to first layer or third layer to second layer l Under main menu first menu layer the system will enter live mode Press 7 or 8 button to increase or decrease the setting values that has been highlighted NOTE Words that are underlined and bold indicate Default Value 7 2 Date...

Страница 12: ...on to change the motion detection threshold value 7 4 Manual Record and Schedule Record Setup Selectable manual or schedule recording basic setups are shown below 7 4 1 MANUAL RECORD Press Rec n l button to start recording Video Size Frame Rate Image Quality High Quality HQ Using high recording quality More memory storage capacity will be required Medium Quality MQ Using medium recording quality L...

Страница 13: ...ION TIME Setup DURATION Duration of recording time when motion detection has been triggered 5SEC 10SEC 15SEC 20SEC 30SEC 7 5 SD Card Options 1 Format System Memory It will delete all data stored in the system memory NOTE When in continuous recording mode old video footage can be deleted and overwritten Please confirm before setup NOTE Recording time depends on the SD card capacity different record...

Страница 14: ...ry default value Press Stop n Exit button exit the current screen display and return to the Main Menu NOTE Return to factory default will erase all configuration values and return to the Factory Default values except Date and Time setup Therefore confirm before you proceed ...

Страница 15: ... Motion Detection Recording Resolution 320x240 1 30FPS 640x480 1 12FPS Storage Capacity Depends on the capacity of the SD Card used Memory Full Stop Overwrite selectable Playback Mode Forward Rewind x1 x2 x4 x8 x16 x32 Pause and Step Search Playback Date Time Motion Detection Full Screen Adjustable Detection Sensitivity Rate On Screen Display Mode Date Time Status Power Supply 12V DC 180mA or 4AA ...

Страница 16: ... The Warranty excludes products that have been misused including accidental damage and damage caused by normal wear and tear In the unlikely event that you encounter a problem with this product it should be returned to the place of purchase CCTV Manufactured exclusively for Xvision Europe Group Head Office London U K Email info x vision co uk Web www x vision co uk ...

Отзывы: