


Chapter 6
Memory Pattern
Management
54
Owner’s
Manual of BECS- A15 Computerized Control System
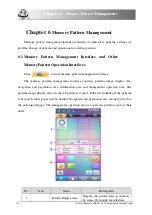
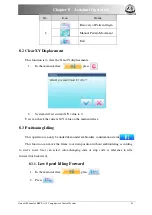
6.12
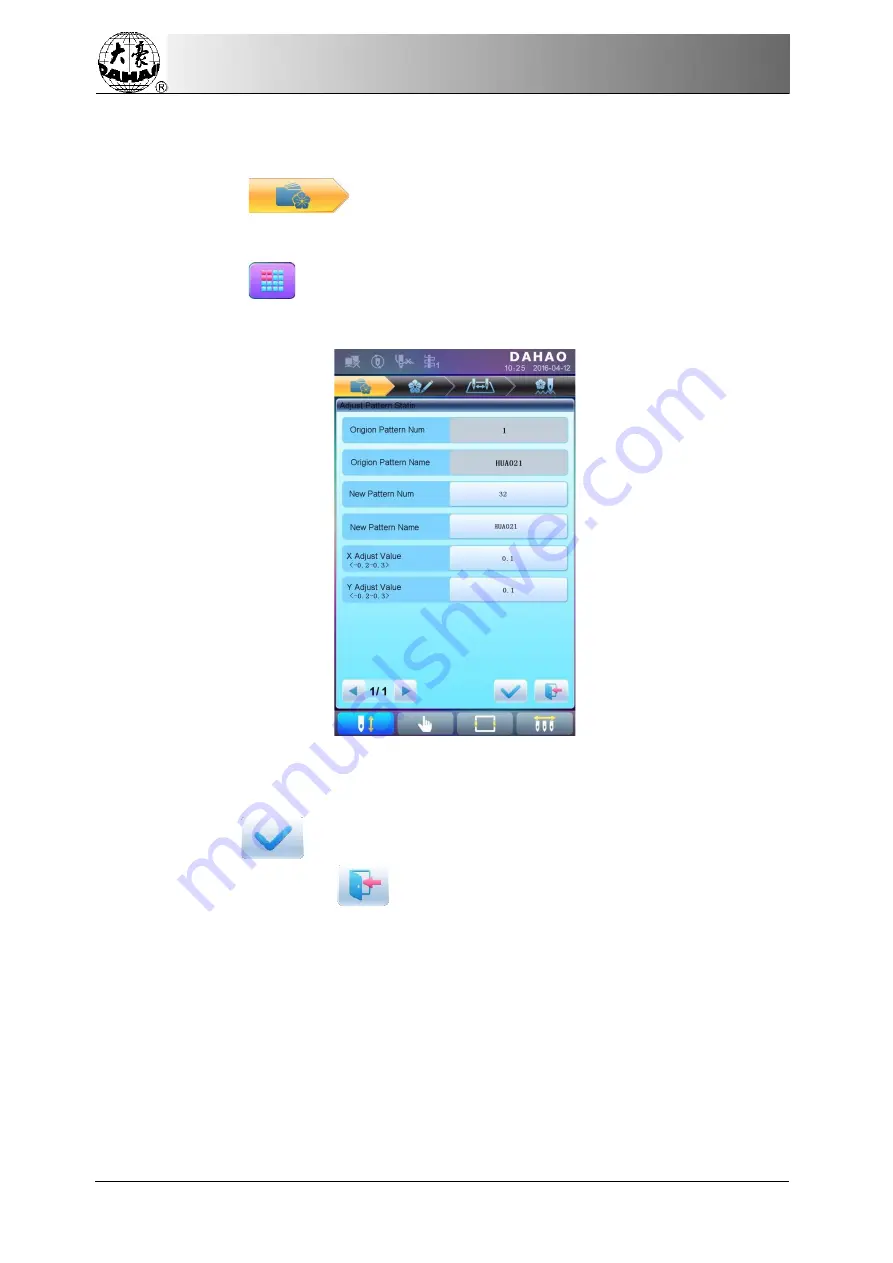
Satin Stitch Adjustment
This operation is to adjust the satin width in the design according to the need.
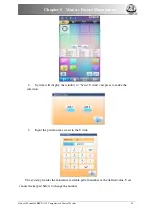
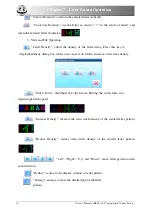
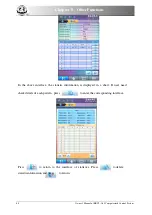
1.
Press
to enter memory pattern management interface.
2.
Select a pattern in the memory pattern image display area.
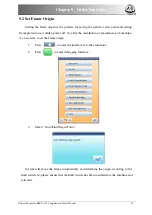
3.
Press
to enter memory operation selection interface.
4.
Press
“Satin
Stitch
Adjustment”
to enter the operation interface.
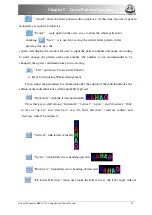
5.
User can press to input new pattern number and name instead of default ones.
6.
Press
“X
Adjust
Value”
and
“Y
Adjust
Value” to input
the value respectively.
7.
Press
to make the satin stitch adjustment and return to pattern operation
selection interface. Press
to quit the adjusting operation and return to
pattern operation selection interface.
Содержание 1501
Страница 1: ...Computerized Embroidery Machine Controller...
Страница 2: ......
Страница 107: ...Owner s Manual of BECS A15 Computerized Control System 99...


