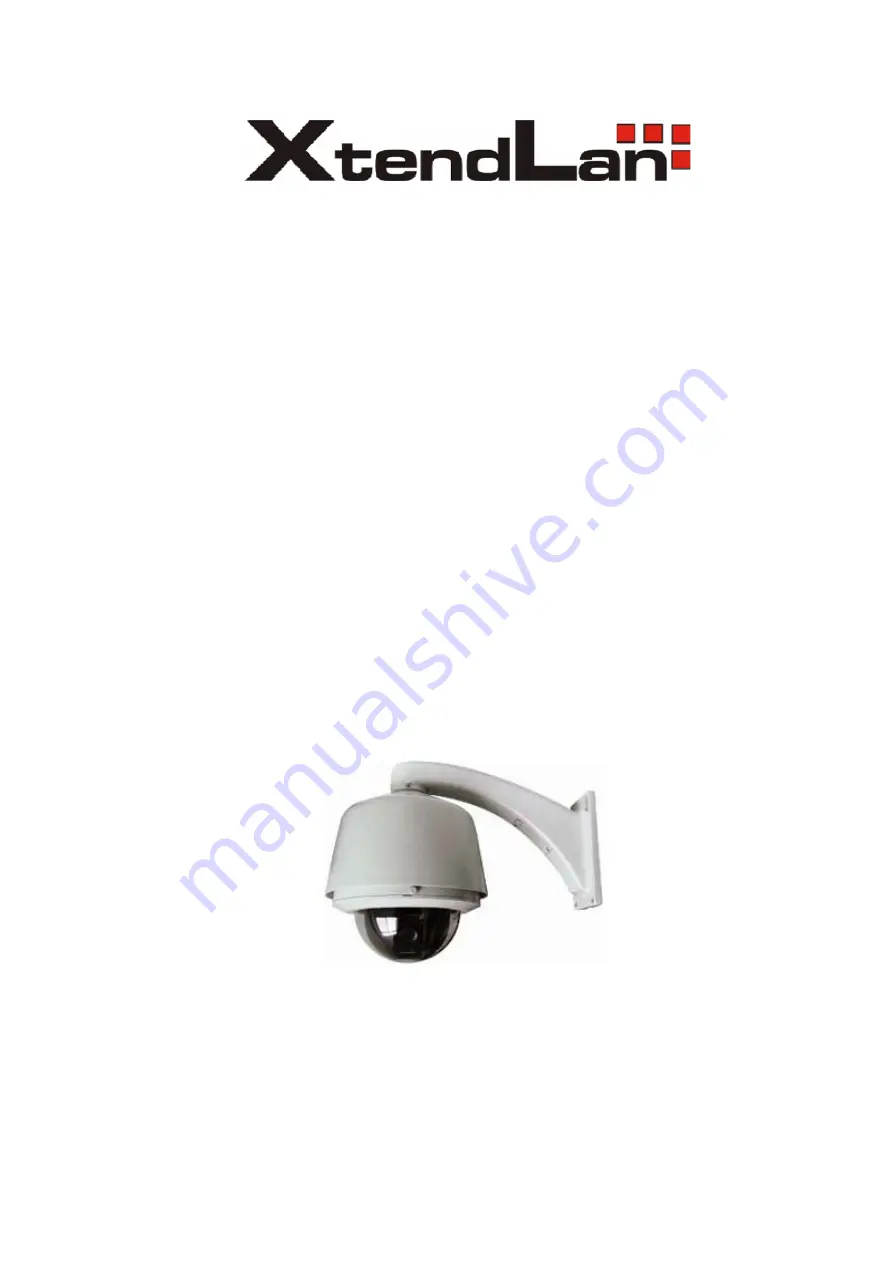
SDOMEOAT-57030SD
INSTALLATION & USER MANUAL
for Object Auto Tracking Speed Dome
and Analog High Speed Dome
Страница 1: ...SDOMEOAT 57030SD INSTALLATION USER MANUAL for Object Auto Tracking Speed Dome and Analog High Speed Dome...
Страница 2: ...for our Object Auto Tracking Speed Dome and analog High Speed Dome The description of tracking features and operations is applied to Object Auto Tracking Speed Dome only The normal analog High Speed...
Страница 3: ...ns 18 Zoom Functions 19 Focus Functions 19 IRIS Opening Functions 19 Preset Positions Programming And Recalling 20 4 5 Function Program Menu 20 4 5 1 4 5 2 Porduct Information Menu 21 Display Setup 21...
Страница 4: ...y to the electrical power supply shown on the ratings plate Contact your retailer if in doubt Lay the power wires keeping them from being trodden on or squeezed by objects placed on top of them Pay pa...
Страница 5: ...ng object in the target area with auto pan tilt and zoom which realizes smart unattended surveillance Proportional Pan Proportional pan automatically reduces or increases the pan and tilt speeds in pr...
Страница 6: ...e camera will adjust the IRIS so that the object in the sensitive area is properly exposed Day Night Function The IR cut filter of camera module inside the camera can be removed by sending special com...
Страница 7: ...the receiver address communication protocol and baud rate setting Pic 1 shows switches position and default settings SW1 switches 1bit and SW2 switches 1 2 and 7 bit are set to the ON position For no...
Страница 8: ...OFF ON OFF ON OFF OFF OFF 22 OFF ON ON OFF ON OFF OFF OFF 23 ON ON ON OFF ON OFF OFF OFF 24 OFF OFF OFF ON ON OFF OFF OFF 25 ON OFF OFF ON ON OFF OFF OFF 26 OFF ON OFF ON ON OFF OFF OFF 27 ON ON OFF O...
Страница 9: ...OFF OFF ON OFF OFF ON OFF 73 ON OFF OFF ON OFF OFF ON OFF 74 OFF ON OFF ON OFF OFF ON OFF 75 ON ON OFF ON OFF OFF ON OFF 76 OFF OFF ON ON OFF OFF ON OFF 77 ON OFF ON ON OFF OFF ON OFF 78 OFF ON ON ON...
Страница 10: ...ON ON OFF 124 OFF OFF ON ON ON ON ON OFF 125 ON OFF ON ON ON ON ON OFF 126 OFF ON ON ON ON ON ON OFF 127 ON ON ON ON ON ON ON OFF 128 OFF OFF OFF OFF OFF OFF OFF ON 129 ON OFF OFF OFF OFF OFF OFF ON 1...
Страница 11: ...OFF ON ON ON OFF ON OFF ON 175 ON ON ON ON OFF ON OFF ON 176 OFF OFF OFF OFF ON ON OFF ON 177 ON OFF OFF OFF ON ON OFF ON 178 OFF ON OFF OFF ON ON OFF ON 179 ON ON OFF OFF ON ON OFF ON 180 OFF OFF ON...
Страница 12: ...N 225 ON OFF OFF OFF OFF ON ON ON 226 OFF ON OFF OFF OFF ON ON ON 227 ON ON OFF OFF OFF ON ON ON 228 OFF OFF ON OFF OFF ON ON ON 229 ON OFF ON OFF OFF ON ON ON 230 OFF ON ON OFF OFF ON ON ON 231 ON ON...
Страница 13: ...t Please make sure which type you are installing 3 2 1 IN CEILING MOUNT INSTALLATOIN Step 1 Prepare In ceiling Pic 3 Locate the center point of the in ceiling mounting location Insert the compass tool...
Страница 14: ...ic 8 If the LED does not light up refer to Section 5 Trouble Shooting Step 3 Install dome drive Set the DIP switches for SW1 and SW2 at the bottom of the camera drive for the appropriate receiver addr...
Страница 15: ...he trim ring into the plastic snap washers on the mounting screws See Pic 12 3 2 2 SURFACE MOUNT INSTALLATION Step 1 Install back board of surface mount Pic 13 Locate the back board of the camera loca...
Страница 16: ...switches for SW1 and SW2 on the bottom of the dome drive for the appropriate receiver address communication protocol and baud rate Refer to the labels on the dome drive or DIP SWITCH SET in this manua...
Страница 17: ...he metal cover into the bracket See Pic 20 Pic 21 Connect cables to hole of pin Insert the pin inside the back box When finished close the door to the back box and turn on the power The LED will light...
Страница 18: ...a screw from lower dome Link cables screw and lower dome See Pic 24 Pic 25 Line up the mounting screw holes and install the two mounting screws Push the lower dome inside the back box See Pic 25 Pic 2...
Страница 19: ...NTROL KEYBOARD The camera is ready to receive commands from our control keyboard see figure below after connecting 4 2 1 CONTROL KEYPAD PASSWORD AND ACCESS The system will wait for the password to be...
Страница 20: ...display 4 4 CAMERA MOTIONS After selecting a camera it can be moved either directly using the control panel as described below Panning horizontal and tilting vertical Zooming focusing and IRIS opening...
Страница 21: ...in the same direction you will need to tip the joystick upwards as you would normally 4 4 2 ZOOM FUNCTIONS The camera frame may be adjusted by using the ZOOM IN and ZOOM OUTcommands Use ZOOM IN to zoo...
Страница 22: ...the camera where they are maintained also when power is disconnected However restoring default settings will delete all preset values Press PRESET 83 ENTER to delete all the saved PRESET values The Pr...
Страница 23: ...ect ENTER and press OPEN to access the first level menu after entering all the digits correctly THE DEFAULT PASSWORD IS 0000 It is advisable to change the default password to prevent intrusions Do not...
Страница 24: ...6 4 5 2 1 LABEL POSITION SUBMENU The labels may be positioned where required on the screen ZONE CAMERA PRESET SAVE RESET AZIMUTH ZOOM Screen 5 Label Position To establish a position 1 Point the cursor...
Страница 25: ...ROGRAM AE MODE background light is very bright OTHERS Other settings submenu see below Option Value Explanation AE MODE AUTO In this mode The shutter opening time cannot be set and is automatically ad...
Страница 26: ...0 1 75 1 100 1 120 1 150 1 215 1 300 1 425 1 600 1 1000 1 1250 1 1750 1 2500 1 3500 1 6000 1 10000 OF SECOND This selects the maximum opening of the IRIS It is used to manually set the IRIS opening ti...
Страница 27: ...m sharpness ATW White Balance WB is performed in auto tracking mode Auto Tracking White This mode automatically balances the white level by analyzing a wide range of colors i e all those with temperat...
Страница 28: ...rk time AUTO SCAN The camera performs an auto scan at the end of the park time the camera performs a 360 horizontal scan operation RANDOM SCAN The camera performs a random scan at the end of the park...
Страница 29: ...d to programming of the pan zero position 1 Go to the required position with the joystick to set zero position 2 Press OPEN to confirm Press CLOSE to cancel the operation CLEAR AZIMUTH ZERO submenu Th...
Страница 30: ...alled This scanning cycle may be interrupted simply by moving the joystick EDIT PRESET LABEL submenu This includes the operations needed for associating a label to a presetting 1 Use the joystick to p...
Страница 31: ...ogram a pattern 1 Use the joystick to point the cursor to the PATTERN NUMBER option 2 Select the required pattern and press OPEN 3 Position the cursor under PROGRAM PATTERN option and press the OPEN b...
Страница 32: ...tions needed to program a zone 1 Press on EDIT ZONE 2 Press OPEN to confirm 3 Use the joystick to point to the required position to define the left limit of the zone to be created 4 Press OPEN to conf...
Страница 33: ...SECS 1 250 Duration time in seconds of the action related to each alarm when several alarms occur at the same time ALARM SETTINGS This submenu contains the alarm management programming see below CLEA...
Страница 34: ...lowing the alarm e g a siren ALARM AUX AUX2 AUX2 output is activated following the alarm e g a blinker ALARM CONTACT ON OFF Alarm output polarity normally open ON or normally closed OFF The circuit wi...
Страница 35: ...creen 22 Password Sub Menu Table 21 The password is a numeric combination max 10 digits THE DEFAULT PASSWORD IS 0000 It is advisable to change the default password to prevent intrusions Do not lose or...
Страница 36: ...S SET MASK COLOR BACK EXIT OFF OFF 4 Screen 24 Windows Blanking The camera can be used to define up to eight privacy zones which blank out certain areas of the screen concealing them from the operator...
Страница 37: ...used to define the position of the privacy zones to be created 1 Press on EDIT WINDOW LOCATION 2 Press OPEN The following screen will appear EDIT WINDOWS LOCATION IRIS OPEN TO CONTINUE IRIS CLOSE TO C...
Страница 38: ...l shift and return to the correct dimensions After zooming the rectangle will remain either contracted or expanded according to the applied zoom regardless of the x2 or x4 factor applied while zooming...
Страница 39: ...20 21 30 either on or off 1 ON 0 OFF Table 26 4 5 4 7 TRACKING SETTING SUBMENU TRACKING SETTING DEFAULT SETTING SIZE SENS GRAY SENS LOST ACT ZOOM SETTING WAIT TIME S TRACKING BOUNDARY AUX TRACKING SPE...
Страница 40: ...o be intercepted again KEEP TRACKING The camera is left in the position reached and deactivates the tracking function STOP TRACKING TRACKING BOUNDARY UP DOWN LEFT RIGHT This option is used to define t...
Страница 41: ...on Avoid background objects in the frame which could trick the motion detector such as for example Venetian blinds gates doors with grid and objects with very marked contrasting contours A chequerboar...
Страница 42: ...t character to be used and press OPEN Point the cursor to BACKSPACE to delete it 4 After writing the text point the cursor to OK and press OPEN to save and go back to the main screen 4 6 SPECIAL CONTR...
Страница 43: ...ion CALL 98 ENTER Start frame scan function PRESET 99 ENTER Stop auto scan function CALL 99 ENTER Start auto scan function Table 30 When storing Presets it is important to remember that some are reser...
Страница 44: ...connected Reconnect power wiring Address protocol and baud rate is not correctly set Check and set the parameters again Pan Tilt not initializing when power on RS 485 cable is not correctly connected...