4. Menu
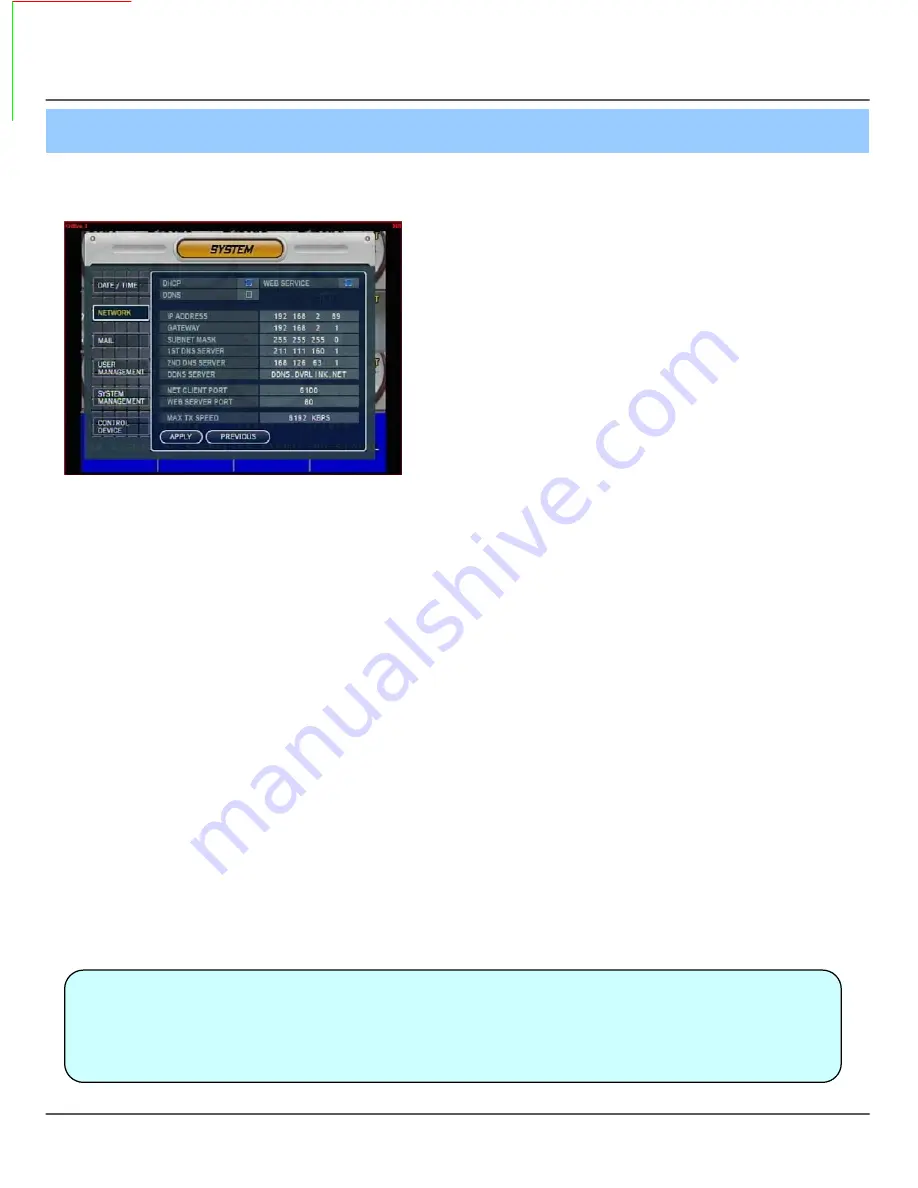
4-2. Network
• IP Address : Input IP Address
• Gateway : Input Gateway IP for Internet Server
• Subnet Mask : Input Subnet Mask IP
• DNS Server: Input DNS Server IP
• DDNS Server: Input DDNS Server IP
• Net Client Port : Input net client server
• Web Server Port : Input web server port
• Max TX Speed : Setup Max TX Speed
※ If Change Network Setup, New Change Apply
when after Rebooting.
• DHCP (Dynamic Host Configuration Protocol) : Indicate IP Address for the DVR Automatically.
1. Enter to
‘
System -> Network
’
on the Menu.
2. Setup DHCP On/Off.
3. DHCP Off : User Input IP Address by Himself.
4. DHCP On : After DHCP On, Reboot the System.
5. Can see the setup IP automatically at the system information.
• DDNS (Dynamic DNS): You can connect the DVR by the fixed domain name(ex.00115f000001.dvrlink.net) at
client or Web without entering the IP address.
※ If you use the DDNS, there is no necessity to enter again the IP Address every connection.
1. Enter to ‘System -> Network' on the menu.
2. Setup DHCP On or Enter the IP address.
3. Setup DDNS ON and reboot.
4. Enter to ‘System -> System information’ on the menu.
5. Confirm the MAC address.
6. The domain name is "MAC address.dvrlink.net".
EX) If Mac Address is 00-11-5f-00-b5-a7, the domain name is "00115f00b5a7.dvrlink.net"
7. If you connect by "00115f00b5a7.dvrlink.net" at client program or Web, you can connect the DVR.
• Web Service
• Net Client Service
※ 1. If your network connect at the router, please must port forwarding.
2. Please must enter the exact IP address, DNS Server, Gateway, Subnet Mask.
3. Please must connect the DVR at External Network.
If you don't follow 1,2,3 , you can't receive the DDNS service.
Tip
19


