https://www.XPOtool.com
Item 62830
Page 6
The Tool Experts
05 2022
-1
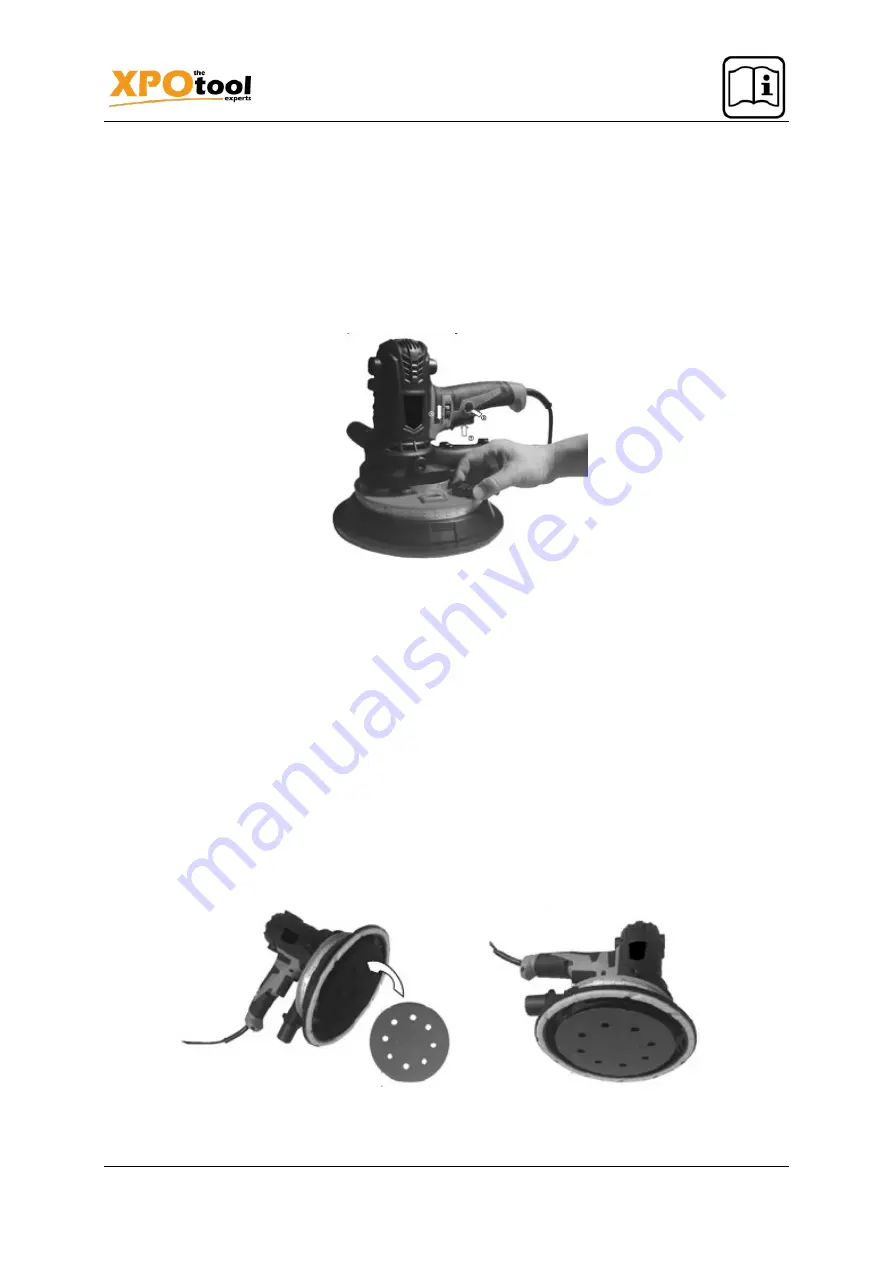
Power switch and speed regulator
•
The power switch of this drywall sander is self-locking and can be locked in its “ON” position.
•
When activating the device, press its power switch to start it.
•
The device can be turned off by simply pressing the power switch. It is not necessary to activate
its self-locking function by pressing the self-lock button.
•
The speed regulator of the device can easily be adjusted by being turned either clockwise or
counter-clockwise, allowing the device to be adapted to the situation at hand and thereby in-
creasing the work efficiency. The device is equipped with a soft start as the impulse created by
the start of the motor might otherwise damage it.
Installing and replacing a sanding disk
Attention!
Always ensure to not only turn the device off, but to disconnect it from its power source by
properly disconnecting its power cord from the socket or extension cable before installing or removing
sanding disks.
Installation
Place the device upon an even surface to ensure correct installation or exchange. Attach the sanding
disk to the rotary disk by placing the self-adhesive back
(Pos.
1)
of the sanding disk on the rotary disk
(Pos.
2)
as depicted below.
To maintain the efficiency of sanding, a worn sanding disk must be replaced with a new one. To remove
the worn sanding disk, turn the device off and disconnect it from its power source. Once the device has
been safely disconnected from any sort of power supply, carefully remove the worn sanding disk and
ensure that there are no remnants stuck on the rotary disk. Make sure that the new sanding disk has
been aligned in a centric manner and attach it to the rotary disk of the device.
Always make sure to choose sanding disks in accordance to the size of the rotary disk of your device to
prevent the same from being damaged during application. Sanding disks are being categorised


