background image

Paper Jams

Phaser™ 4400 Laser Printer

24

10. 

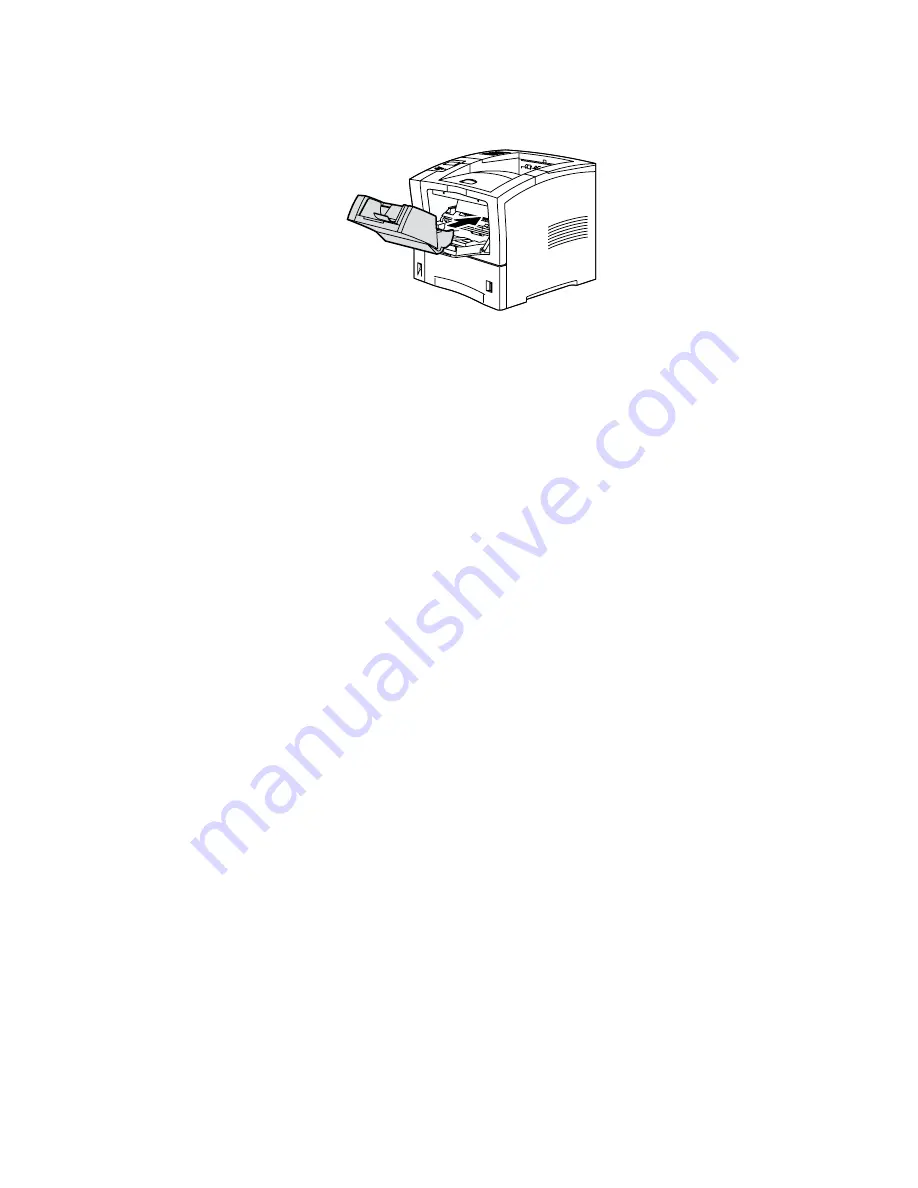
Push the envelope feeder all the way into the printer until it stops. Make sure it is seated securely.

11. 

Check the front panel display. If the jam has been cleared and all covers are closed, the front panel 
should display 

Processing

 or 

Ready

. If a paper jam message remains, there is still paper 

jammed in the printer.

12. 

Reload envelopes in the envelope feeder.

For additional information, access PhaserSMART.

P4400-40

Содержание Phaser 4 400

Страница 1: ...e page 15 Jam at the rear see page 16 Jam at the stacker see page 19 Jam at the envelope feeder see page 21 When there is a paper jam the printer s front panel display 1 shows the jam error message Pr...

Страница 2: ...in the Trays and Paper Guide on the Interactive Documentation CD ROM Load paper correctly For proper paper loading instructions see the Loading Trays section in the Trays and Paper Guide on the Intera...

Страница 3: ...Make sure that the size menus for the Multi Purpose Tray and the envelope feeder if present are set correctly 2 Go behind the printer squeeze the latch on the upper left corner of the rear cover and p...

Страница 4: ...mmed in the printer For additional information access PhaserSMART Jam at the tray Note While the illustrations below show Tray 1 you can also use this procedure for clearing Tray 2 and Tray 3 jams 1 P...

Страница 5: ...cover all the way until it stops 4 Slowly pull out the print cartridge Note To prevent toner stains place the cartridge on a flat covered surface 5 Check the area where the print cartridge was located...

Страница 6: ...he front cover Press the center part of the front cover until it latches into place 8 Re install the paper tray 9 Check the front panel display If the jam has been cleared and all covers are closed th...

Страница 7: ...4400 Laser Printer 10 Jam at the Multi Purpose Tray 1 Remove all paper from the Multi Purpose Tray 2 Check the Multi Purpose Tray and remove any jammed paper 3 Close the Multi Purpose Tray P4400 44 P...

Страница 8: ...ed then open the front cover all the way until it stops 5 Slowly pull out the print cartridge Note To prevent toner stains place the cartridge on a flat covered surface 6 Check the area where the prin...

Страница 9: ...into the printer s guide channels Be sure to push the cartridge all the way into the printer 8 Slowly close the front cover Press the center part of the front cover until it latches into place 9 Open...

Страница 10: ...If the jam has been cleared and all covers are closed the front panel should display Processing or Ready If a paper jam message remains there is still paper jammed in the printer For additional inform...

Страница 11: ...t to prevent burns 3 Close the printer s rear cover 4 Check the front panel display If the jam has been cleared and all covers are closed the front panel should display Processing or Ready If a paper...

Страница 12: ...Paper Jams Phaser 4400 Laser Printer 15 Jam at the front 1 Open the front cover 2 Remove the print cartridge 3 Remove any jammed paper P4400 34 P4400 35 P4400 36...

Страница 13: ...l display If the jam has been cleared and all covers are closed the front panel should display Processing or Ready If a paper jam message remains there is still paper jammed in the printer For additio...

Страница 14: ...t to touch it to prevent burns 3 Slide the green tabs located to the left and right of the duplex unit inward Pull the duplex unit out of the printer Note how the duplex unit fits into the left and ri...

Страница 15: ...rinter 18 5 Remove any jammed paper then close the duplex unit cover 6 Insert the duplex unit into the left and right channels inside the printer 7 Slide the unit in until the green tabs snap into pla...

Страница 16: ...the front panel should display Processing or Ready If a paper jam message remains there is still paper jammed in the printer For additional information access PhaserSMART Jam at the stacker 1 Go behi...

Страница 17: ...sure that the stacker s spring loaded rear cover is securely closed 5 Close the printer s rear cover 6 Check the front panel display If the jam has been cleared and all covers are closed the front pan...

Страница 18: ...Laser Printer 21 Jam at the envelope feeder 1 Remove all envelopes from the envelope feeder 2 Lift slightly on the envelope feeder and pull it out from the printer 3 Close the Multi Purpose Tray P440...

Страница 19: ...r all the way until it stops 5 Slowly pull out the print cartridge Note To prevent toner stains place the cartridge on a flat covered surface 6 Check the area where the print cartridge was located and...

Страница 20: ...into the printer s guide channels Be sure to push the cartridge all the way into the printer 8 Slowly close the front cover Press the center part of the front cover until it latches into place 9 Open...

Страница 21: ...seated securely 11 Check the front panel display If the jam has been cleared and all covers are closed the front panel should display Processing or Ready If a paper jam message remains there is still...

Отзывы: