54
3 Print
3.5
Printing After Checking the Print Result
- Sample Print -
If your printer has the hard disk or the additional memory (optional) installed, you can use
the Sample Print feature.
Important
• As data is stored in the RAM disk, the data is erased when the printer is switched off.
• In case the hard disk fails, we recommend you to back up the hard disk data on your computer.
Sample Print Feature
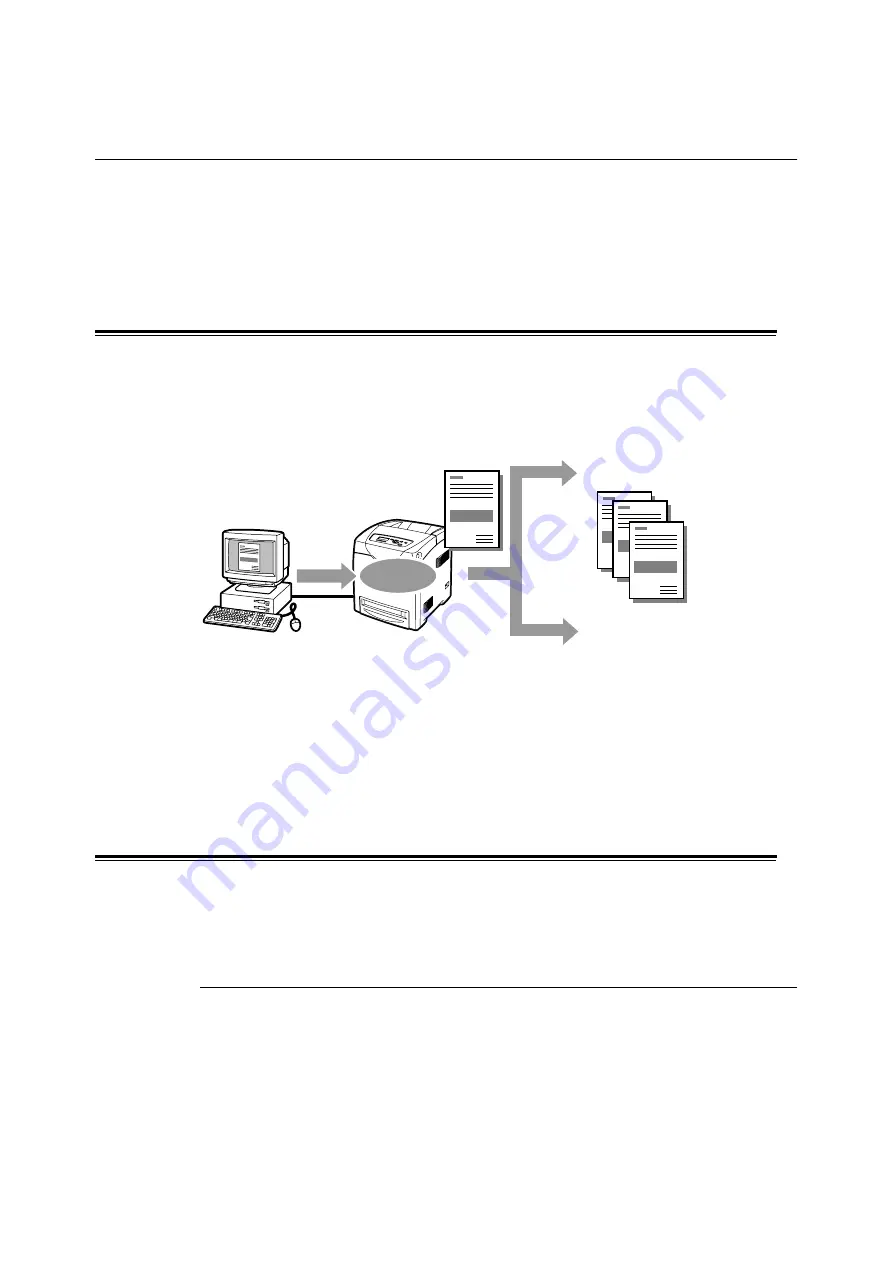
Sample Print is a feature that allows you to store the print data of multiple copies in the
memory, print out only the first set to check the print result and if satisfactory, print the
remaining copies from the control panel.
Note
• To delete a Sample Print job without printing, refer to "Operations on the Control Panel" (P. 56).
• To use the Sample Print feature with the RAM disk, configure the following settings.
- Set [RAM Disk] to [Available] on the [Options] tab in the properties dialog box that is displayed by
clicking the printer icon. For details, refer to "Changing the Accessory Configuration on the Print Driver"
(P. 182).
- Set [Admin Menu] > [System Settings] > [RAM Disk] to other than [Off] on the control panel.
Printing Using the Sample Print Feature
The following explains how to sample print a job.
To sample print a job, configure the following settings on your computer and send the job
to the printer. Then, operate the control panel to manually start printing.
Operations on Your Computer
The following procedure uses Windows XP WordPad as an example.
Note
• The method of displaying the properties dialog box varies depending on the application being used.
Consult the documentation for your application.
1.
On the [File] menu, click [Print].
2.
Select the printer from the [Select Printer] list box, and then click [Preferences].
Send
data
Stored
1 set is printed
If the print result
is OK
If the print result is not
OK
Cancel the job on the control
panel
Print the rest of the sets from the
control panel


