80
3 Printing
3.8
Private Charge Print
Connection of a compatible Smart card system to the printer makes it possible to save print
job data from a computer temporarily in the printer and then print it when required by
performing an operation on the printer (with Smart card verification). This is the Private
Charge Print feature.
Since data can be output only by the person verified by the Smart card as the one who
requested the print job from the computer, confidential information and personal information
are protected from unauthorized viewing by other parties, and leaks due to eavesdropping
and the loss or mishandling of information are eliminated.
Note
• The hard disk (optional) must be installed to use this feature.
• The following Smart card systems are supported by the printer: IC Card Reader. Contact your dealer for
information about connecting an Smart card system to the printer.
• The IC Card Reader may not be supplied with the printer in some regions. Contact your dealer for
details.
• The Authentication feature includes login to local accounts, which uses user IDs and other login
information registered on the printer, and login to remote accounts with an affiliated external
authentication server. Contact your dealer for in formation about using the Authentication feature.
• Private Charge Print cannot be used in combination with Secure Print.
Configuring Private Charge Print Settings
To use Private Charge Print, a user ID must be specified on the print driver properties dialog
box. Printing is not possible if the user ID does not match the verification information.
For details about the content of settings and setting procedures, consult your system
administrator.
Printing with Private Charge Print
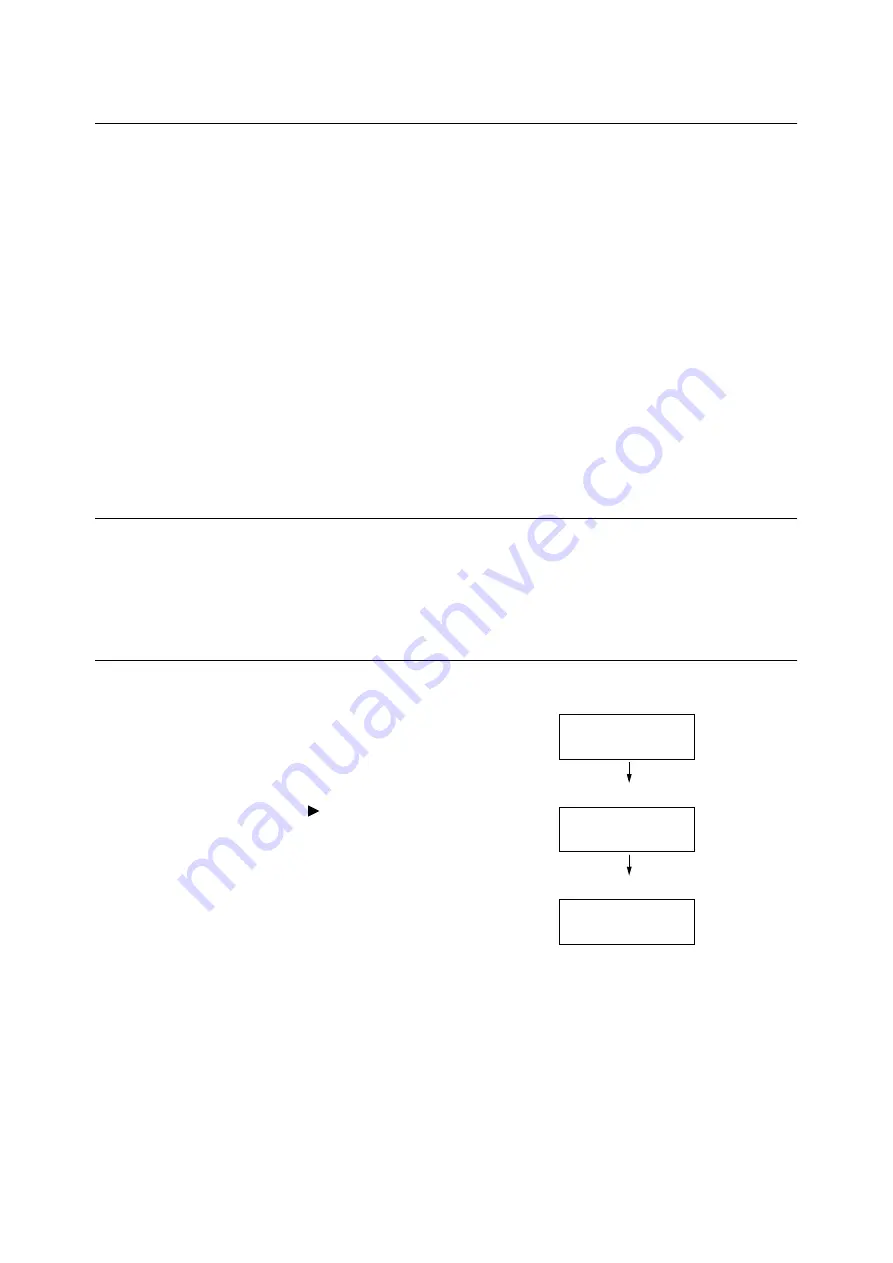
The following explains how to print a Private Charge Print job stored in the printer.
1.
On the control panel, press the <Secure
Print/Sample Set> button.
2.
Press the < > or <OK> button to select.
When the screen shown to the right
appears, hold the Smart card up to the
reader for authentication.
3.
The screen shown to the right appears
when authentication is successful.
Press the <OK> button to start printing.
4.
When you are finished printing, press the
<Menu> button to return to the [Ready to
print] screen.
Print Menu
Pte.Charge Print
Use Smart card
to login
User validated
Use OK to print
Содержание DocuPrint C2255
Страница 1: ...DocuPrint C2255 User Guide ...
Страница 176: ...176 6 Troubleshooting 2 Remove the jammed paper 3 Gently close cover C ...
Страница 210: ...210 7 Maintenance 12 Close the front cover ...
Страница 266: ...266 7 Maintenance 7 Rotate the lever to the right to lock it 8 Close the front cover ...
Страница 313: ...Index 313 WSD 26 129 X XeroxStdAccounting 147 XPS 113 XPS file 309 ...
Страница 322: ...DocuPrint C2255 User Guide Fuji Xerox Co Ltd ME4197E2 1 Edition1 March 2008 Copyright 2008 by Fuji Xerox Co Ltd ...


