7.1 Replacing Consumables
207
Replacing Drum Cartridges
The following messages appear on the printer's control panel when a drum cartridge is near
or reaches the end of its life.
Replacement Procedure
Important
• Make sure that the power is on when replacing a drum cartridge.
• Check the position of the applicable drum cartridge (R1, R2, R3, R4) on the left side of the control panel,
and then replace it.
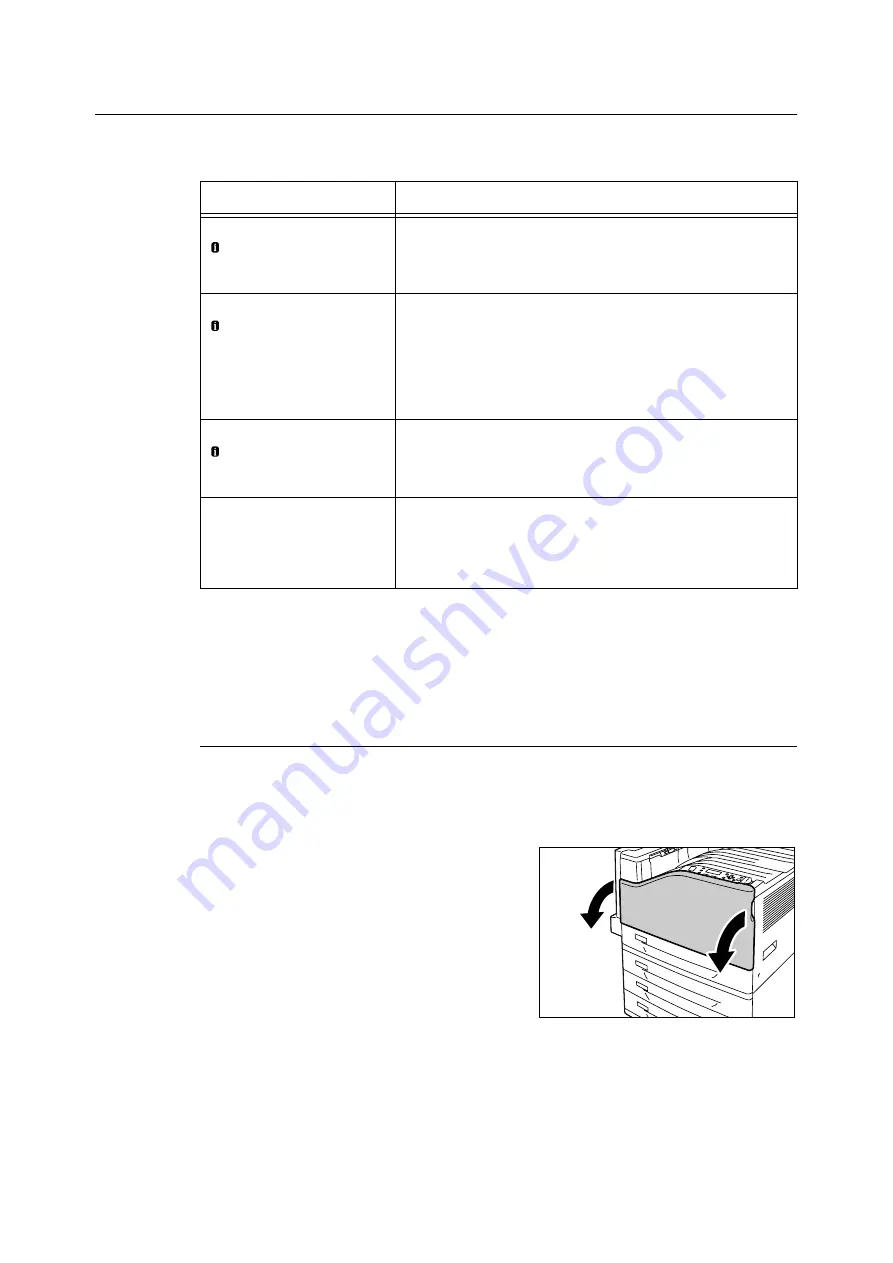
1.
After confirming that the printer is not
performing any operation, open the front
cover.
Message
Action
Ready to print
Order Drum: X
*1
The displayed drum cartridge does not need to be replaced right
away, but have a new drum cartridge ready.
The drum cartridge will be able to print approximately 1500
*2
more
pages.
Ready to print
Replace Drum: X
*1
• Drum Cartridge X
needs to be
replaced soon.
Order a new
cartridge.
The displayed drum cartridge needs to be replaced soon.
The drum cartridge will be able to print approximately 800
*2
more
pages. Have a new cartridge ready.
Ready to print
Replace Drum: X
*1
• Replace
Drum Cartridge X.
Appears when a drum cartridge reaches the end of its life after you
choose to continue
*3
with [Drum Life End]. Printing can continue for
a while, but quality is not guaranteed and replacement with a new
drum cartridge is recommended.
Replace Drum
Cartridge X
*1
A drum cartridge is at the end of its life.
The printer will stop and become unable to print. Check the location
of the applicable drum cartridge on the left side of the control panel.
Replace the drum cartridge indicated in the message using the
procedure under “Replacement Procedure” (P. 207).
*1: The actual display shows R1, R2, R3, or R4 in place of X. R1 through R4 indicate drum cartridge
names.
*2: The page yield of each consumable varies depending on print requests, documents printed, and
how often the power is switched on/off. For more information, see “A.3 Life of Consumables and
Regular Replacement Parts” (P. 275).
*3: In this case, the [Ready to print Replace Drum: X] message will remain on the display. For
information about how to configure this setting, refer to “[Drum Life End]” (P. 144).
Содержание DocuPrint C2255
Страница 1: ...DocuPrint C2255 User Guide ...
Страница 176: ...176 6 Troubleshooting 2 Remove the jammed paper 3 Gently close cover C ...
Страница 210: ...210 7 Maintenance 12 Close the front cover ...
Страница 266: ...266 7 Maintenance 7 Rotate the lever to the right to lock it 8 Close the front cover ...
Страница 313: ...Index 313 WSD 26 129 X XeroxStdAccounting 147 XPS 113 XPS file 309 ...
Страница 322: ...DocuPrint C2255 User Guide Fuji Xerox Co Ltd ME4197E2 1 Edition1 March 2008 Copyright 2008 by Fuji Xerox Co Ltd ...


