


5
Menu
(MENU)
a.
Press
Menu
key
to
activate
OSD
Menu
b.
This
key
also
registers
“OK”;
Press
“Up,
Down”
key
to
move
the
indicator
to
the
desired
item,
then
press
Menu
key
to
select
and
read
to
adjust.
After
adjustment,
press
this
key
to
return
to
the
previous
Menu.
Up
(
▲
)
a.
When
OSD
mode
is
activated
(When
“MENU”
key
is
pressed),
these
two
keys
are
used
to
select
the
adjustment
items.
b.
When
adjustment
item
is
selected,
these
two
keys
are
defined
to
decrease
or
increase
the
value
of
each
selected
item.
c.
Direct
access
“Up”
Key
will
reveal
Brightness
OSD
for
adjustment.
Direct
access
“Down”
key
will
reveal
Volume
OSD
for
adjustment.
Down
(
▼
)
OSD
Lock
/
Unlock
:
Pressing
the
“Menu”
Key
for
more
than
7
seconds
shall
lock
all
control
keys
function.
After
keys
locked,
press
“Menu”
key
again
for
more
than
7
second
to
unlock
the
key
function.
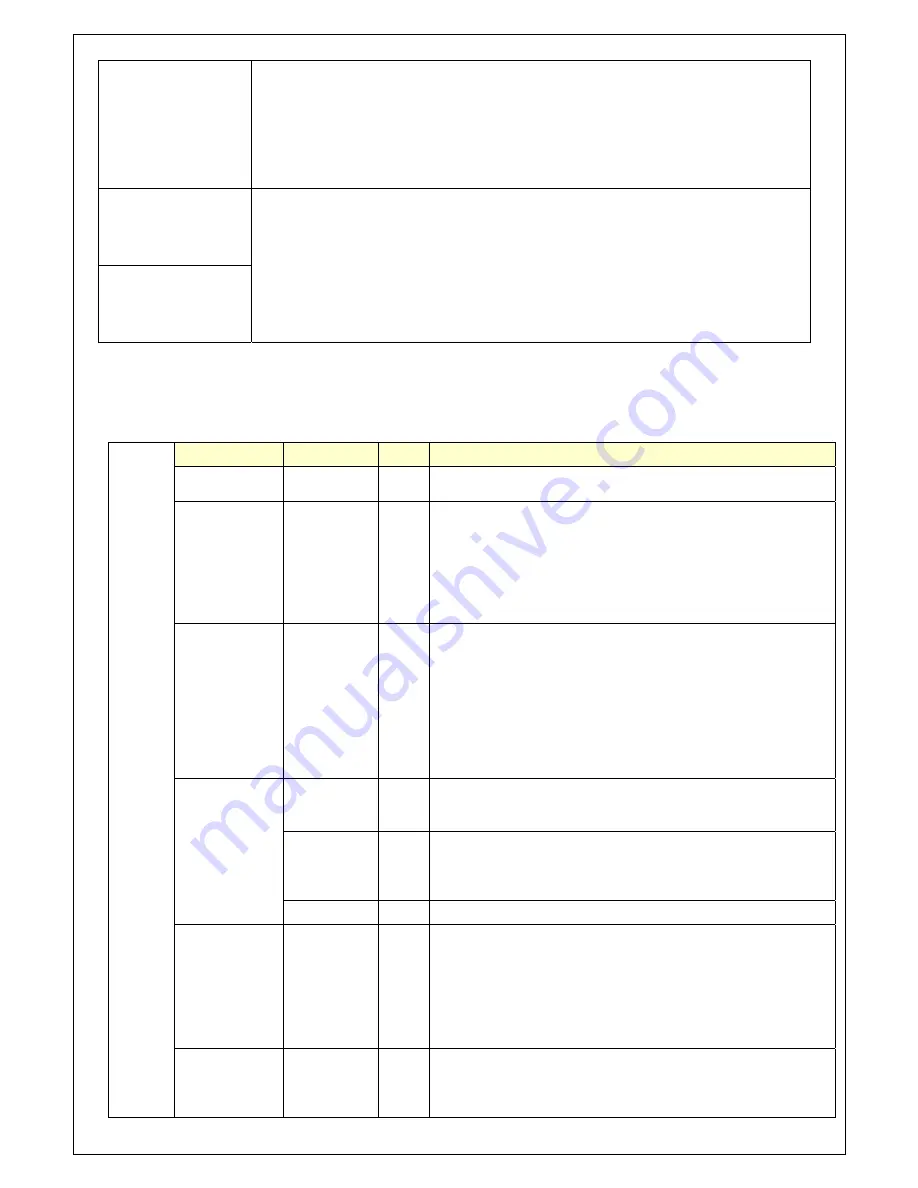
Structure
of
OSD
settings
Man
Menu:
Main
Menu
Level
1
Level
2
Level
3
Operating
Procedure
Auto
Adjust
Press
“UP”
or
“DOWN”
to
adjust
H
‐
phase
&
H
‐
position
&
V
‐
position
clock
automatically.
Luminance
Brightness
Contrast
Sharpness
Exit
Press
“UP”
key
to
increase
brightness,
“DOWN”
key
to
decrease
brightness.
Press
“UP”
key
to
increase
contrast,
“DOWN”
key
to
decrease
contrast.
Press
“UP”
key
to
increase
image
sharpness,
“DOWN”
key
to
decrease
image
sharpness.
Exit
to
previous
Menu
Management
H.
Position
V.
Position
Pixel
Clock
Phase
Exit
Press
“UP”
key
to
shift
screen
left,
“DOWN”
key
to
shift
screen
right.
Press
“UP”
key
to
shift
picture
upward,
“DOWN”
key
to
shift
picture
downward.
Reduces
any
vertical
bars
or
strips
visible
on
the
screen
background.
Adjusting
the
Clock
will
also
change
the
horizontal
screen
image
width
Removes
any
horizontal
noise
and
clears
or
sharpens
the
image
of
characters.
Exit
to
previous
Menu
Color
9300K
6500K
5400K
Press
“UP”
or
“DOWN”
to
choose
three
types
of
color
temperature
9300°k,
6500°k,
sRGB
and
user
define.
User
Preset
Red
Green
Blue
Exit
Select
User
Preset
to
enter
Color
Adjust
Menu,
Select
desired
color
to
adjust
Exit
−
Exit
to
Main
Menu
OSD
H.
Position
−
Adjust
OSD
Menu
horizontal
position,
press
“UP”
key
to
shift
Menu
right,
“DOWN”
key
to
shift
Menu
left
V.
Position
Adjust
OSD
Menu
vertical
position,
press
“UP”
key
to
shift
Menu
upward,
“DOWN”
key
to
shift
Menu
downward
OSD
Time
Sets
the
time
duration
in
seconds
that
the
OSD
is
visible
after
the
last
button
is
pressed.
Exit
Exit
to
previous
Menu
Language
English
Francais
Deutsch
Italino
−
Press
Up/Down
key
to
move
OSD
bar
to
desired
language,
Then
press
to
confirm,
the
OSD
Menu
will
change
to
desired
language
and
return
to
Main
Menu.


