background image

Please read and understand this instruction manual carefully  

before the installation and operation of this equipment.

YEAR

MACHINE

WARRANTY

1

1

YEAR

MACHINE

WARRANTY

YEAR

PRODUCT

WARRANTY

3

3

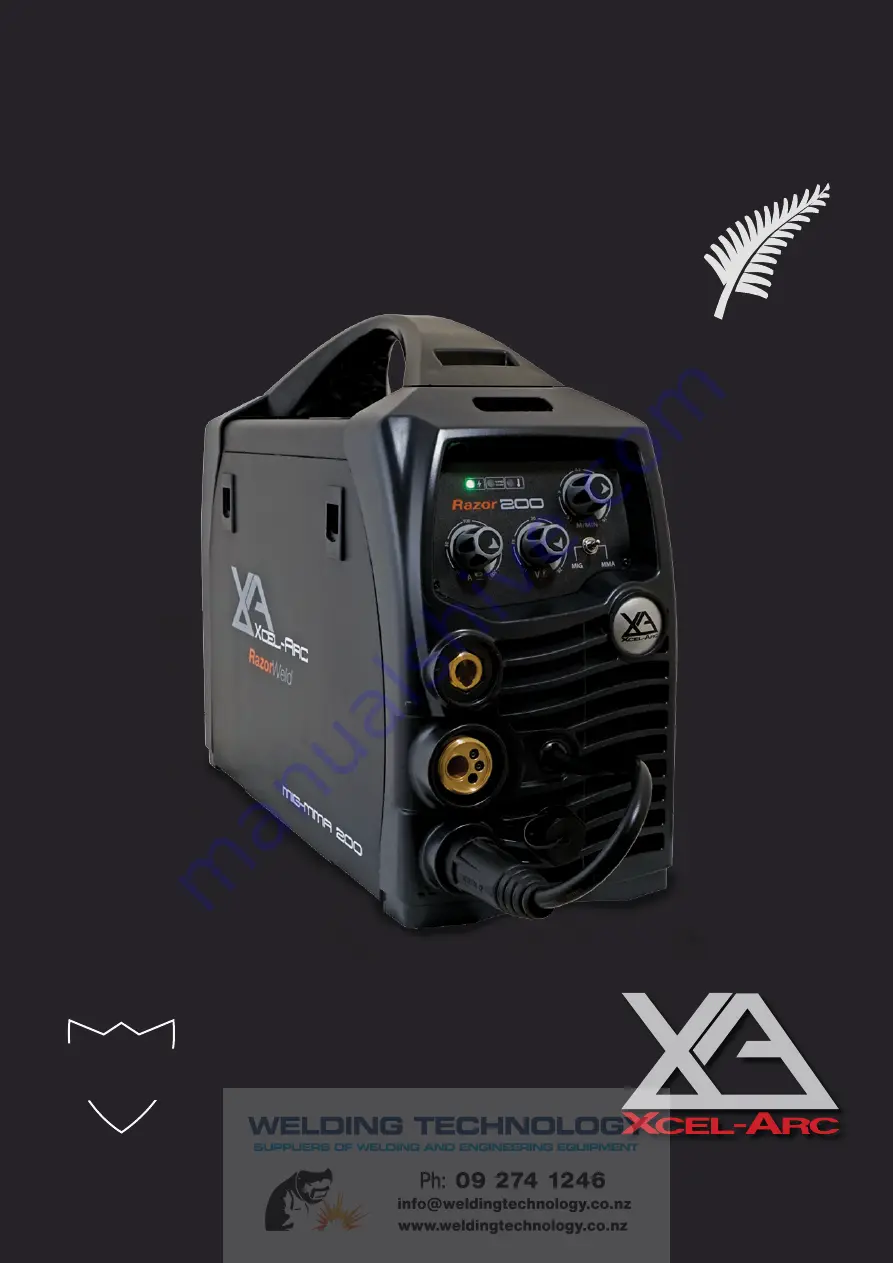
RAZORWELD MIG200


Operating Manual | XA-MIG200RZ

© Xcel-Arc 2020

Содержание RAZORWELD MIG200

Страница 1: ...erstand this instruction manual carefully before the installation and operation of this equipment YEAR MACHINE WARRANTY 1 1 R NE NTY YEAR PRODUCT WARRANTY 3 3 RAZORWELD MIG200 Operating Manual XA MIG2...

Страница 2: ...d technical personnel that provide us with market trends market feedback and customer comments and requirements Secondly they provide a customer support service that is second to none thus ensuring ou...

Страница 3: ...n Guide for Mig Torch Liner Installation 18 Mig Torch and Wire Feeder Set Up Guide for Aluminium Mig Wire 20 21 Installation Operation for MIG Welding with Spool Gun 22 23 MIG Metal Inert Gas Welding...

Страница 4: ...tly inspect input power cable for wear and tear replace the cable immediately if damaged bare wiring is dangerous and can kill Do not use damaged under sized or badly joined cables Do not drape cables...

Страница 5: ...der can explode Because gas cylinders are normally part of the welding cutting process be sure to treat them carefully CYLINDERS can explode if damaged Protect gas cylinders from excessive heat mechan...

Страница 6: ...e of the machine please refer to Main parameter table This equipment is of automatic voltage compensation which enables the maintaining of the voltage range within the given range In case that the vol...

Страница 7: ...enance work The Razor MIG200 gives you great portability with plenty of power to get the job done Designed and built to our specification and manufactured in compliance to AS NZ60974 1 Overview Techni...

Страница 8: ...inal 9 Euro Mig Torch Connector MIG MAG 10 Output terminal 11 SpoolGun Power Supply Connection 1 2 3 4 5 BACK PANEL LAYOUT 12 Power switch 13 Gas Inlet 14 Fan 15 Input power cable 16 Data Plate 15 13...

Страница 9: ...nnected to the negative socket while the earth lead work piece is connected to the positive socket this is known as DC polarity However various electrodes require a different polarity for optimum resu...

Страница 10: ...ross the arc into the molten pool and becomes the deposited weld metal The deposit is covered and protected by a slag which comes from the electrode coating The arc and the immediate area are envelope...

Страница 11: ...length no greater than the diameter of the core wire Electrode Angle The angle that the electrode makes with the work is important to ensure a smooth even transfer of metal When welding in down hand...

Страница 12: ...spool being sure to hold the wire to prevent rapid uncoiling Feed the wire into the wire feeder inlet guide tube through to the drive roller 8 Carefully feed the wire over the drive roller into the ou...

Страница 13: ...ate to between 5 10 l min 16 Set the welding parameters using the wire feed and voltage control knobs 17 Using the Burn Back control set the amount of wire to burn back after you release the torch tri...

Страница 14: ...ause it to catch in the contact tip Flux Core Gasless Wire these wires are made up of a thin metal sheath that has fluxing and metal compounds layered onto it and then rolled into a cylinder to form t...

Страница 15: ...t guide tube retaining nut too make adjustment if required Carefully retighten the locking nut and screw to hold the new position 4 Snip the wire carefully be sure to hold the wire to prevent the spoo...

Страница 16: ...Flux Core wire 7 Place the Wire Spool onto the Spool Holder Note the spool retaining nut is Left Hand thread Snip the wire from the spool being sure to hold the wire to prevent rapid uncoiling Feed th...

Страница 17: ...s the torch neck 13 Fit the correct sized contact tip and feed the wire through it screw the contact tip into the tip holder of the torch head and nip it up tightly 14 Fit the gas nozzle to the torch...

Страница 18: ...1 2 way 7 Leaving the torch straight snip the liner approximately 3mm past the end of the torch neck 8 Place the tip holder over the end of the liner and screw into the torch neck nipping it up tight...

Страница 19: ...eter welding wires 1 2mm through 2 4mm have much higher columnar strength but it is important to make sure the liner has enough internal diameter clearance Most manufacturers will produce liners sized...

Страница 20: ...er with the liner o ring 8 Push the liner rmly into the torch lead and tighten the liner retaining nut 9 Install a U groove drive roller of the correct size to match the wire diameter being used 2 Rem...

Страница 21: ...oller 14 Tighten the torch euro connection to the machine euro connector 15 Cut the extended liner with a sharp Stanley knife just in front of the drive roller 16 Fit an Aluminium contact tip of the c...

Страница 22: ...Line to Gas Regulator and connect the gas regulator to the Gas Cylinder 6 Take the Spool Gun and remove the spool cover 7 Place the Wire Spool onto the Spool Holder Hold and snip the wire from the spo...

Страница 23: ...h the neck until it exits the contact tip holder 11 Fit the correct sized contact tip by feeding the wire through it screw the contact tip into the tip holder of the torch neck and nip it up tightly 1...

Страница 24: ...operties and corresponding advantages and limitations To perform MIG welding the basic necessary equip ment is a welding gun a wire feed unit a welding power supply an electrode wire and a shielding g...

Страница 25: ...at and force of the arc flattens out the droplet into the weld pool The heat of the arc melts the end of the wire slightly as it feeds towards the base metal The wire feed speed overcomes the heat of...

Страница 26: ...bead profile and degree of weld penetration Push Technique The wire is located at the leading edge of the weld pool and pushed towards the un melted work surface This technique offers a better view of...

Страница 27: ...ape prevents undercut uneven penetration poor gas shield and poor quality finished weld Correct angle Not enough angle Too much angle good level of control over the weld pool even flat weld less contr...

Страница 28: ...resulting in a weld deposit of poor quality cold lap lack of fusion lack of joint penetration porosity large wide bead Too Slow Travel Speed Correct Travel Speed The correct travel speed keeps the ar...

Страница 29: ...ect shield the wire the arc and the molten weld metal from the atmosphere Most metals when heated to a molten state will react with the air in the atmosphere without the protection of the shielding ga...

Страница 30: ...able Assembly x 4m XA2503 05 Duraflex Cable Assembly x 5m 8 XA2514 Ergo Handle Kit c w Lock Nut 9 XA2516 Medium Large Trigger 10 XA2517 Hanger Hook optional extra 11 XA2841 Cable Support 12 XA1522 Cab...

Страница 31: ...30B Teflon Liner 1 0 1 2mm x 3 4m for Soft wire Red XA2513 40B Teflon Liner 1 0 1 2mm x 4 4m for Soft wire Red XA2513 50B Teflon Liner 1 0 1 2mm x 5 4m for Soft wire Red XA2564 30 PA Liner 1 0 1 2mm...

Страница 32: ...APMS1 Motor Screw Pack Spare Parts Part Number Description 22 P7020 24 4 Screw 23 XAP7020W 08U Driver Roll For Aluminium Wire 0 8 XAP7020W 09U Driver Roll For Aluminium Wire 0 9 XAP7020W 10U Driver Ro...

Страница 33: ...Amm D8 M6 x 28mm for Aluminium XA2504 12A Contact Tip ECu 1 2Amm D8 M6 x 28mm for Aluminium XA2504 16A Contact Tip ECu 1 6Amm D8 M6 x 28mm for Aluminium 26 0 M6 x 1 0 M6 x 1 0 19 5 13 1 14 5 XA24 Diff...

Страница 34: ...Wire stubbing during welding Possible Reason Suggested Remedy Holding the torch too far away Bring the torch closer to the work and maintain stick out of 5 10mm Welding voltage set too low Increase th...

Страница 35: ...atten the wire electrode causing it to lodge in the contact tip reduce the drive roller pressure Too much tension on wire spool hub Reduce the spool hub brake tension Wire crossed over on the spool or...

Страница 36: ...larger electrode Poor welding technique Use the correct welding technique or seek assistance for the correct technique Poor joint preparation Check the joint design and fit up make sure the material i...

Страница 37: ...nline We offer the following Warranty Periods effective from the date of purchase XCEL ARC Inverter MIG SWF MTS MMA TIG TIG ACDC Plasma Power Source Only 2 Years RAZORWELD Inverter MIG SWF MTS MMA TIG...

Страница 38: ...ctual Remedies Act and therefore also entitled to at the consumer s discretion either a refund of the purchase price of the goods or repair of the goods or replacement of the goods Returns will only b...

Страница 39: ...der Earth Clamps MMA TIG Welding Torch Consumables such as Tungsten Electrodes Collet Collet Body Alumina Nozzle Torch Head Torch Head water Cooled Torch Head Flexible Back Caps Gas Lens Torch Handle...

Страница 40: ...40 RazorWeld Esseti New Zealand Limited PO Box 4189 Palmerston North 4442 Phone 06 355 1103 Fax 06 354 2437 Email sales esseti co nz www esseti co nz Xcel Arc Esseti NZ LTD 2020 New Zealand Limited...

Отзывы: