Xantech MRAUDIO8X8M, Руководство по установке
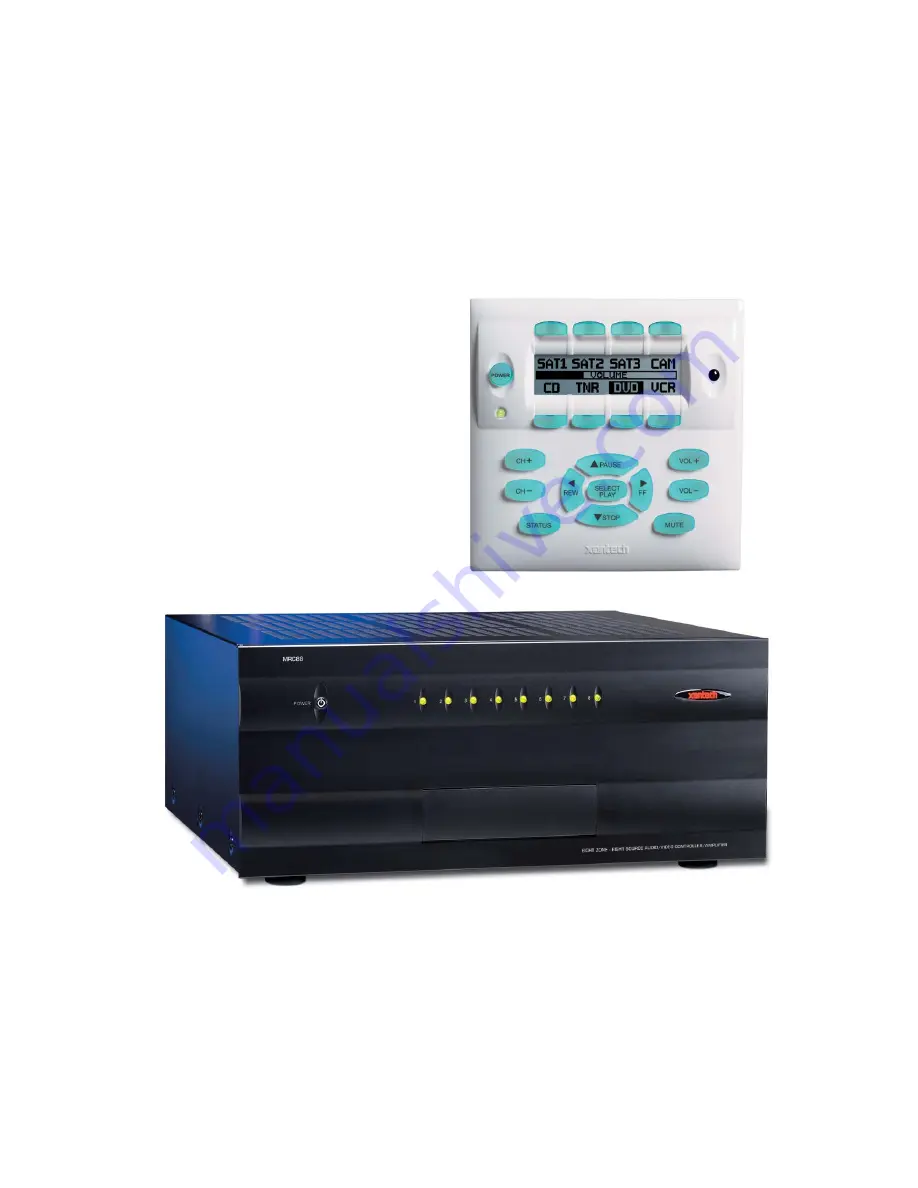
Xantech MRAUDIO8X8M - это многофункциональный аудио маршрутизатор с возможностью подключения до 8 источников и 8 зон. Для установки и настройки устройства необходимо загрузить бесплатное руководство по инструкции установки с сайта manualshive.com. Удобное и понятное руководство поможет вам настроить устройство быстро и качественно.
Поделиться
Скачать


Отзывы:
Нет отзывов
Похожие инструкции для MRAUDIO8X8M

S Series
Бренд: zipwake Страницы: 12

7 Series
Бренд: Watts Страницы: 2

UCR
Бренд: jbc Страницы: 12

890 Series
Бренд: Parker Страницы: 30

110 Series
Бренд: VAT Страницы: 22

IRO
Бренд: Rachio Страницы: 2

FM100
Бренд: MacDon Страницы: 32

M7500
Бренд: K&K Страницы: 6

CVC 3000
Бренд: vacuubrand Страницы: 12

100 INDUSTRIAL
Бренд: Vacon Страницы: 47

ConferenceSHOT AV
Бренд: VADDIO Страницы: 114

100 flow
Бренд: Vacon Страницы: 40

Kemro K2
Бренд: Keba Страницы: 16

COMBIVERT F5
Бренд: KEB Страницы: 16

FT-2000 - MENU MODE LIST
Бренд: Yaesu Страницы: 56

DHI-ARC3008C
Бренд: Dahua Страницы: 137

P8R8-DIO
Бренд: ICP DAS USA Страницы: 8

FOX203
Бренд: Fox Страницы: 5


