


Ilumina Software Installation Guide 11
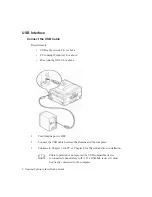
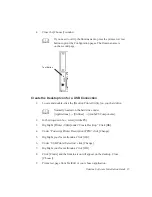
Enable the USB Port
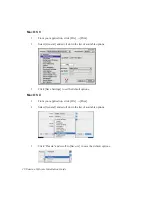
1. Click
[Start]
→
[Settings]
→
[Printers].
2.
Right click the Ilumina icon and go to [Properties].
3.
Click the [Ports] or [Details] tab according to your version of Windows.
4.
Select the [USB001] or [OP1USB1] port under “Print to the following port.”
Print a Test Page
1. Click
[Start]
→
[Settings]
→
[Printers].
2.
Right click the Ilumina icon and go to [Properties].
3.
Click the [General Tab] and click the [Print Test Page] button.
4.
Click [OK] to close the Properties window.
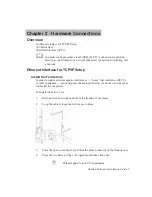
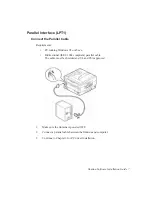
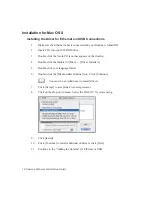
Installing the Ilumina Driver for a Parallel (LPT1) Connection
The installation procedure may vary slightly depending on the operating
system you are using. Drivers are provided for Windows XP/2000/Me/98.
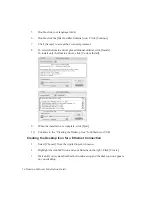
1.
Make sure the parallel cable is connected and that your Ilumina is turned OFF.
2.
Insert CD1 into your CD-ROM drive. The CD will autorun.
If it does not autorun, click [Start]
→
[Run]
→
[Browse].
Browse to your CD-ROM drive. Double-click [Install.exe].
3.
The License Agreement will appear. Click [Next] to accept.
4.
Select your language if needed.
5.
Select [Custom Install] to install the printer driver and software utilities. To
install only the Ilumina driver, select [Minimal Install] and skip the next step.
6.
Select [Printer Driver Installer].
7.
Select [Local Printer]. Click [Next].
8.
Select [LPT1]. Click [Next].
Содержание Ilumina
Страница 27: ...Ilumina Software Installation Guide 23...


