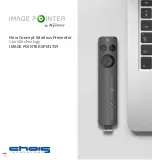
ChoisTechnology IMAGE POINTER
XPM170Y
3
Product Installation
1. After turning on the computer and inserting receiver into USB port, please wait until
the LED on the receiver blinks at regular intervals.
2. When the receiver LED is blinking, the product is recognized.
3. If mouse cursor moves by touching your finger on button ③, it is connected
4. If mouse cursor moves by touching your finger on button ③, it is connected
5. If LED stopped flickering, it is completed to ready to use.
6. 6. If the function is not working, you can try to insert the receiver again.
수신기
수신기
①
송신기
②
③


