


WUHAN GUIDE SENSMART TECH CO.,LTD.
http://www.guideir.com
Before using the thermal imager for the first time, be sure to
charge the thermal imager for at least three hours with the
matched USB charger.
During charging, please pull out the USB cover at the bottom
of the thermal imager, insert the supplied USB charging
cable, and engage the power to charge the battery. (Charging
voltage is 5V)
During normal charging, the charge indication light will turn
red;
When the charging is completed, the charge indication light
will turn green.
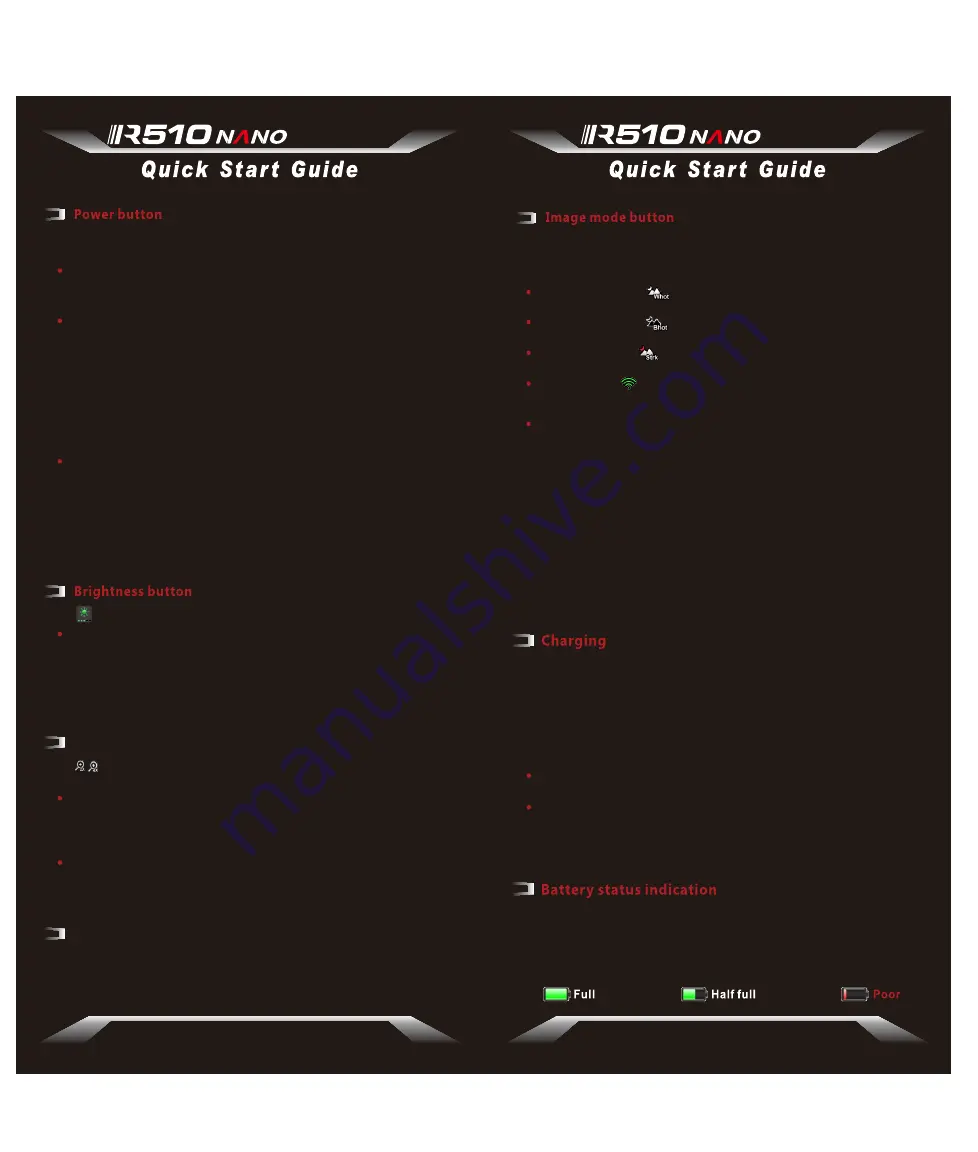
When the thermal imager is turned on, the battery power
identification is shown at the lower left corner of the screen.
The lighted battery power identification shows the remaining
battery power.
The thermal imager has three power states: Power On,
Standby and Power Off
;
Power On:
Press and hold the power button for 2 seconds,
so that the thermal imager is turned on, and the startup
screen appears on the eyepiece;
Standby:
Manual standby:
Press the power button to enter the
standby mode in the power-on status;
Automatic standby:
In the power-on status, if there is no
button operation within five minutes, the automatic standby
prompt will pop up; The automatic standby will be cancelled
by any button operation during the standby prompt display;
Cancel Standby:
In the standby mode, press any button to
cancel standby.
Power Off:
Manual power off:
Press and hold the power button for 2
seconds so that the thermal imager is powered off;
Auto power off:
In the standby state, if there is no button
operation within 30 minutes (default), the thermal imager will
automatically shut down.
WiFi Connection
The thermal imager can be connected by WIFI and mobile
phone, and most all functions
(
except Startup and
Shutdown
)
of its buttons being controlled remotely by
APP on mobile phone.
Users need to search and download “Thermal Viewer”
APP from a mobile phone application market, then open
the APP, find the WIFI “Handheld-TI” and enter the
password "12345678". Once the connection is
successful, users can operate the thermal imager
remotely.
Click this button to switch the white hot mode, black hot mode
and red hot mode;
White Hot Mode
Black Hot Mode
Red Hot Mode
WIFI switch
The object with higher temperature
shows in white or light gray;
The object with higher temperature
shows in black or dark gray;
The object with higher temperature
shows in red;
Press and hold the “Image Mode Button”
to switch on/off WIFI.
Click this button to enlarge the image by 2x and 4x in
turns
Freeze:
Press and hold the button to freeze the current
screen with the Frz icon appearing at the left upper corner
of the screen. Press any button to retrieve the real-time
screen.
Image enhance:
Press and hold the button to set 5
enhancement levels of image.
Zoom button
The diopter adjustment knob is used to adjust the
eyepiece diopter in order to suit users of different-
level myopia.
Diopter adjustment
Notice:
This model is equipped with a 25mm extended
lens which can block the laser emission.
Click to set five brightness levels of the image;
Light/laser
indicator
Press and hold the button to switch
on/off the light/laser indicator.
SERIES
SERIES


