9
20V Cordless random orbital waxer/polisher
EN
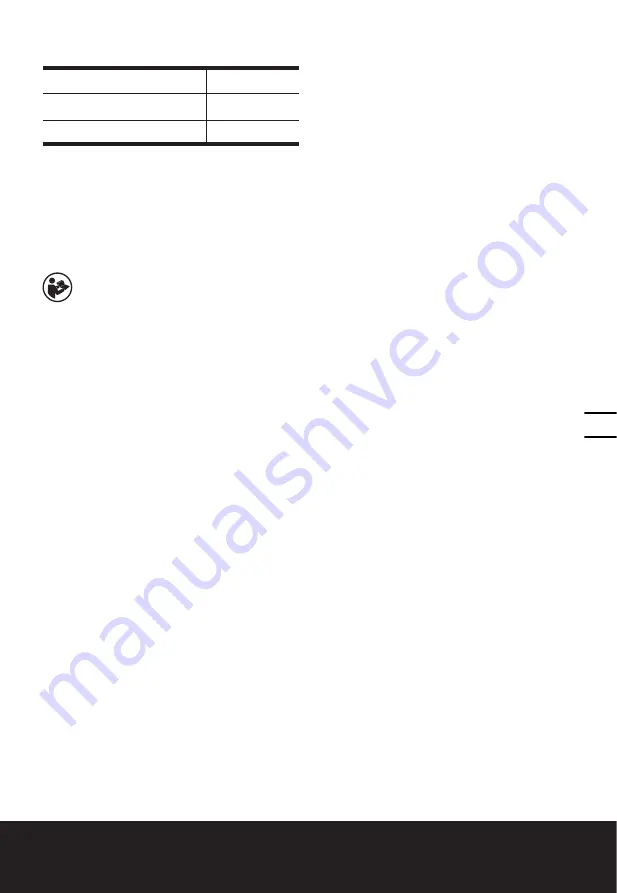
ACCESSORIES
WX858.9
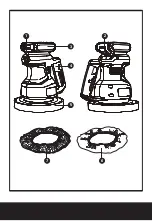
Wool bonnet
1
Terry cloth bonnet
1
We recommend that you purchase your accessories
from the same store that sold you the tool. Refer to
the accessory packaging for further details. Store
personnel can assist you and offer advice.
OPERATING
INSTRUCTIONS
NOTE:
Before using the tool, read the
instruction book carefully.
Intended Use
The machine is intended for polishing floor, car and
other coated surfaces.
1. INSTALL/REMOVE THE BATTERY PACK
To install: Place the switch in the OFF (O) position.
Then, slide the battery pack into the polisher. (See
Fig.A1)
To remove: Place the switch in the OFF (O) position.
Then, press the button to remove the battery pack
from the polisher. (See Fig.A2)
2. ON/OFF SWITCH (SEE FIG.B)
Always start and stop the polisher against the car
surface. Slide switch to the ON (I) position to start
the polisher, pull backward to OFF (O) position to
stop it.
3. Polishing
3.1 Place the polishing bonnet (wool bonnet)
over the sponge pad (see Fig. C) (If no
polishing is needed, proceed with waxing
directly (4). Ensure the car is washed clean
before polishing or waxing
Set the switch to OFF (O) position and remove the
battery pack. Place the polishing bonnet (wool
bonnet) over the sponge pad and always make
sure that its elastic strip is securely adhered to the
sponge pad.
3.2
Spread the polish (car wax)
Spread about a teaspoonful of polish (car wax)
evenly over the surface of the pad cover. Do not
apply polish (car wax) directly to the car.
Most polish (car wax) is either a paste or liquid
form. Read all instructions for proper application
and use before operation
Spread polish paste (see Fig. D1)
Spread about a teaspoonful of polish evenly over
the waxing bonnet using a putty knife or other tool
with a broad flat blade. Do not apply it directly to
the surface to be polished.
Apply liquid polish (see Fig. D2)
Spread a small amount of polish in the size of about
half a coin around the center of the waxing bonnet
and then apply it in a circle, with each circle slightly
larger than the previous one.
Note:
Do not apply too much polish at once.
Having it fully soaked will affect the duration and
effectiveness of the polish.
3.3
Polish with the car polisher
Hold the polisher against the surface and slide the
ON/OFF switch to the ON (I) position. First, use wide
sweeping strokes to polish larger surfaces such as
the front hood, trunk and roof. Do not apply excess
pressure on the polisher. After covering the plane
surfaces, polish the curved surfaces such as car
doors in cycles. When done with the entire surface,
turn off the polisher. Lift the polisher off from the
surface only after the sponge pad stops rotating.
(See Fig. E1)
Note:
It is also convenient to polish the car roof
and side panels by one hand.
(See Fig. E2)
Polishing a smaller surface area (see Fig. E3)
For hard-to-reach areas such as bottom of the
bumpers or the side mirrors, polish them by hand.
Wipe off the residual powder with clean towel after
finishing polishing.
4. Waxing
4.1
Place the waxing bonnet (terry-cloth bonnet)
over the sponge pad (see Fig. F)
Place the waxing bonnet (terry-cloth bonnet) over
the sponge pad and always make sure that its
elastic strip is securely adhered to the sponge pad.
4.2
Repeat steps 3.2 to 3.3 to finish waxing evenly.
5. BUFFING AND POLISHING - REMOVING
THE WAX FROM THE SURFACE (SEE FIG. G)
NOTE:
Wait until wax has dried to an even haze on
vehicle. Remove wax in the same order in which it
was applied.
Turn the polisher to the ON position. Polish and buff
the entire surface until all dried wax is removed.
Remove the bonnet from time to time and shake
out the residue. The bonnet with excess residue
will cause streaking. You may need to replace the
bonnet if you can't get it clean enough to avoid
streaking. Final buffing and polishing use a clean
bonnet.
NOTE: For best results, use long, sweeping strokes
in a criss-cross pattern when removing wax.
WORKING TIPS FOR YOUR
POLISHER
1. For best results, the surface should be clean and
dry. Most high-gloss surfaces can be cleaned
with mild soap and water solution. To remove
Содержание WX858.9
Страница 1: ...WX858 9 20V Cordless random orbital waxer polisher 20V...
Страница 2: ......
Страница 3: ...7 6 3 4 5 2 1...
Страница 4: ...2 1 ON OFF D1 B C E1 D2 A2 A1 A3...
Страница 5: ...E1 D2 E2 E3 F G...
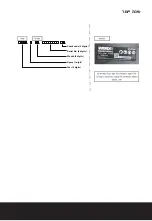
Страница 11: ...Check code 2 digits Serial No 8 digits Month 2 digits Space 1 digit Year 4 digits...
Страница 12: ...4 20 HE V 1 2 3 4 5 1 2 45 0 40 0 9090 09 7611222 www semicom co il...
Страница 14: ...2 20 HE V 130 C 6 C20 C5 Li Ion Li Ion 1 2 3 4...
Страница 15: ...20 HE 1 V 1 2 3 4 5...
Страница 16: ...Copyright 2020 Positec All Rights Reserved www worx com...


