9
8
2 in 1 Grass Trimmer/Edger
EN
9
8
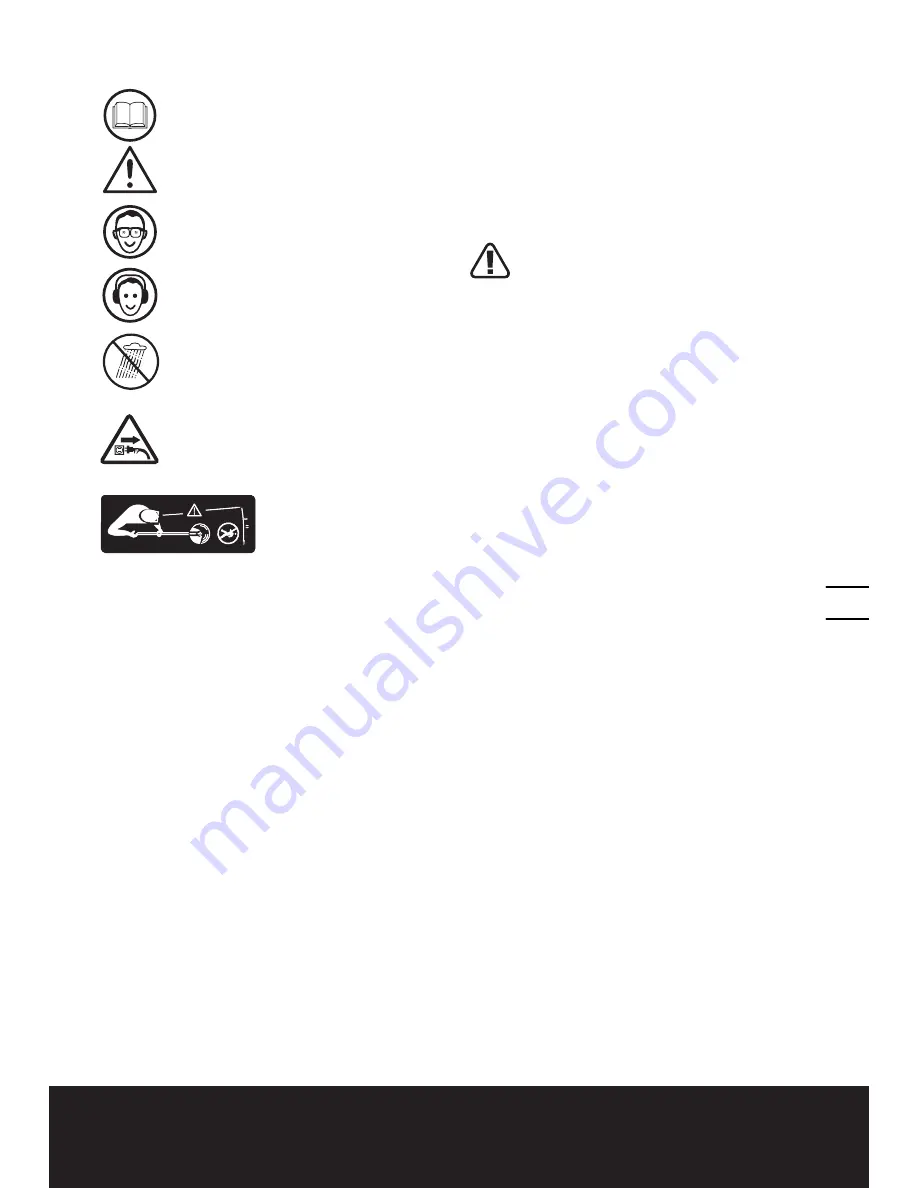
SYMBOLS
Read the manual
Warning
Wear eye protection
Wear ear protection
To avoid possibility of electric
shock, do not use in damp or wet
conditions.
Switch off! Remove plug from
power supply before adjusting,
cleaning or if cable is entangled
or damaged
Keep all other people, including
children, pets and bystanders
outside the 50 feet hazard zone,
stop the trimmer immediately if
you are approached.
OPERATING INSTRUCTIONS
CONNECTING THE MAIN HANDLE
ANDSHAFT (See A).
Turn the upper adjustment knob (3) clockwise
to loosen it. Insert telescopic shaft into the
main handle until it clicks into place (See
A).Retighten by turning anti-clockwise.
CONNECTING THE SAFETY GUARD
WARNING: NEVER USE THE
TRIMMER WITHOUT FITTING THE
GUARD.
Slide the safety guard onto the trimmer head
by using the trimmer head grooves (See B),
Secure the safety guard by using the screw
provided, located inside of the guard.
CONNECTING THE SPACER GUARD
Snap the Spacer Guard into the trimmer head
(See C), when not required, rotate the spacer
guard underneath the safety guard and clip
into place.
ADJUSTING THE HEIGHT (See D)
Unscrew the lower adjustment knob (4) extend
the telescopic shaft, then retighten.
ROTATING THE MAIN HANDLE (See E)
Unscrew the upper adjustment knob (3), rotate
the main handle 90 degrees clockwise, then
retighten.
ADJUSTING THE AUXILIARY HANDLE
(See F)
Rotate the handle release lever (5)
anticlockwise, then adjust the auxiliary handle
(2) to desired position, and then tight the lever
clockwise
ADJUSTING THE TRIMMER HEAD ANGLE
Grip the trimmer head with one hand and
the shaft with the other. Change the angle by
applying adequate force. You will hear a heavy
click for each angle adjustment, which is part
of the ratchet mechanism. The clicking sound is
normal and is not a defect of the tool (See G).
ON/OFF TRIGGER
Press and hold the trigger to operate the
trimmer. Release to stop
9
8
Содержание WG112
Страница 2: ......
Страница 3: ......
Страница 4: ......
Страница 5: ...A B C D E F G H I J...
Страница 26: ......
Страница 27: ......
Страница 28: ...Designed in Italy Made in China Con u en Italie Fabriqu en Chine Dise ado en Italia Fabricado en China...


