5
Unpacking:
Ideally two people are required to unpack the bike.
Keep the carton upright as shown, then remove the shipping straps, and cut any tape seals and open the
carton. Before lifting the bike out of the box, remove any/all loose packaging and then
lift the bike hold-
ing the rear wheel and the crossbar
.
Do NOT lift it by the front wheel
(which is strapped to the bike)
as you may scratch the frame. Lean the bike against a wall or other sturdy surface.
Do NOT destroy the
carton
as it will be needed if the bike has to be returned for any reason in the future. You will find a addi-
tional box in the main carton, this contains your pedals and charger, spoke tool, lights etc. See the mainte-
nance manual for how to use the spoke tool.
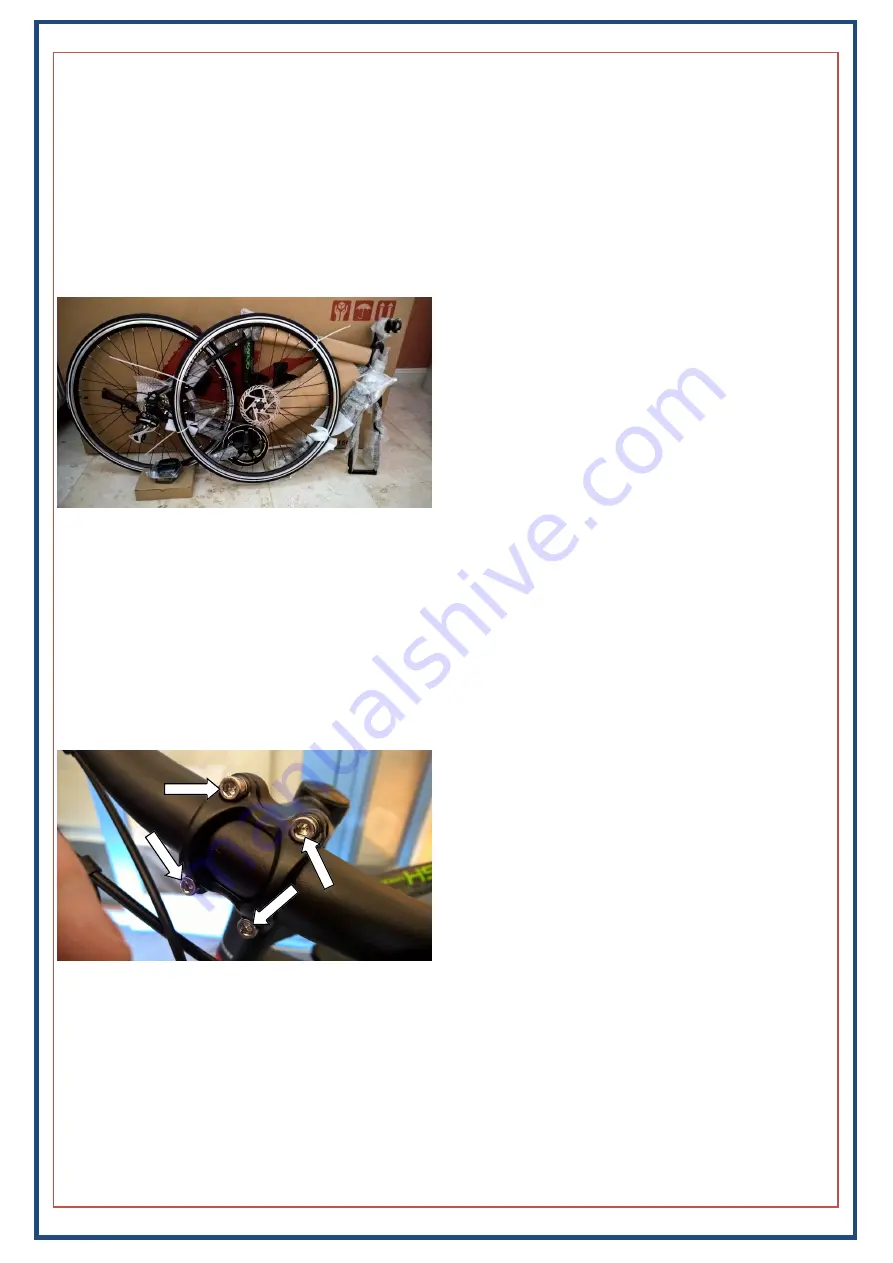
Once you have the bike out of the box, detach the wheel and remove all of the remaining packaging. The
Rio FB comes mostly assembled, and so requires just a few steps to complete the basic assembly of the
bike. Fit the handlebars first so that they are out of the way and will not scratch the frame whilst the rest of
the bike is assembled. The handlebars will also serve to help steady the bike if you flip it upside to fit the
front wheel. To fit the handlebars, first undo the four bolts securing the clamp using a 4mm Allen key (see
photo below-left), fit the bars into position and then re-fit the clamp. Once you have the front wheel on, you
will likely need to fine tune the position/angle of the bars within the clamp, but fitting them first, keeps them
out of the way and avoids them dangling and potentially scratching the frame.
Warning:
It is extremely important to ensure that the handlebars are properly secured. If they were to rotate or other-
wise move unexpectedly during use, it could result in an accident and/or serious injury. If you have any
doubts regarding the correct configuration of this part (or any other part of the bike), you should take your
bike along to your nearest bike dealer and have them prepare it for you (at your cost).
Note:
Do NOT pull the brake levers until af-
ter the front wheel has been fitted. If you do
(and the pad spacer shown on the next page
has already been removed), you will then
need to use a flat-bladed screw-driver to
prise the brake pads apart before you’ll be
able to fit the wheel.
Note:
Be careful not cut or nick any of
the cables when removing the packing
materials. There are hydraulic and elec-
trical cables that could easily be dam-
aged if sufficient care isn’t taken.


