Essential extra steps that must be taken before riding
the bike for the first time (and also regularly thereafter):
All items on the bike should be double checked to ensure
that all parts are correctly fitted and that all the nuts and bolts
are as tight as they should be. This step should be repeated
after one week of use, and then at regular intervals and
every one to two weeks thereafter.
The tyres need to checked/pumped up. The pressure range
is between 40 to 65 psi depending on the weight of the user.
It is essential that the tyres are regularly checked - again,
every one to two weeks—to ensure that the pressures are
correct. Failure to do so will shorten the life of your bike and
will cause additional stress to the components of the bike.
Due to the heavy weight exerted on the rear wheel of the
bike by the battery and the motor (5 times more than on
a standard bike wheel), both wheels and all spokes
must be checked before initial riding and regularly
thereafter . We recommend every 2 weeks and weekly if
you are a commuter or high mileage rider. If any spokes
are slightly loose it is essential to tighten them and true
the wheel before riding your bike.
Failure to observe this step could result in complete failure of
the rear wheel and thus possible danger to the rider. The tool
for truing/tightening the spokes can be purchased from most
bike shops for approx. £3 or from us (please add £1 car-
riage). For details on how to true your wheels, see the sup-
port section of our website at www.wooshbikes.co.uk
Alternatively, your local bike shop will be able to do this for
you for a small charge (not refundable by us).
The brakes need to be checked to ensure they are operating
correctly, and if necessary adjusted to ensure optimum
performance.
If you are unsure about how to carry out any of these steps
you should contact your local bike shop. Their fees will be
payable by you and will not be refunded by us.
Step 1 – Opening the carton.
Keep the carton upright, remove the shipping straps and cut
the tape seals. Remove the wheel from the carton, being
careful not scratch the bike as you do this. Now lift the bike
out of the carton and lean it against a sturdy surface/wall. Do
not destroy the carton as it will be required if the bike needs
to be returned for any reason in the future.
Step 2 – Unpacking
Cut the cable ties and detach the pedals, handlebars and
charger etc. from the bike, and then remove the remaining
packaging materials.
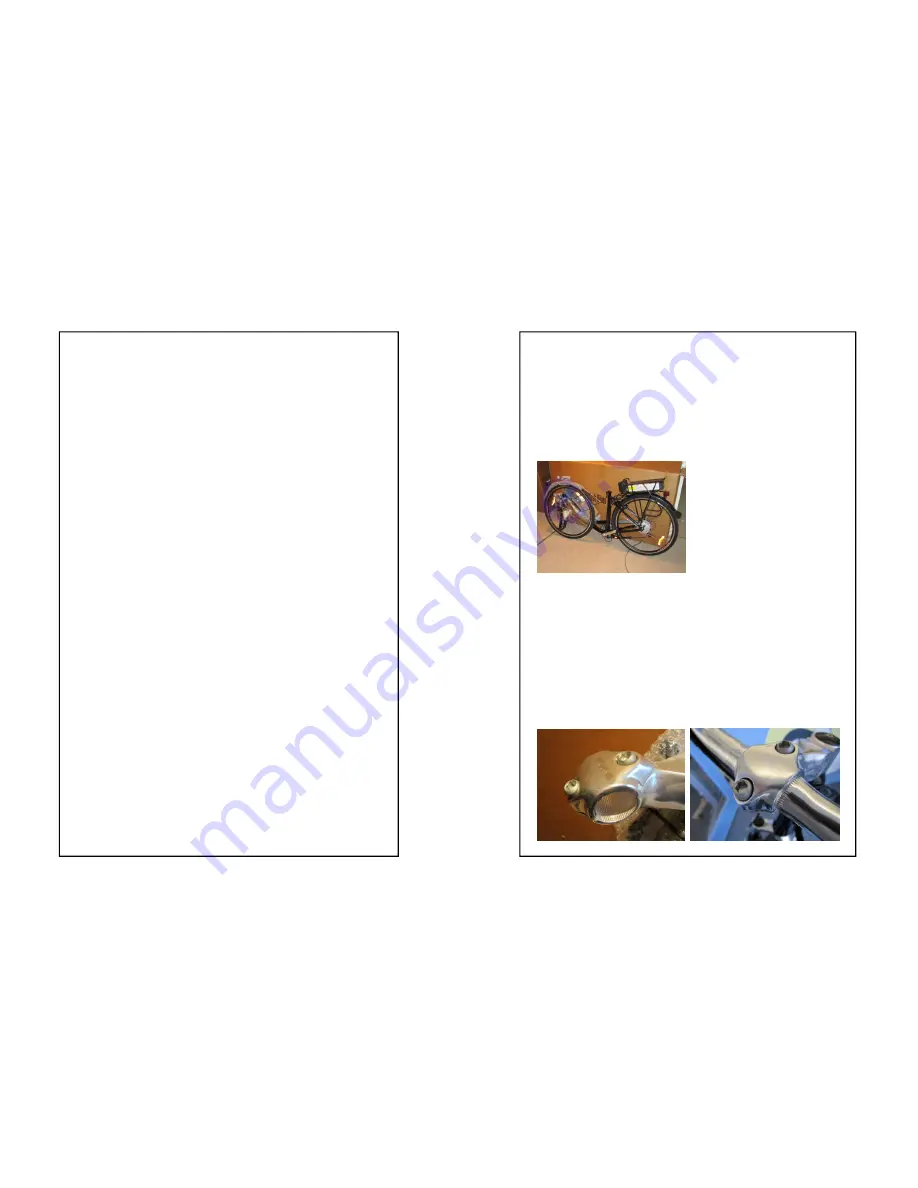
Once the packaging has been removed, undo the bolts that
hold the handle-bar clamp in place and remove the clamp.
Line up the handle-bars and then replace the clamp to se-
cure the handle-bars in place. There is a ribbed section on
the handle-bars, this should sit centrally within the bracket.


