12
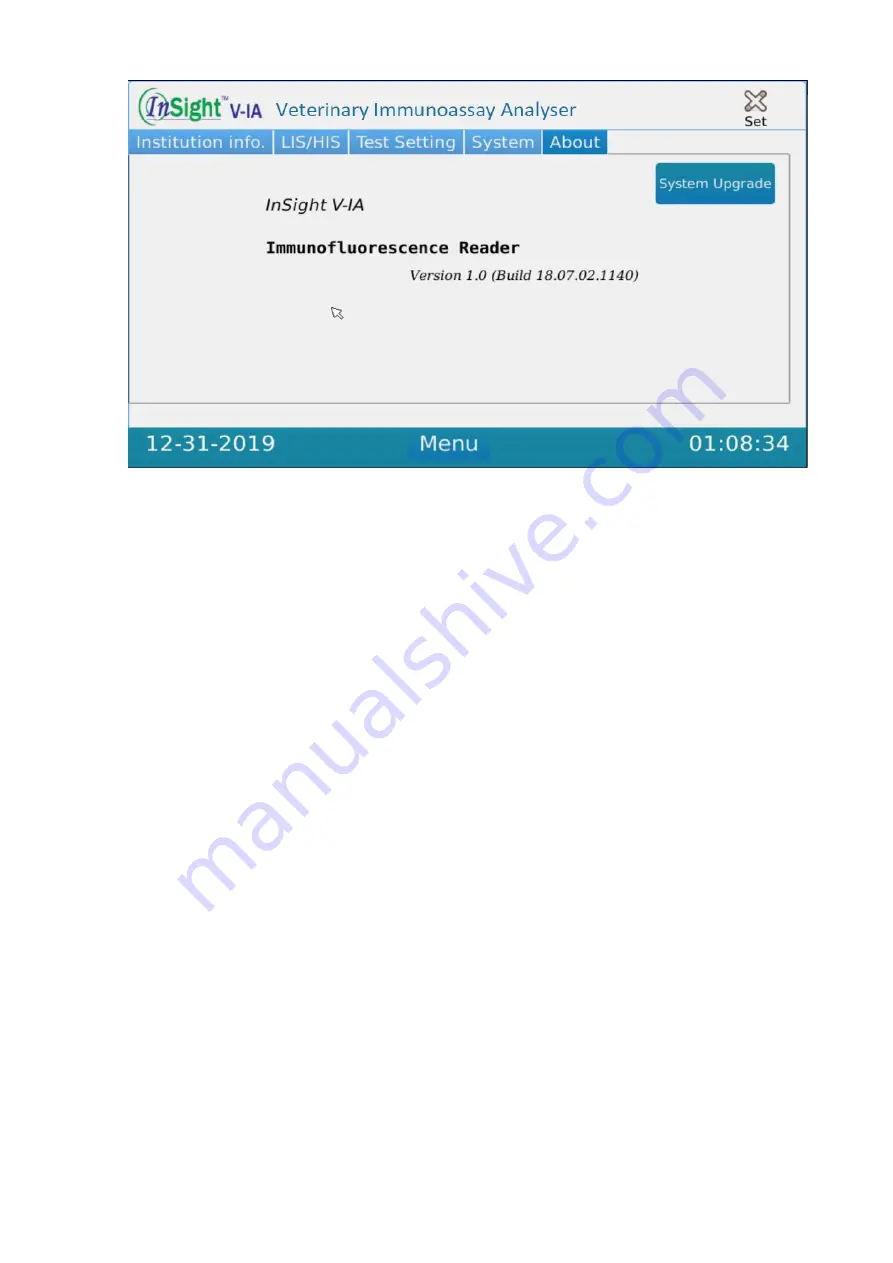
Figure 4.6.5
1. In the [Setting] screen, Institution Information, Test Setting, LIS Setting, System
Setting and Software Version can be viewed.
2. In [Institution Information] of Figure 4.6.1, the user can add the clinic name and
address.
3. In Figure 4.6.2, the sample code, sample ID length and alignment can be set in [Test
Setting] screen.
4.
Switch on ‘Auto print’ to automatically print results after analysis.
5.
User can switch on ‘Auto test’, the system will automatically start analysis once the
system detects any test cartridge has been inserted.
6. In Figure 4.6.3, to set the LIS settings, the user first needs to input the correct IP
address.
Please refer to document ‘LIS Protocol’ for detailed information.
7. To set the analyser time and date in Figure 4.6.4,
select ‘save’.
8. To calibrate the screen, after clicking the calibrate button, touch the arrows that
appear and follow the onscreen instructions. Restart the analyser for changes to be
saved.
9. The user can save the upgrade software onto the USB disk and then insert into the
USB port of the analyser. Switch on the analyser, the system will automatically update
after detecting the USB.
Содержание InSight V-IA
Страница 1: ...Veterinary Immunoassay Analyser User Manual...
Страница 10: ...8 IV 4 Results Records Interface Figure 4 4 1 Figure 4 4 2...
Страница 12: ...10 IV 6 Settings Figure 4 6 1 Figure 4 6 2...
Страница 13: ...11 Figure 4 6 3 Figure 4 6 4...


