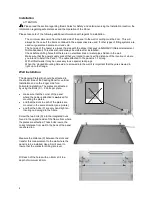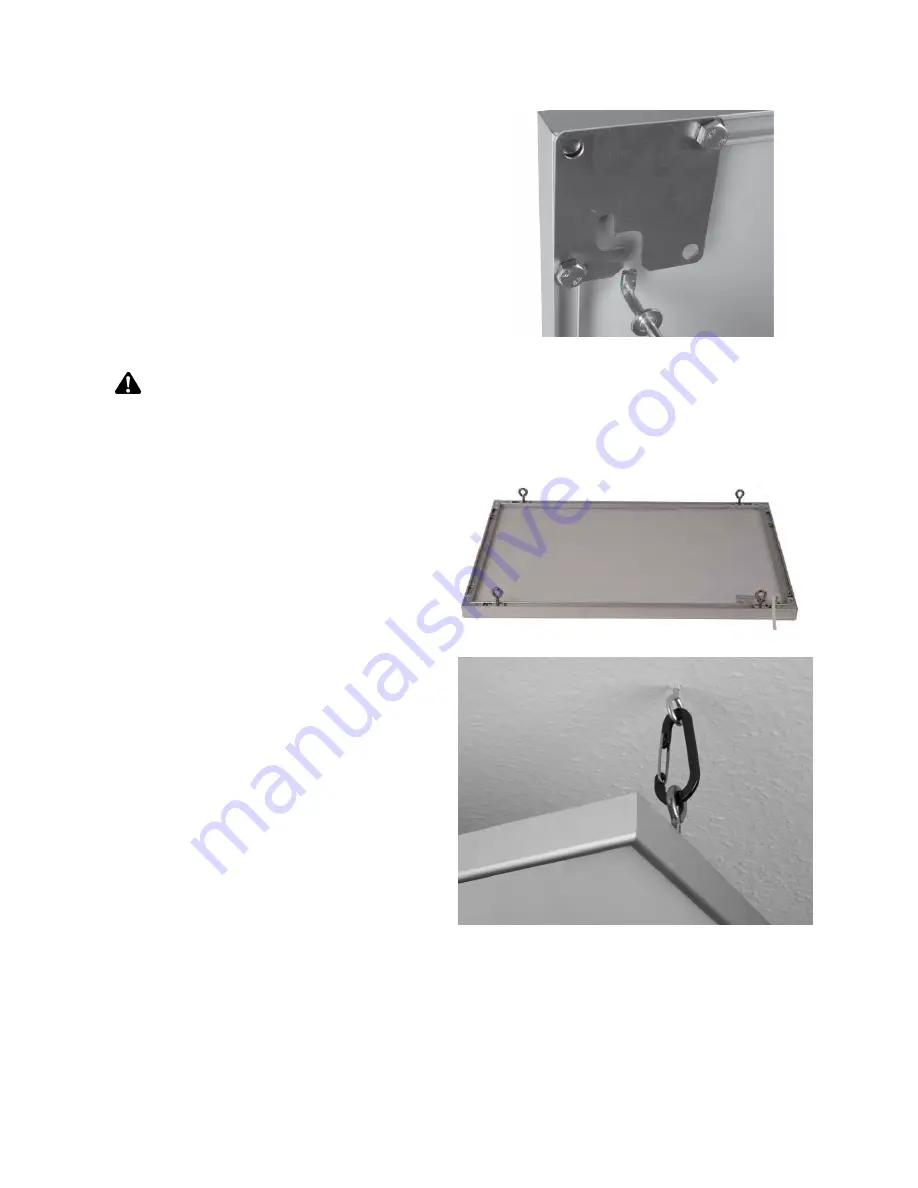
Insert the Rawl Plugs (F) into the holes; make sure that both
are fully inserted. These plugs can be used universally, even
for wooden walls.
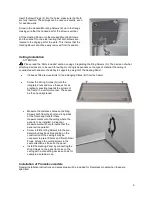
Screw in the Hooked Mounting Screws (E) up to the flange
making sure that the hooked part of the screw is vertical.
Lift the Heating Panel onto the Hooked Mounting Screws
and then slide it to one side insuring that both screws are
located in the dogleg part of the slots. This insures that the
Heating Panel cannot be easily removed from its position.
Ceiling Installation
ATTENTION
Please read the ‘Parts included’ section on page 3 regarding the Ring Screws (G). The decision of what
attaching devices are to be used for ceiling mounting is dependant on the type of material the ceiling is
constructed with and also the ability to support the weight of the Heating Panel.
if already fitted remove Bolts (C) and Hanging Plates (B) from the heater.
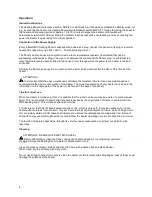
Screw the 4 Ring Screws (G) into the
integrated nuts and move these as far as
practically possible towards the corners of
the frame in a uniform manner. These can
be then hand tightened.
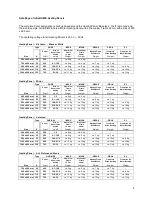
Measure the distances between the Ring
Screws both from the short and long sides
of the frame and transfer these
measurements onto the ceiling where the
panel is to be installed. A diagonal
measurement will help to insure that the
panel will be parallel.
Screw 4 further Ring Screws into the pre-
determined positions. Depending on the
construction of the ceiling it may be
necessary to pre-drill holes and fit with Rawl
Plugs. Arrange the ceiling screws in the
same direction as those on the panel.
Install the Heating Panel by connecting the
Ring Screws on the panel to those on the
ceiling with a connecting device such as for
example a karabiner clip.
Installation of Frameless models
Special Installation Instructions and accessories will be included for Frameless models when these are
specified.
5

