1126700
SmartPAC 2 User Manual
4-36
Initialization Mode
2.
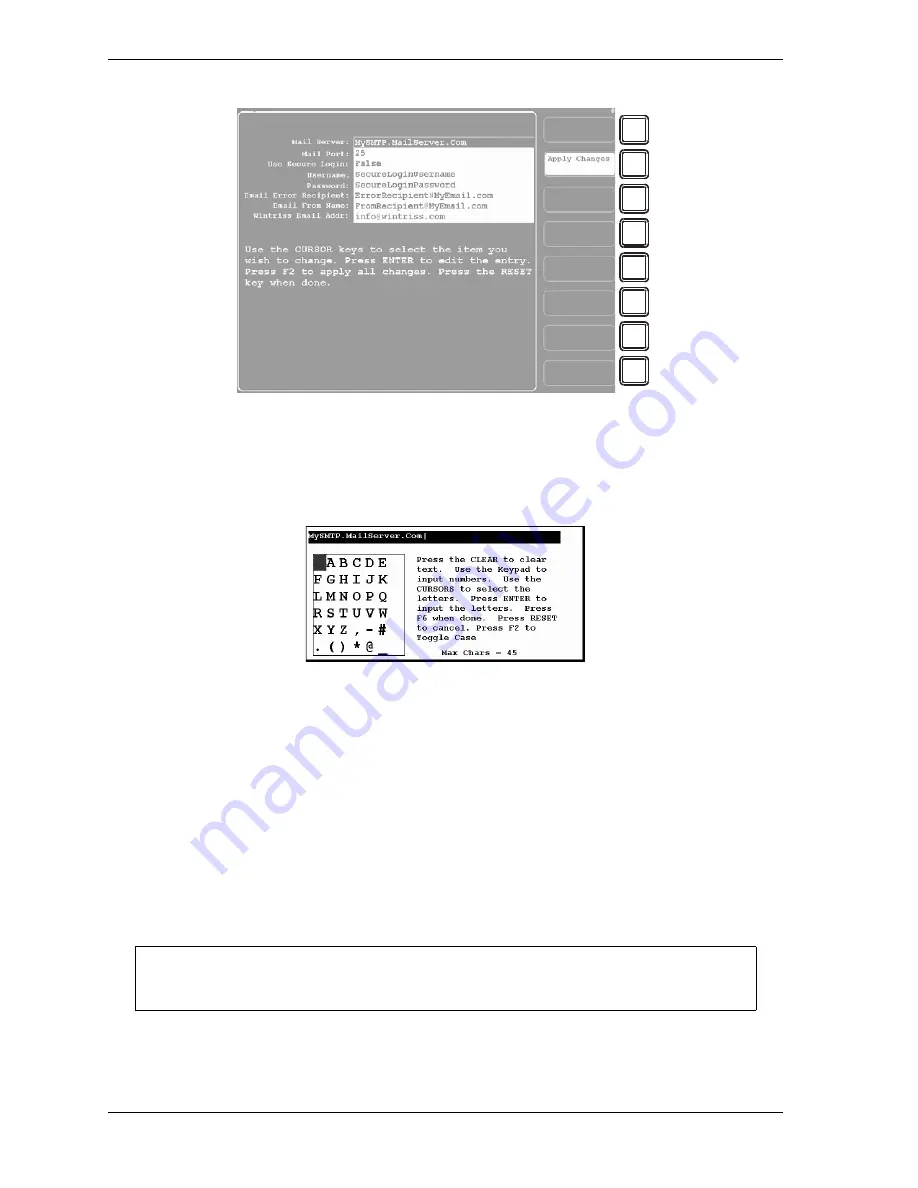
With the highlight bar in the Mail Server: field, press ENTER. The Alphanumeric Entry
window, shown in Figure 4-28, displays with the default mail server shown at the top of
the window.
3.
Key in the name or IP address of your mail server, following the directions in the window,
then press F6 to save your entry and return to the Setup E-mail screen. Your entry is now
displayed in the Mail Server: field.
For help in filling in this and other items, refer to Figure 4-6, page 4-37. You can also
consult your plant network administrator.
4.
Select the next item (e.g., Mail Port:, Use Secure Login:, etc.), and repeat steps 2 and 3,
referring to Table 4-6 for help.
5.
When you are done, press F2 (Apply Changes) to apply the changes you have made, then
press RESET to return to the Network Setup Utility screen.
Figure 4-27. Setup E-mail Screen
Figure 4-28. Alphanumeric Entry Window with Default Mail Server Displayed
You can use a separate computer keyboard to enter information. See page 4-45.
F1
F2
F3
F4
F5
F6
F7
F8
NOTICE
Содержание SmartPAC2
Страница 21: ...1126700 SmartPAC 2 User Manual xviii Table of Contents ...
Страница 143: ...1126700 SmartPAC 2 User Manual 4 46 Initialization Mode ...
Страница 197: ...1126700 SmartPAC 2 User Manual 5 54 Program Mode ...
Страница 233: ...1126700 SmartPAC 2 User Manual 6 36 Run Mode ...
Страница 245: ...1126700 SmartPAC 2 User Manual 7 12 Fault Messages ...
Страница 271: ...1126700 SmartPAC 2 User Manual B 12 Updating SmartPAC 2 Firmware ...
Страница 309: ...1126700 SmartPAC 2 User Manual E 6 Replacing SmartPAC 2 PC Board ...
Страница 379: ......
Страница 380: ......
Страница 381: ......
Страница 382: ......
Страница 383: ......


