SYSTEM SET UP
1)
Turn on the WiFi enabled device that you want to connect
and scan for wireless networks with this device.
2)
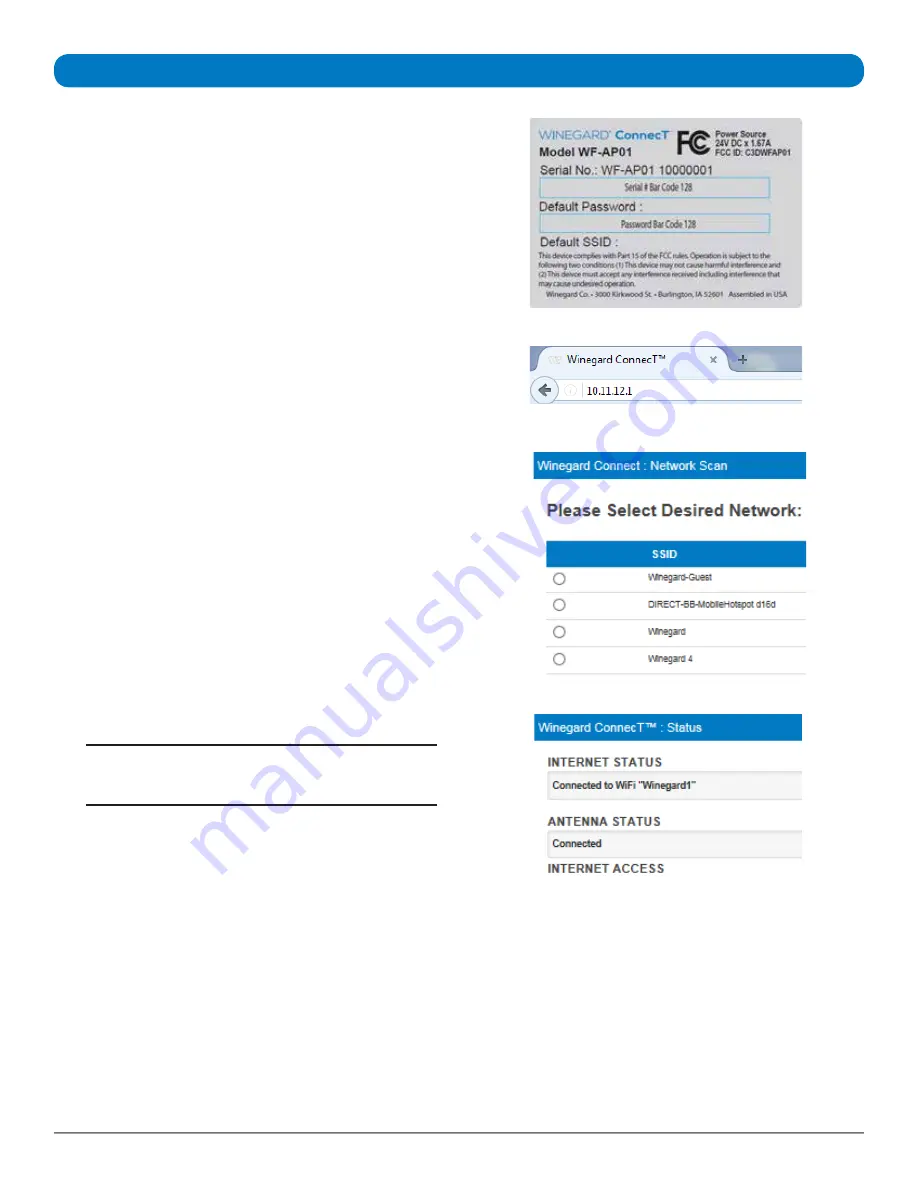
The label on the back of the indoor unit (IDU) will display
the default SSID. Select this WiFi signal and connect. Once
the default network has been selected, enter the password
found on the back of the IDU. See
Figure 1
.
3)
Once connected, open an Internet browser and type
10.11.12.1
into the address bar and press
Enter
. This will
take you to the Status Screen for the router. See
Figure 2.
Login using:
Username:
admin
Password:
admin
4)
From the Internet access menu, select
SCAN FOR
AVAILABLE WiFi
to bring up a list of all WiFi signals in
range (this could take a few minutes). Available networks
will be displayed by signal strength. Select the desired
network and click
CONTINUE
. See
Figure 3.
5)
Enter the network password, if prompted. Once the unit
connects, open a new browser page and the network will
display the page shown in
Figure 4.
When
INTERNET STATUS
shows connected to the chosen
network, (this could take as long as two minutes) the
system is ready to browse. See
Figure 4.
Figure 1
Figure 2
Figure 3
Figure 4
NOTE:
Some networks will display a “splash page”
when connecting instead of using a network password.
2452375
Rev0 8/16


