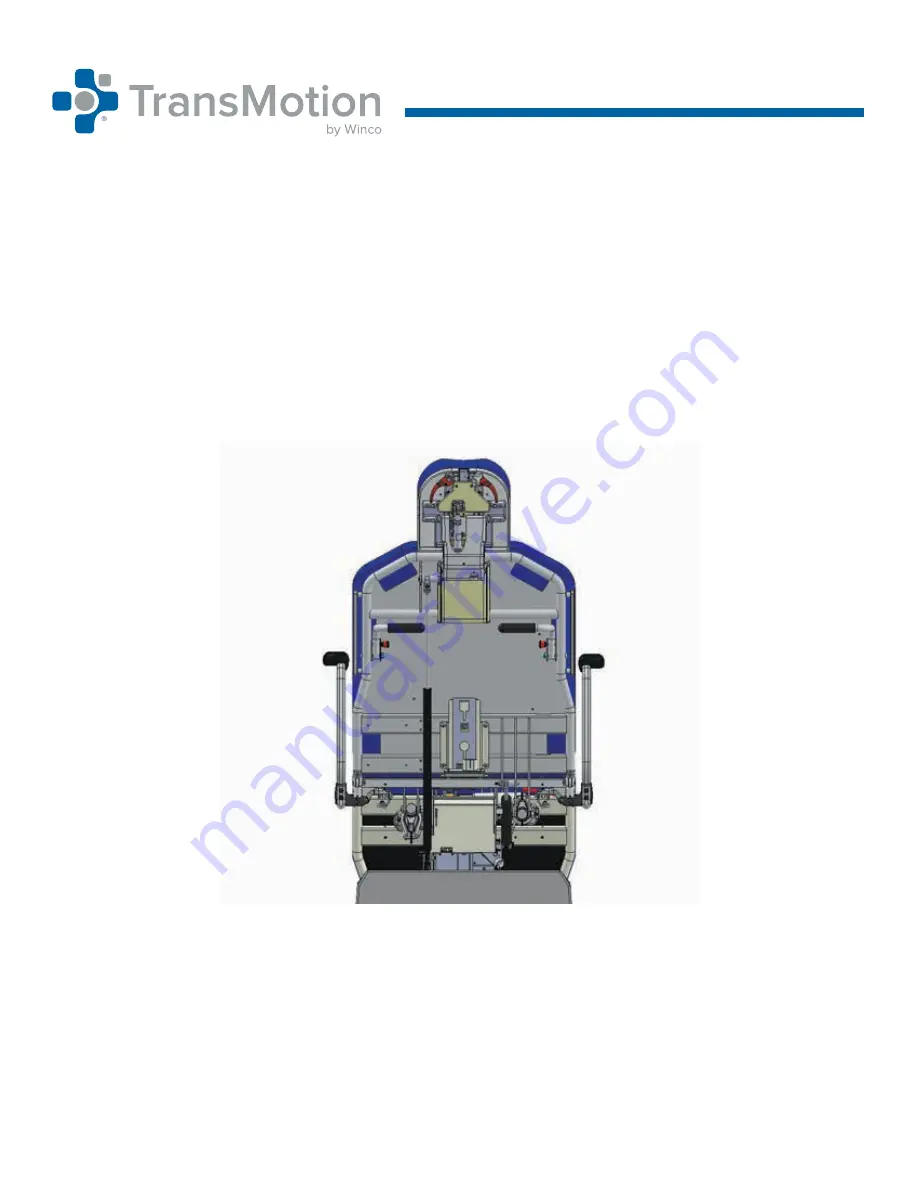
TMM PUSH HANDLE ASSEMBLY
FIELD INSTALLATION AND USAGE INSTRUCTIONS
FOR TMM4, TMM5, TMM4 PLUS, TMM5
PLUS, TMM4-X, TMM5-X, TMM4 PLUS-X,
AND TMM5 PLUS-X
IMPORTANT - DO NOT DISCARD THESE INSTRUCTIONS.
KEEP FOR FUTURE REFERENCE.
Страница 1: ...SH HANDLE ASSEMBLY FIELD INSTALLATION AND USAGE INSTRUCTIONS FOR TMM4 TMM5 TMM4 PLUS TMM5 PLUS TMM4 X TMM5 X TMM4 PLUS X AND TMM5 PLUS X IMPORTANT DO NOT DISCARD THESE INSTRUCTIONS KEEP FOR FUTURE REF...
Страница 2: ...This page has been intentionally left blank...
Страница 3: ...ABOUT THIS MANUAL 4 SPECIAL NOTES SIGNAL WORDS 4 TOOLS REQUIRED 5 PARTS INCLUDED 5 REMOVING AN OLD PUSH HANDLE ASSEMBLY 6 INSTALLING A NEW PUSH HANDLE ASSEMBLY 7 PUSH HANDLE PLUNGER KNOB INSTALLATION...
Страница 4: ...s subject to change without notice Specifications listed are nominal and may vary slightly from unit to unit due to tolerance variations or power supply variations Photographs and illustrations contai...
Страница 5: ...TMA227 15 PART NUMBER DESCRIPTION QUANTITY IMAGE TMM 374 06 TMM5 PUSH BAR ASSEMBLY LEFT 1 A TMM 373 06 TMM5 PUSH BAR ASSEMBLY RIGHT 1 B TMM 406 11 PUSH BAR GRIP 2 C TMM 489 11 ADHESIVE BACKED BUMPER 2...
Страница 6: ...OTTOM BOLT OF THE SURGICAL BAR WILL NEED TO BE REMOVED AND THE SURGICAL BAR WILL NEED TO BE MOVED OUT OF THE WAY BEFORE CONTINUING TO THE NEXT STEP THIS WILL ALLOW ACCESS TO THE BOLT CONNECTING THE PU...
Страница 7: ...1 Align the bolt with the holes of the back frame and insert through the backrest frame tube Slide one 1 thicker nylon washer closest to the outside of the chair onto the bolt followed by the push han...
Страница 8: ...n wrench and 1 2 socket wrench Fig 3 3 Slide one 1 push bar grip onto the push handle assembly Fig 4 4 If the device does not already have one installed add one 1 adhesive backed bumper to the back of...
Страница 9: ...R KNOB 1 Pull knob to release handle Swing handle down and out of way Fig 1 2 Place one 3 8 open end wrench near the knob Pull the spring loaded inner section out with your fingers Fig 2 3 Use an addi...
Страница 10: ...Either unscrew the back portion counter clockwise with your fingers or use the 2nd 3 8 open end wrench to remove the inner rod from the plunger knob Fig 2 3 Apply Locktite to the inner rod threading 4...
Страница 11: ...or chemicals that could damage the finish of your product If disinfecting with manufacturer approved chemicals or bleach the upholstery MUST be wiped off using clean water on a damp cloth and allowed...
Страница 12: ...of our associates please feel free to contact us at 800 237 3377 WincoMfg com 5516 SW 1st Lane Ocala FL 34474 Info WincoMfg com Copyright 2020 Winco Mfg LLC TMM Push Handle Assembly Field Installation...