English
6
Subject to technical alterations!
WILO AG 11/2007
7.1 Installation
• The pump must be installed in a frost-free/dust-free and well-ventilated
environment and protected from harsh weather conditions.
• Install the pump in an accessible area with suction and discharge isolation shut
off valves to allow repair and/or removal of the pump. To prevent reverse flow it
may be necessary to install a spring loaded check valve on the suction side of
the pump. The pump is to be installed on the domestic hot water return line
between the water heater and the last fixture in the domestic water system,
pumping towards the water heater.
• The pump must be installed free of stresses from the piping system with the
pump shaft in a horizontal position.
• The directional arrow on the pump housing shows the direction of flow.
CAUTION! Risk of damage to the pump!
Dirt can cause pump failure.
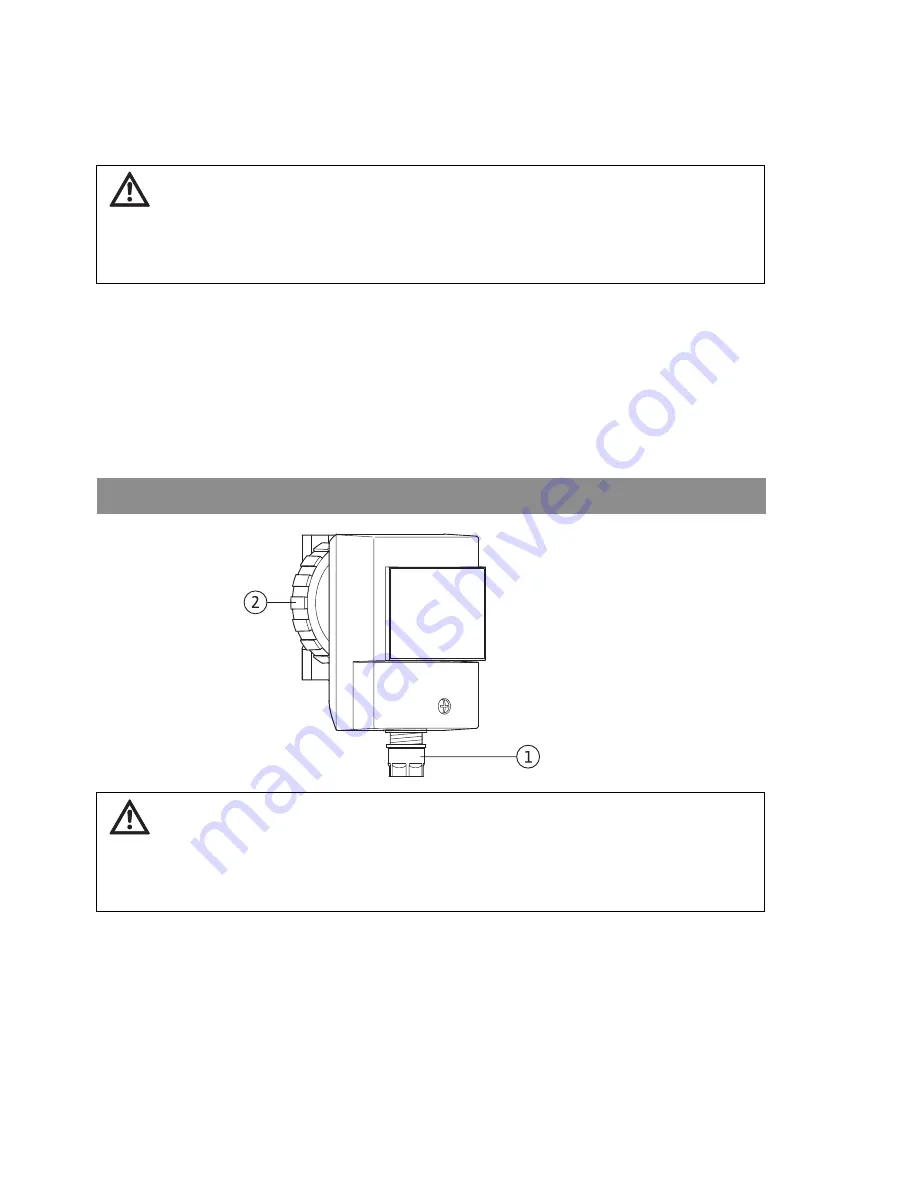
Remove the pump head via the pump union nut (Fig. 1, Item 2) prior to
soldering. Reinstall after soldering the pump body into the piping system has
been completed.
Fig. 1
CAUTION! Risk of damage to the pump!
The screwed cable gland (Fig. 1, Item 1) must face downwards, otherwise
water can penetrate the motor housing. If necessary, rotate the motor
housing after releasing the union nut (Fig. 1, Item 2).
Take care not to damage the housing gasket.
Содержание Star-Z 15 BN5
Страница 2: ......
Страница 27: ...Instructions de montage et de mise en service Wilo Star Z 15 25 Français ...


