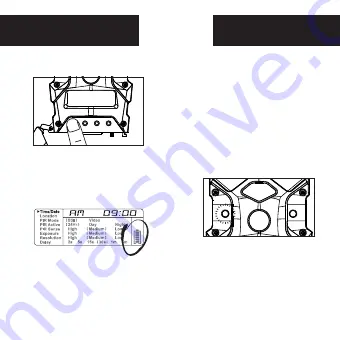
Power On
Test Mode
page 5
1.
To turn the unit ON press and re-
lease the power button.
2.
Check the battery level icon
to ensure the batteries just
installed contain the proper
charge level. If so, you are ok to
proceed with camera use.
NOTE: LCD cycle through camera in-
formation. PIR picture number >
Remaining pictures > Time .
1.
LCD Ready Mode: The camera will
automatically enter Ready Mode if a
button is not pressed for greater than
30 seconds.
2.
LED Status Light: During the first
30 seconds of the LCD Ready Mode,
the red light will illuminate when a
PIR event is triggered. After the LCD
turns off, the red light will blink 2-3
seconds when photo is taken. After
2 minutes, all indicator lights will
turn off until a button is pressed.
Time/Date
Location
PIR Mode
PIR Active
PIR Sense
Picture
Resolution
Delay
Still
24Hr
High
Regular
High
5s
15s
30s
1m
5m
10m
Video
Day
Medium
Wide
Medium
Night
Low
Low


