background image


T r a y D o c k   E x t r e m e   U s e r ’ s   M a n u a l


  - 1 -       


TrayDock Extreme™ 

USER’S MANUAL 

Revised October 3, 2006 


Features  


  Dual FireWire 800 host interface ports 

  FireWire 400 host interface port 

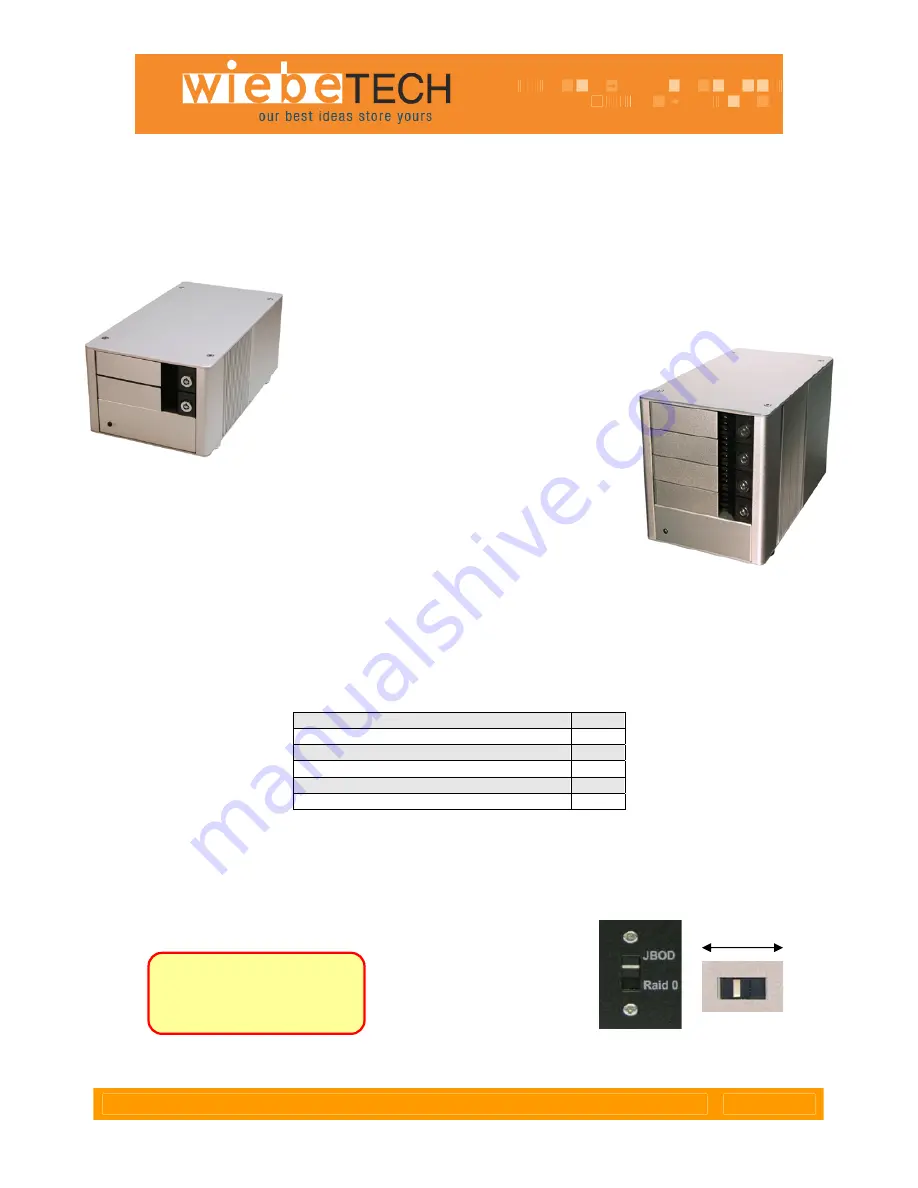
  Available with 2 or 4 drive bays 

  Hardware RAID for high performance 

and simple, plug-and-play configuration 

  May be configured as RAID 0 or JBOD 

via switch 

  Drives are easily removable / 

replaceable via the front panel 

  Footprint is very small relative to storage volume 

  Ideal for audio / video editing 

  LED displays power status 


Anodized silver aluminum case.  It’s beautiful and durable.


Installation Instructions 


1.

  Check the accessories with your TrayDock.  

Please contact WiebeTech if any items are missing 

or damaged.  The box should contain: 


TrayDock containing 2 or 4 trays  

Power cable 

FireWire 400 cable 

FireWire 800 cable 

Packet of drive screws and keys 

1 or 2 

CD with Manual and Warranty information 


2.

  Select your RAID configuration.

  A switch on the back of the unit activates or deactivates the 

hardware RAID 0.  When set to JBOD, your TrayDock will allow you to access each hard drive as a 
separate volume.  When set to RAID 0, the TrayDock will set the drives in a “striped” RAID.  This will split 
your data between the drives, offering faster performance and high capacity with a single volume.  After 
switching you must reformat your drives.   

RAID 0 

JBOD 


Warning:


Back up data 

before switching RAID types.  

You must reformat your 

drives afterwards.


Four-bay 

Unit 


Two-bay Unit 


Содержание TDKEX2

Страница 1: ...Please contact WiebeTech if any items are missing or damaged The box should contain TrayDock containing 2 or 4 trays 1 Power cable 1 FireWire 400 cable 1 FireWire 800 cable 1 Packet of drive screws and keys 1 or 2 CD with Manual and Warranty information 1 2 Select your RAID configuration A switch on the back of the unit activates or deactivates the hardware RAID 0 When set to JBOD your TrayDock wi...

Страница 2: ...lat Secure the drive with the included screws by driving them through the bottom of the tray Slide the tray into the TrayDock then if desired lock it in place with the enclosed key Installing IDE drives Secure drive with screws Insert trays and lock in place 5 Plug in the FireWire cable One end connects to the back of the unit Insert the other end into an available FireWire port on the host comput...

Страница 3: ...Disk A window will list the available volumes Select the volume from which you wish to boot Another method is to hold down the Option key during boot up A screen should appear that allows you to select the volume you wish to use This is useful if you wish to boot from your TrayDock only some of the time Usage with Windows computers Compatibility The TrayDock is fully plug and play with Windows 200...

Страница 4: ...ar limited warranty See warranty statement for details and limitations WiebeTech offers free phone support for 90 days after purchase 1 866 744 8722 For support by email contact support wiebetech com TrayDock Extreme is a trademark of WiebeTech LLC Other marks are the property of their respective owners 2005 2006 WiebeTech LLC All rights reserved FCC Compliance Statement This device complies with ...

Отзывы: