background image

WiebeTech 


Forensic RTX411-QJ User Manual (A9-411-0001 REV 1.0)


  - 4 -         


2. Using Forensic RTX411-QJ 


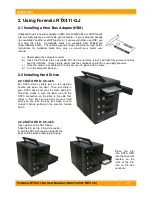
2.1 Installing a Host Bus Adapter (HBA) 

 
(Optional) Install a host bus adapter (HBA) with FireWire 800 or eSATA ports 
into an empty expansion slot inside your computer.  If your computer already 
has available FireWire or eSATA ports, or if you would rather use USB, you 
can  skip  this  step.    Compatible  cards  are  available  from  WiebeTech 
(www.wiebetech.com).  The following general steps will work for most cards.  
Instructions  for  individual  cards  may  vary,  so  consult  your  card’s  user 
manual.   
 

a)  Power down the computer system.   
b)  Insert the PCI card into an available PCI slot. Do not force it, but it will take firm pressure to fully 

seat the interface.  It may help to gently rock the card back and forth as you apply pressure.  

c)  Once the card is fully seated in the slot, secure it in place with a screw.  
d)  Turn the computer back on.   


2.2 Installing Hard Drives 


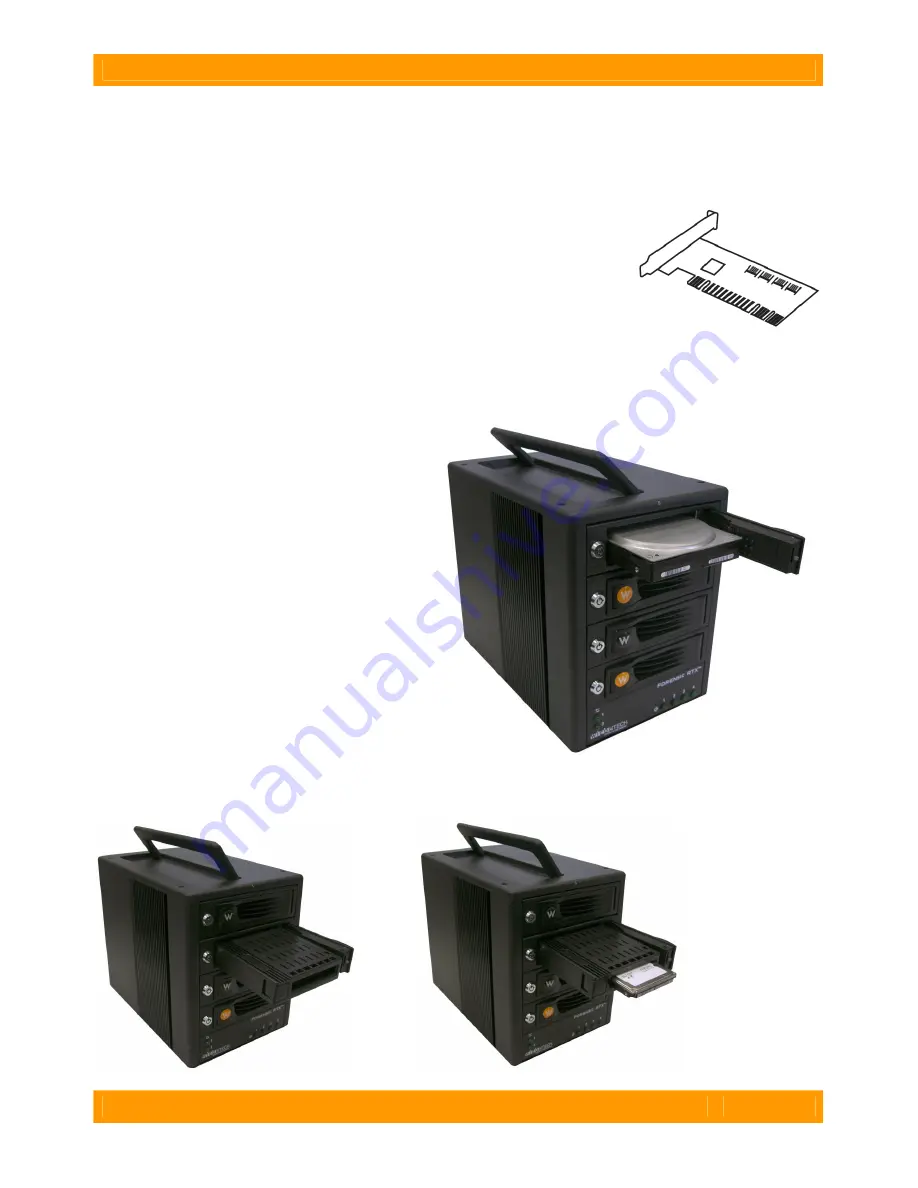
2.2.1 SATA HDD: 3.5-inch 

For  SATA  drives  simply  pull  on  the  ejection 
handle  and  open  the  door.  Then  just  slide  in 
your  SATA  drive  and  shut  the  door  behind  it. 
The  drive  slides  in  with  the  label  up  and  the 
SATA  connection  on  the  drive  is  the  side  that 
slides  in  first.  For  extra  security  for  your  hard 
drive  you  can  lock  the  bay,  but  make  sure  to 
unlock  it  before  pulling  on  the  ejection  handle 
again.  


2.2.2 SATA HDD: 2.5-inch 

Open up one of the SATA bays.   
Slide the 3.5-inch to 2.5-inch converter  
in with the SATA connection towards the  
back and the black grilled top facing up.  


Place  the  2.5-
inch  SATA  HDD 
into the drive slot 
located  on  the 
front  of  the  3.5-
inch  to  2.5-inch 
converter. 


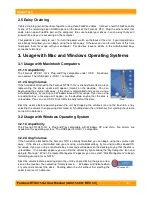
Содержание Forensic RTX411-QJ

Страница 1: ...Simply slide in a SATA drive and shut the door Each SATA bay offers a lock for additional security and shock protection for longer drive life All metal bays Copy data from on write blocked drive to a...

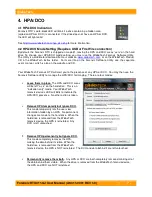
Страница 2: ...e Updates 8 6 Frequently Asked Questions 8 7 Technical Specifications 9 Forensic Device User Advisory We recommend that you perform a final check on this product Prior to first use please verify that...

Страница 3: ...unit 1 2 5 inch SATA HDD holster 1 eSATA to eSATA cable 4 FireWire 800 to 800 cable 4 FireWire 800 to 400 cable 4 USB cable 4 Power cord 1 Packet of keys 1 Manual and Warranty Information on CD Close...

Страница 4: ...seat the interface It may help to gently rock the card back and forth as you apply pressure c Once the card is fully seated in the slot secure it in place with a screw d Turn the computer back on 2 2...

Страница 5: ...tly just be cautious and hold the converter horizontal when ejecting a 2 5 inch drive 2 3 Forensic RTX411 QJ Host Connections Connect the eSATA FireWire or USB cable from the computer into the port on...

Страница 6: ...try moving to a Windows based OS for usage If you are using a read write bay a message will appear on the desktop saying that the disk is unreadable You can use OS X s Disk Utility to easily format t...

Страница 7: ...o the presence of any HPA or DCO You may then use the Forensic Software Utility to manage the HPA DCO for imaging There are four modes Leave them in place The HPA and DCO areas will be left as is on t...

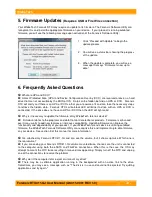
Страница 8: ...PA or DCO then the LED will light solid Q Why is it necessary to update the firmware of my WiebeTech forensic device A Firmware relates to the programs and data that control electronic products Firmwa...

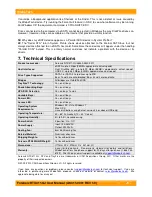
Страница 9: ...e write blocked Bays 2 and 4 are read write Bridges All bridges are Oxford 934DSB TrayFree Technology Yes on all bays Shock Absorbing Bays Yes on all bays HPA DCO Detection Yes on bays 1 and 3 Lockabl...

Отзывы: