1218AFLSOa; 1218AFDAOa Prairie City Multi-Media Chest
Assembly Instructions
1218AFLSOa_1218AFDAOa
— Page 5 — 03/14
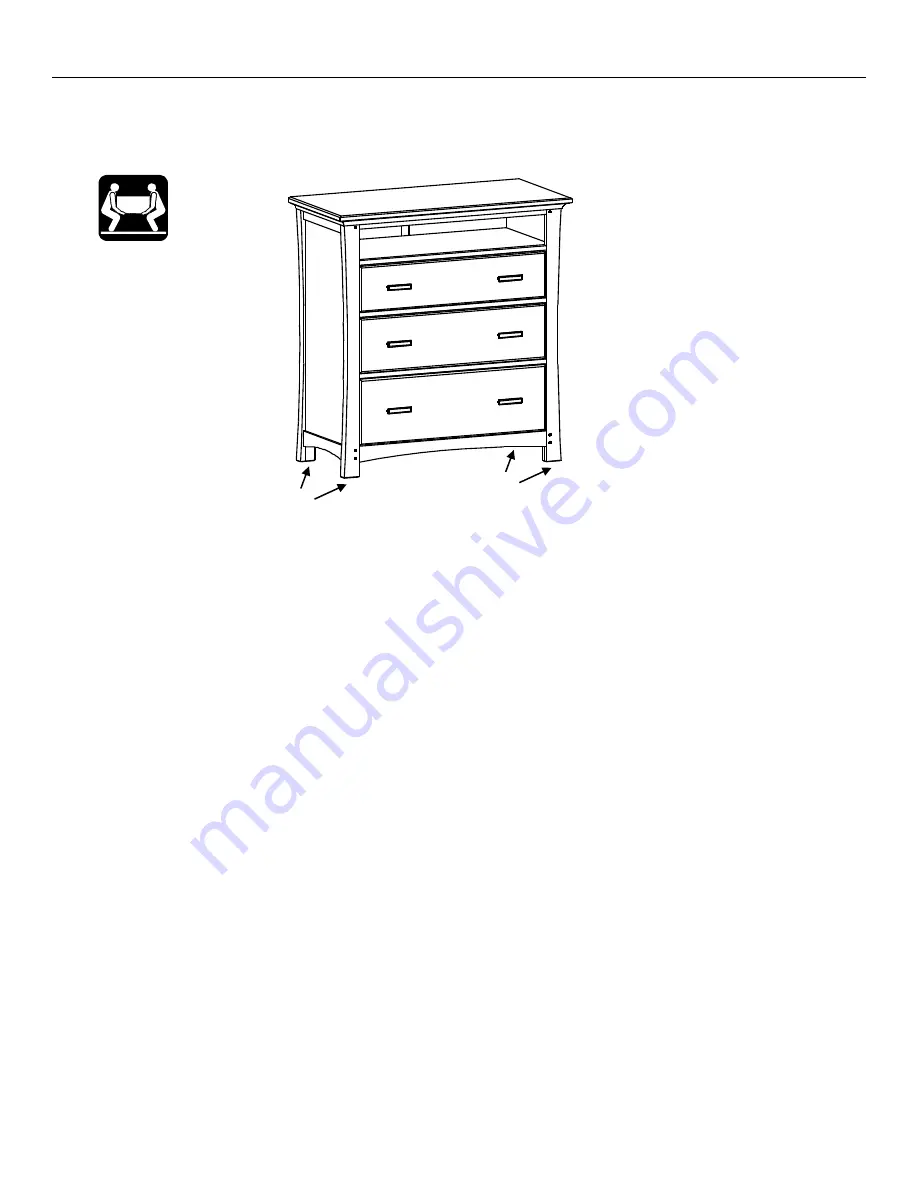
3.
Place the chest at its final destination. Rotate the Adjustable Glides (ZA) on the bottoms of the
legs until the unit is level. See Figure 3.
Continued on Page 6
Fig. 3
ZA
ZA