Hb
Ea
BC
D
A
O
Fb
Wb
66
17
(3 inséré)
10
(4 inséré)
158Wb
PG 2 — 158Wb FR_11/09
Figure 3.
Figure 3a.
Fig. 2 − Glue all dowels = Collez toutes les chevilles.
Fig. 3 et 3a − Right side assembly shown =
Страница 1: ...niture for any loose glue joints screws or any other problem that might affect the stability of your furniture Tighten or repair as needed IMPORTANT NOTES Service Policy We will replace any part that...
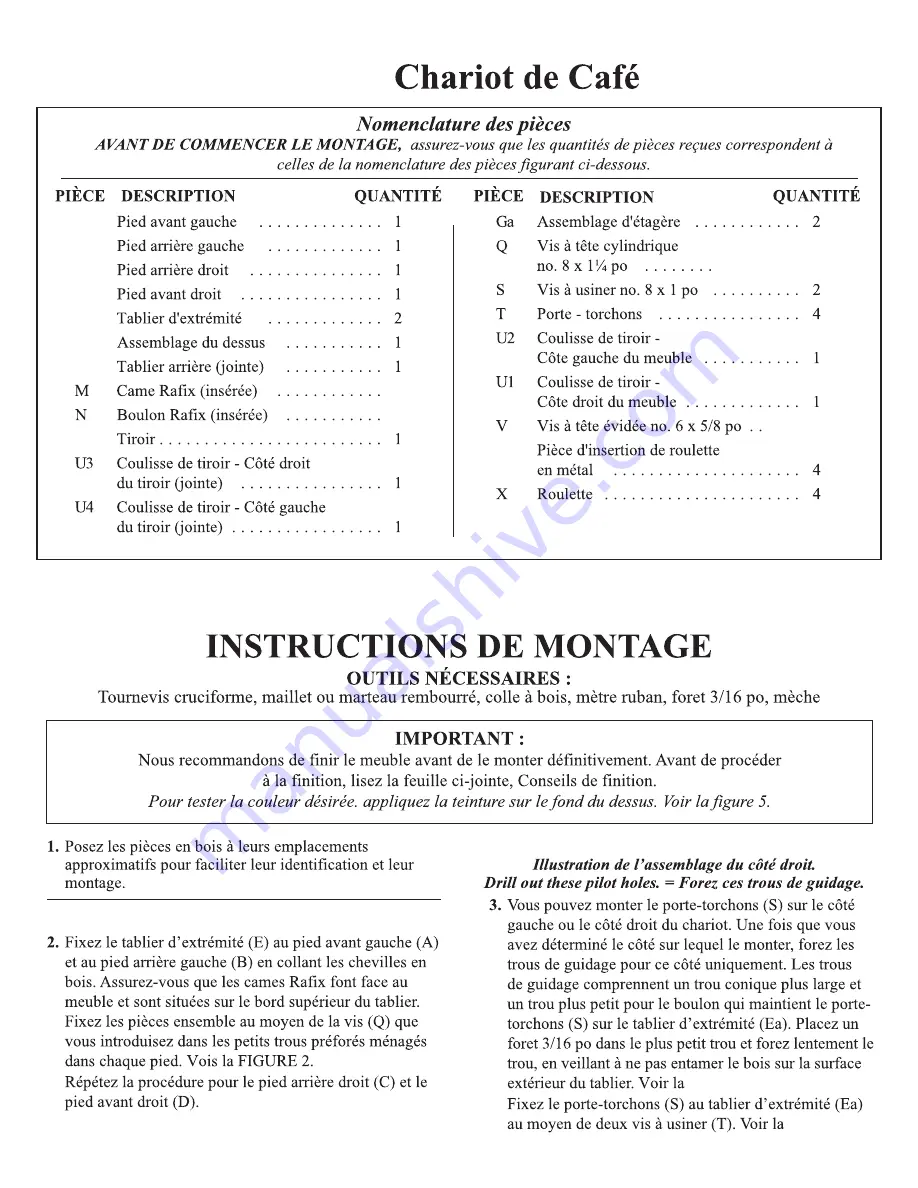
Страница 2: ...rted N Rafix Bolt Qty 6 inserted T 8x1 Machine Screw Qty 4 V 6x5 8 Undercut Screw Qty 10 4 inserted S Towel Bar Qty 2 Wb Black Locking Caster Qty 4 X Metal Caster Insert Qty 4 Q 8x1 Pan Head Screw Qty...
Страница 3: ...Finishing Hints To test for the desired color apply stain to the bottom of the Top Assembly Hb See Figure 5 Tools Required Phillips Screwdriver Rubber Mallet or Padded Hammer Wood Glue Tape Measure 3...
Страница 4: ...ack Leg C and the Right Front Leg D 3 The Towel Bar S can be mounted to either the left or right side of the cart Once you have decided which side to mount it on drill out the pilot holes for that sid...
Страница 5: ...he Right Side Assembly See Figure 4b 5 Place the Top Assembly Hb face down on a clean protected surface Spread a thin layer of glue into the two dowel holes the the leg Attach the Left Side Assembly t...
Страница 6: ...th four 8x1 Pan Head Screws Q See Figure 6 Fig 6 7 Spread a thin layer of glue in the dowel holes in the legs of the right side assembly Attach to the Top Assembly Hb by sliding the Rafix Cams M in th...
Страница 7: ...a rubber mallet tap the Casters Wb into the inserts on each leg See Figures 8 and 8a Fig 8 9 Attach the Towel Bar S to the drawer front with two 8x1 Machine Screws T Fig 9 10 To install the drawer O...
Страница 8: ...estabilidad del mismo Apriete los tornillos o repare las piezas seg n corresponda NOTAS IMPORTANTES Normas para obtener servicio Reemplazaremos las piezas que tengan defectos falen o se da en durante...
Страница 9: ...Hb Wb Fb 6 17 3 insertado 158Wb 6 PG 2 158Wb SP_11 09 Fig 3 3a Right Side Assembly shown a Fig 2 Glue all dowels Encolar todos los taquetes 10 4 insertado...
Страница 10: ...Fig 4 Fig 4b Fig 5 a b Vea los Figuras 8 et 8a Wb falda posterior y en la pata Vea la Figura 5 y del conuunto de estante Ga Vea la Figura 7 Fig 7 Glue All Dowels Encolar todos los taquetes Fig 6 Glue...
Страница 11: ...remarquez tout autre probl me risquant d affecter la stabilit du meuble Resserrez ou r parez au besoin REMARQUES IMPORTANTE Politiue de service Nous remplacerons toutes les pi ces d fectueuses manquan...
Страница 12: ...Hb Ea B C D A O Fb Wb 6 6 17 3 ins r 10 4 ins r 158Wb PG 2 158Wb FR_11 09 Figure 3 Figure 3a Fig 2 Glue all dowels Collez toutes les chevilles Fig 3 et 3a Right side assembly shown...
Страница 13: ...Fig 4b Figure 4 Voir la Figure 4a Voir la Figure 4b le pied Voir la Figure 5 Fig 6 Glue all dowels Collez toutes les chevilles Fig 7 Glue all dowels Collez toutes les chevilles des supports d tag res...
Страница 14: ...ers and stools we recommend assembling these items prior to finishing 5 If you do choose to finish chairs rockers or stools prior to assembly it isimperative that you protect the ends of dowels and sp...
Страница 15: ...It may be necessary to add a second coat of stain to lighter woods to match the darker woods in your kit 3 Apply stain with a poly brush or lint free cloth Apply stain over a small area and wipe off e...
Страница 16: ...l l i r b e u q i l p A a n u a d n u g e s a p a c a r a p n u o d a b a c a o j e r a p e j i L e t n e m e v e l e r t n e s a p a c n o c l e p a p a j i l 0 2 3 a r a p e u q e e s e d n g e s a...
Страница 17: ...t n a c i r b a f t e z e v i u s s e t u o t s e l c u r t s n i s n o i t 4 s u o v z e r u s s A e u q s e l s u o r t t n o s s t p m e x e e d e r i s s u o p n i f a e u q a l e l l o c e s s i...
Страница 18: ...ush with the surface of the wood 2 Tap a Rafix Cam into the appropriate hole with the notch facing the edge of the piece The flat edge of the cam must be parallel with the front edge of the piece 3 Pl...
Страница 19: ...a x en el panel de manera que el reborde quede al ras con la super cie de la madera El reborde debe estar al ras con la madera 4 Apriete la Leva aproximadamente media vuelta con un destornillador Phil...
Страница 20: ...e boulon Ra x dans le panneau de mani re ce que le panneau soit ras de la surface du bois L paulement doit tre ras du bois 4 Serrez la came en lui imprimant environ un demi tour au moyen d un tournevi...