background image

Содержание ACC602XP0

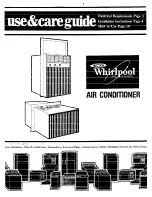
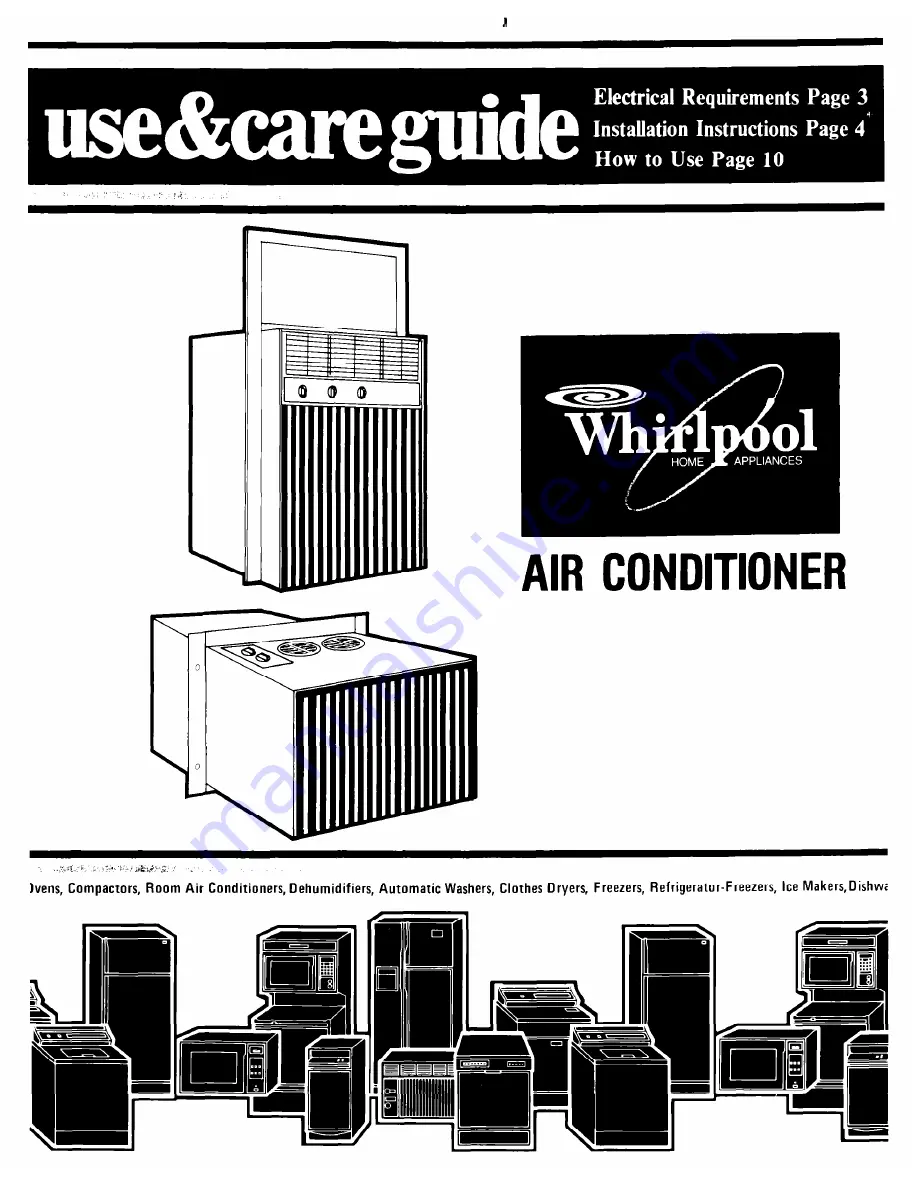
Страница 1: ... q i I z xi l J r _ lvens Compactors Room Air Conditioners Dehumidifiers Automatic Washers Clothes Dryers Freezers Refrigerator Freezers Ice Makers Dishw ...

Страница 2: ... buy guide Use damp cloth to take off any glue residue Do not use a sharp instrument or any harsh or abrasive cleaners Energy SavingTips l Improve home insulation seal doors windows and close fireplace flue l Close blinds or drapes on sunny side of house add window awnings l Keep air filter clean Don t block air flow with drapes or furniture l Ventilate attic high temperature levels add to normal ...

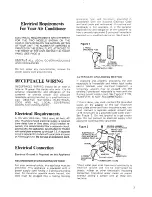
Страница 3: ... supply cord having a 3 prong grounding plug To minimize possible shock hazard the cord must be plugged into a mating 3 prong grounding type wall receptacle grounded in accordance with the National Electrical Code and local codes and ordinances If a mating wall receptacle is not available it is the personal responsibility and obligation of the customer to have a properly grounded 3 prong wall rece...

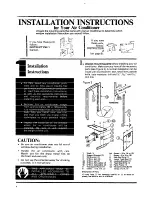
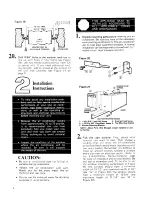
Страница 4: ... 9 and 3 16 drill bits CAUTION l Be sure air conditioner does not fall out of window during installation l Handle the air conditioner with care Watch out for the sharp metal fins on the front and rear coils l Do not use the collected water for drinking purposes It is not sanitary 1 Shelf 1 6A screw 10 x 1 in 2 i Support Bracket 1 7 Screw 9 x in 51 Sill Bracket 1 Side Seal Strip 1 4 5 16 in bolt 2 ...

Страница 5: ... model may also be installed in steel hinged casement windows The steel hinged case ment window must have an opening at 15 l 2 wide and no more than 16 l 2 wide Figure 4 3l Place shelf in window with tabs against the track surface see Figure 5 4l Install support bracket Item 2 with either short or long leg down and with end of bracket either toward or away from window depend ing upon construction ...

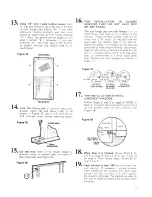
Страница 6: ...rface close to mark and cut with fine tooth saw see Figure 10 Remove burrs CUT OFF EXCESS LENGTH BELOW UNIT 12 Place unit in window by resting unit on shelf Push unit towards window so side angles are sealing against the side jamb stop see Figure 13 Slide the opened window sash firmly to side of unit Push unit and filler frame to make certain the frame and unit sealing strips are sealing Figure 13...

Страница 7: ...ow These window flanges must not be more than 1 16 thick On the side with the open sash the leading edge of the sash be comes the flange The flange is on the top and jamb side of most metal windows Use a metal angle or add wood to provide a flange for the unit in windows where there is no side jamb stop or where there is a thick wood jamb stop Follow the three suggestions shown in Figure 17 Figure...

Страница 8: ...casement windows A normal installation can be made with a screwdriver 5 16 socket driver tape measure and drill Figure 20 Figure 21 KNURLED KNOB SCREWS 1 x10x 3f8 Long SM Screw 4 Knurled Knob Screw 2 Y lo 32 x 3 E Long Mach Screw 5 Top Mounting Bracket 3 Bottom fvlounting Bracket NOTE Abova Parts Not Shipped Loose installed on unit by factory 2 Pick the right window First decide what room s you wa...

Страница 9: ... about l 16 of play Tighten the bottom screws Item 2 This will pull the unit mounting flange tightly to the window frame sealing and locking the air conditioner in place WIN IOW FRAA IE 8 Loosen the two knurled knob screws and slide the top mounting bracket Item 5 toward the outside of the unit engaging the window frame see Figure 26 Tighten the knurled knob screw in this position This will lock t...

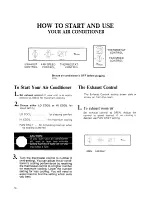
Страница 10: ...LO COOL or HI COOL fan speed setting 1 To exhaust room air LO COOL for sleeping comfort Set exhaust control to OPEN Adjust fan control to speed desired If no cooling is desired use FAN ONLY setting HI COOL for maximum cooling FAN ONLY for circulating room air when no cooling is desired 3l OPEN FAN ONLY Turn the thermostat control to number 6 mid setting You can adjust the air condi tioner s coolin...

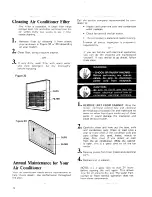
Страница 11: ...odel 2l When the front moves away from top of cabinet pull top of front toward you 3l Lift up and away from the bottom spring clips 1l If your unit looks like Figure 28 move the lever at top of the grille to the right left or straight ahead Simply move the lever in the direction you want the air to go The rear vertical louvers in the grille can be adjusted left or right or straight ahead The front...

Страница 12: ... l Check fan and oil the fan motor l The compressor is sealed and needs no oiling Expense of annua inspection is customer s responsibility or If you are familiar with electrical appliances you can do the cleaning and maintenance yourself Ifs you decide to go ahead follow these steps CLIPS FILTER Annual Maintenancefor Your Air Conditioner Your air conditioner needs annual maintenance to help insure...

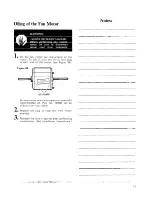
Страница 13: ...lug at each end of the motor see Figure 34 OIL PLUGS An easy to use one ounce capsule of especially recommended oil Part No 10943 can be ordered from your dealer 2 Replace the plug to keep dirt from motor bearings 3l Reinstall the unit in cabinet after performing maintenance See Installation Instructions Notes ...

Страница 14: ...r more westerly exposure 4 From thls point read down to bottom of chart to determine required Bluihr output Write the Btuihr figure In the space lndlcated below 5 Btuihr from number 4 above 6 Locale your qeographlc area on lnsel map and multiply factor showhbytlgure In number 5 7 If room air condltloner IS Intended orlmarllv for moht time cooling subtracl 30 from hg re In nimber 67 6 Subtract 30 B...

Страница 15: ...iance or if ser vice is necessary recommend a qualified service company in your area 3 If you needservice 11 Whirlpool has a nation wide net work of fran chaised TECH CARE service Companies TECH CARE service technicians are trained to fulfill the product warranty and provide after warranty service anywhere in the United States To locate TECH CARE service in your area call our COOL LINE service ass...

Страница 16: ...No 203873 950491 Rev A 0 1985 Whirlpool Corporation Printed in U S A ifiers Automatic Washers Clothes Dryers Freezers Refrigerator Freezers Ice Makers Dishwashers Built In Ovens and Surface Units Ranges Micr ...

Отзывы: