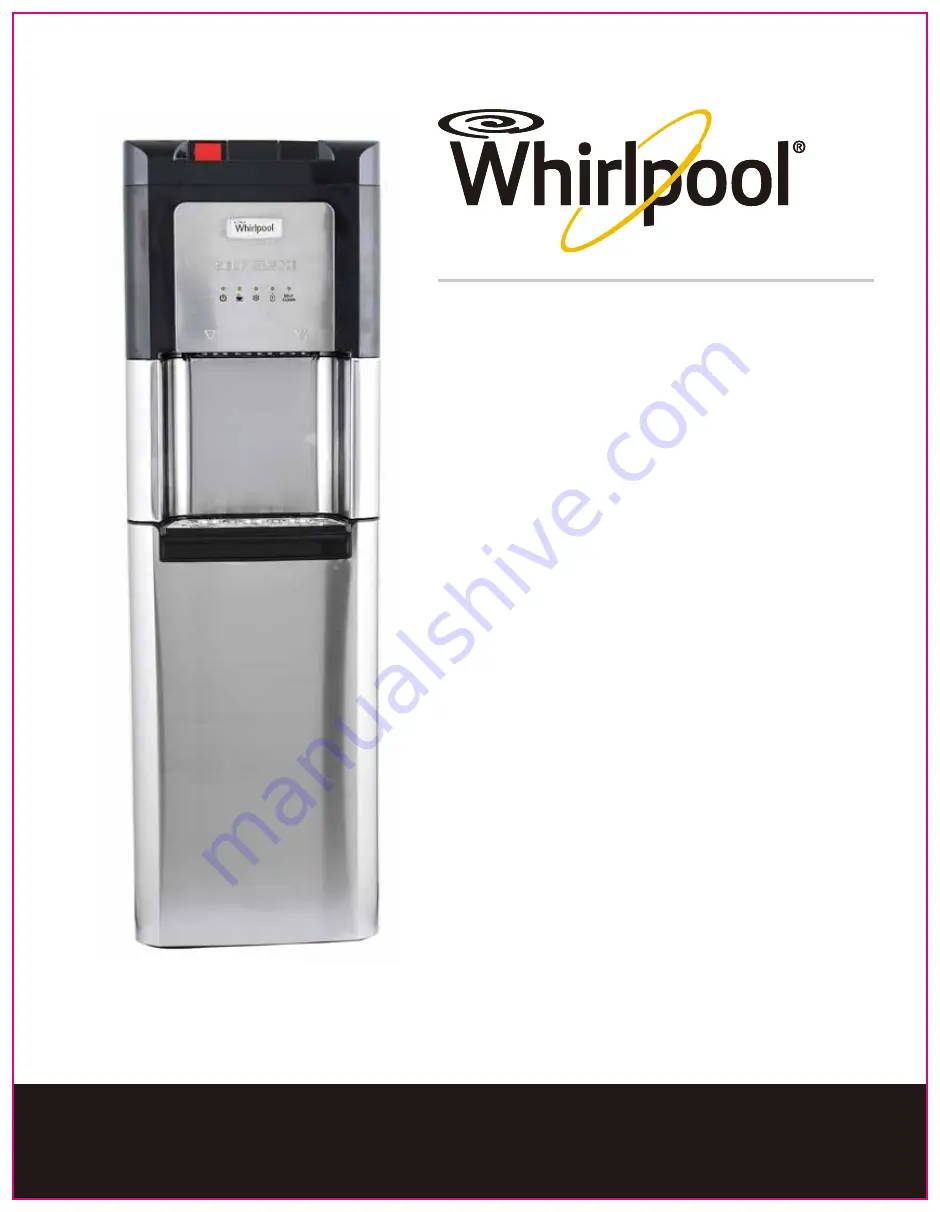
Self Cleaning
Hot & Cold Hidden
Bottle Water Cooler
Model No.: 8LIECH-SCSSFP5W
SAVE THIS MANUAL FOR
FUTURE USE
USER MANUAL
8LIECH-SCSSFP5W © 2014 Electrotemp Technologies Inc. PN: 5M009983XW00
For service call: 1-844-494-4757
Страница 1: ...eaning Hot Cold Hidden Bottle Water Cooler Model No 8LIECH SCSSFP5W SAVE THIS MANUAL FOR FUTURE USE USER MANUAL 8LIECH SCSSFP5W 2014 Electrotemp Technologies Inc PN 5M009983XW00 For service call 1 844 494 4757 ...
Страница 2: ...oid if used with any other liquids such as coffee tea juices beer or wine Location Requirements Install in an area that is sheltered from harsh weather conditions including direct sunlight Install and use only on a hard flat and level surface Do NOT place the dispenser inside an enclosed space or cabinet Position the dispenser no closer than 4 inches from the wall with at least 4 inches clear ance...
Страница 3: ...s You have chosen an Advanced Technology State of the Art Water Cooler To provide consistently cold water this water cooler forms an Ice Bank in the cold tank Formation of the initial Ice Bank can take up to 6 hours WHEN THE UNIT IS PLUGGED IN FOR THE FIRST TIME IT CAN TAKE UP TO 6 HOURS BEFORE THE ICE BANK FORMS AND THE UNIT CAN PROVIDE THE COLDEST WATER Electrical shock Hazard Plug into a ground...
Страница 4: ... purchase date Staple your receipt to the manual You will need this information to obtain warranty service Safety Precautions Safety Precautions Electrical Requirements Product Features Key Information for Future Use Specifications Parts Features Unpacking and Assembly Installation Cleaning Prior to Initial Use Operation Proper Care Cleaning Troubleshooting Limited Warranty 2 3 3 4 5 5 6 6 7 8 11 ...
Страница 5: ... 6 W x 15 D inch 36 2 Ibs 16 4 Kg Control Hot Water Hot Water Release Control Cold Water Hidden Faucet or tap hot water Hidden Faucet or tap cold water LED Night Lights Drip Tray Door Bottle Tray Hot Power Switch Energy Saving Cold Power Switch Energy Saving Carry Handle Drain Plug Bottle Probe Sensor Switch Water pump Power Cord Condenser Front Back 1 2 17 5 16 15 14 12 13 18 4 6 7 8 9 3 10 11 SE...
Страница 6: ...de 2 Open bottom flaps of the cardboard box 3 Stand cooler up with flaps unfolded 4 Pull box straight up 5 Unpack the drip tray and insert it into the dispenser 6 Keep original packing for the duration of warranty TO OPEN TOP TOP TOP TOP Excessive Weight Hazard Use two or more people to move and install bottles Failure to do so can result in back or other injury WARNING Excessive Weight Hazard Use...
Страница 7: ... water 10 Place a 2 gallon or larger bucket under the drain plug in the rear of the dispenser 11 Once the unit has been drained replace the drain plug and drain the cap 12 Remove remaining water from the reservoirs by dispensing it from the cold tap into a pitcher Pre Rinsing the Water System 13 Fill bottle with 2 gallons of tap water 14 Insert probe assembly place bottle into water cooler and clo...
Страница 8: ...ension Insert the probe into the bottle and push it down The probe will self adjust to its appropriate length See illustration on right iv Push down the probe head until it is seated v Plug power cord into the wall outlet Note At initial start up it will take about 3 minutes for the reservoirs to fill with water IMPORTANT Electrical shock Hazard Plug into a grounded 3 prong outlet Do not remove gr...
Страница 9: ...er If you do not want hot water leave this switched OFF The blue switch controls the cold water If you do not want cold water leave this switched OFF Note For the unit to operate properly the probe head must seal on the bottle and the door must be fully closed It will take up to 3 minutes for the reservoirs to fill with water During this time the pump will run on and off This is normal Each time y...
Страница 10: ...ng to fill with water securely below the hot water tap The left triangle below the hot water control indicates the location of the hot water tap See the Parts Features section 4 The circular shapes in the drip plate help align the flow of water To avoid splashes hold the cup as close to the tap as possible 2 Push the hot water release button red inward and press the control downward to start dispe...
Страница 11: ... Wipe dust from back of dispenser to improve efficiency 3 Remove drip tray assembly by sliding it forward Remove cover Place tray and cover in dishwasher or wipe parts clean with a soft cloth and warm soapy water 4 Reattach drip tray assembly Your Bottom Loading cooler has the following noise emitting functions Self Cleaning pump noise 1 When a cooler without a display is plugged in the air pump f...
Страница 12: ...Remove water bottle and probe from water bottle 5 Place a 2 gallon or larger bucket under the drain plug in the rear of the dispenser 6 Use a screw driver to remove screw holding drain tap and remove drain plug Cold water will immediately flow into the bucket After several seconds hot water will dispense 7 Reminder place the drain cap and plug in a safe location so that they will not be lost 8 Onc...
Страница 13: ...ervoir by dispensing from the cold tap into a pitcher Step D Rinse Reservoirs 1 Dispose of the water and bleach mixture and rinse the bottle with tap water 2 Fill the bottle with tap water and insert the probe into the bottle 3 Push the probe down until it is seated 4 Slide the bottle into the cabinet and close the door 5 Plug the power cord into a grounded wall outlet Electrical shock Hazard Plug...
Страница 14: ...wer is being supplied to the unit HEATER INDICATOR When the LED light is flashing it indicates that the heating system is working When the LED light is constantly lit it indicates that the hot water is ready When the LED light is off it shows that the heating system is off COOLING INDICATOR When the LED light is flashing it indicates that the cooling system is working When the LED light is is cons...
Страница 15: ...h Refer to step 2 in Cleaning Prior to Initial Use section Make sure that you fully press the water controls Make sure that the probe connection with the water bottle forms a complete seal Make sure that the door is closed Water dispensed is not cold It takes up to 6 hours after setup to dispense coldest water Compressor works to build up ice bank this is normal Make sure that the back of the disp...
Страница 16: ...inless steel This treatment removes and prevents finger prints from marring surface Please rub in small amount of mineral oil Unscented Baby oil wipe clean it will enrich the looks If your pump is not pumping water into cooler Please check if tubing is properly inserted into quick connector at the top of the probe head See images below and on page 18 for more information 2 1 3 4 Quick connectors h...
Страница 17: ...1 Remove U shaped lock 2 Press collet and pull tubing out 5 Reinstall U shaped lock How to Connect disconnect the quick connector and tubes 3 If the end of the tubes have burrs they can be removed by using a pencil sharpener as shown below Do not create a large taper on the end of the tube because it can cause a leak 4 Push tubing in until fully seated ...
Страница 18: ...tine maintenance on the dispenser as set out in the User s Manual In addition the Limited Warranty does not cover damages to the finish such as scratches dents discoloration or rust after purchase The Limited Warranty is in lieu of all other express warranties Vendor disclaims all warranties for products that are purchased from seller other than authorized retailers or distributors AFTER THE PERIO...
Страница 19: ... TM 2014 Whirlpool All rights reserved Manufactured under license by Electrotemp Technologies Inc Mississauga ON Limited Warranty provided by manufacturer ...
Страница 20: ...r printing 3 Meets ROHS requirements 4 Sample must be confirmed before mass production Do not revise drawing without authorization File Name Manual 8LIECH SCSSFP5W English PN 5M009983XW00 Design Audit by engineer Audit by salesman Audit by QC Approved by ...