


v
v
3
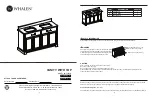
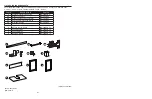
ASSEMBLY INSTRUCTIONS
v
1
2
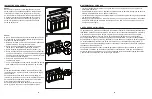
Step 4:
Move vanity (B) into proper place against the wall.
3
4
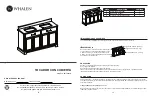
ASSEMBLY INSTRUCTIONS
v
4
v
6
v
5
Step 5:
Install faucet, drain and supply lines (none included) to
vanity top (A) according to the instructions supplied with
those items.
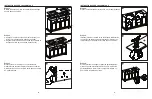
A
Step 6:
In case of uneven floors, floor levelers are provided at the
bottom of the vanity. If necessary, adjust floor levelers by
hand to correct tilting and/or level doors.
B
Step 3:
Mark wall for vanity placement and note the location of the
water supply lines and drain on the back panel of vanity.
A
B
Silicone
Step 1:
Remove stone top and the packaging material under the
stone top.
Step 2:
a.
Apply a thin bead of silicone compound (not included) to
the top of the vanity base (B).
b.
Align the back of the vanity base (B) and put the stone
top (A) on the vanity base (B).