The SKAA Compatible Badge as well as the graphics-
only version of it, the SKAA Icon, both found on the
Product itself, certify that this Product has been tested
and is fully compliant with all of the requirements
of the SKAA Standard and has been granted SKAA
Certification. This Product will work seamlessly with
other products in the SKAA ecosystem of audio
transmitting and receiving devices. For more
information on the SKAA Standard, please visit
www.SKAA.com. The SKAA® name as well as its
associated marks, logos and icons are trademarks
or registered trademarks of Eleven Engineering
Incorporated.
installation
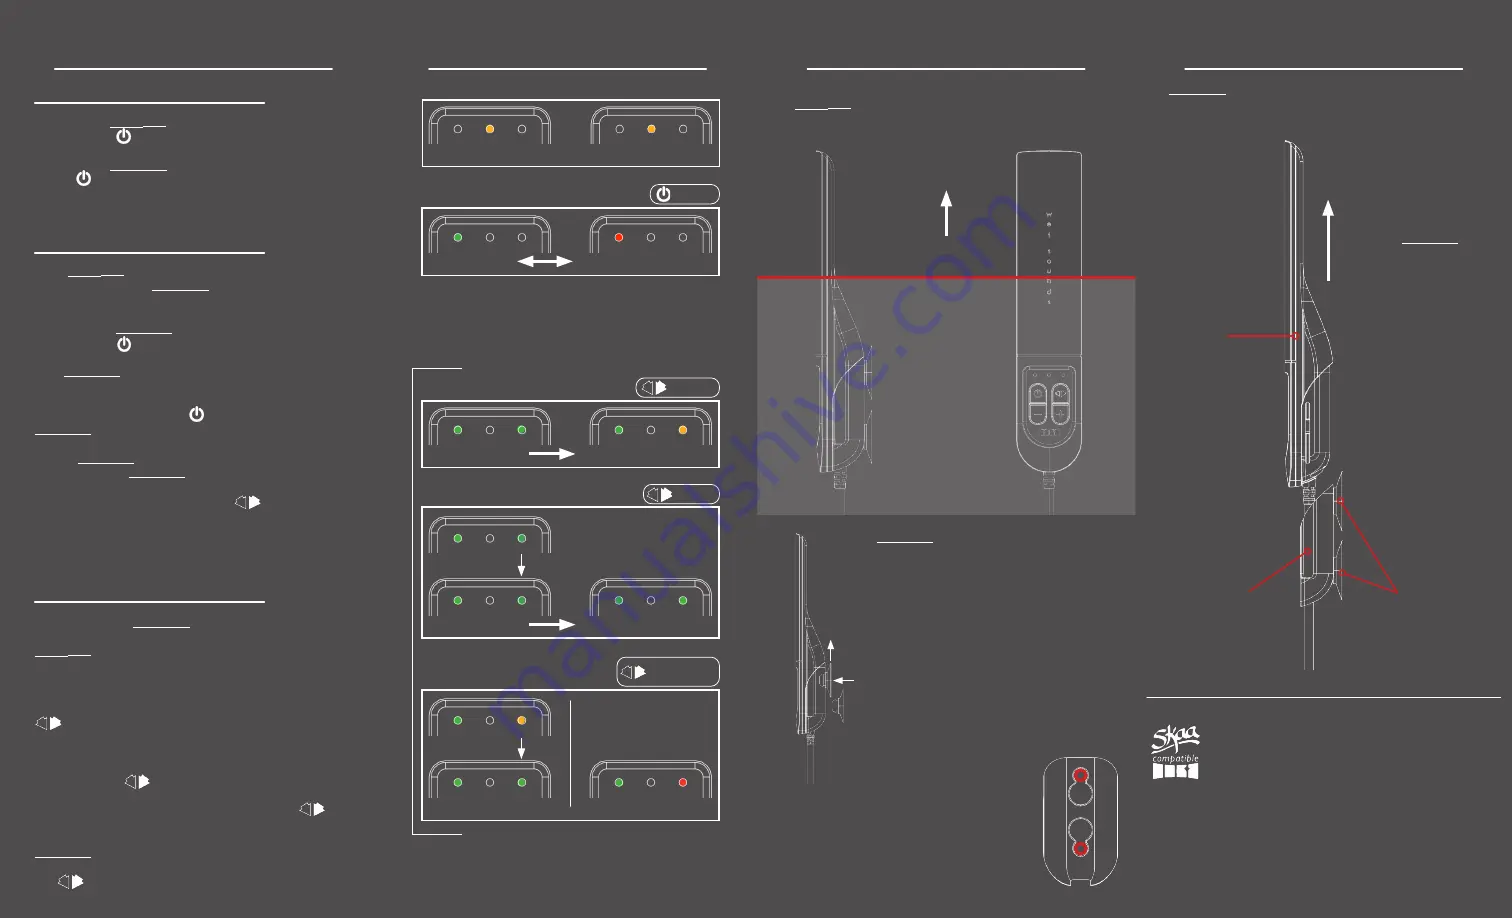
In order to ensure optimal performance and range,
a link
plus
should be mounted with the top half of
the housing placed above all body panels,
windows, roll bars etc.
housing top
above red line
body panels,
windows, roll
bars, etc.
essential functions
other features
a link
plus
features an integrated cradle, which is
attached with a slide-lock feature.
dock / cradle
grip point
suction cups
LED indicators
powering on and off
To power on a link
plus
, simply press and hold the
Power Button for about one (1) second.
To power off a link
plus
, press and hold the Power
Button until LEDs turn off.
Low Battery
(flashing)
Battery Indicator
Charging
(solid)
Transmit
Receive / Transmit
1 click
Receive
For permanent mounting or mounting
to rough surfaces, the cradle can be
hard-mounted using M6 or #10 screws (not
included) in the
red
indicated locations.
lightly hand tighten hardware, so as not to
crack the cradle.
a link
plus
comes with two (2) suction
cups for each unit that can be installed in
the cradle for easy mounting to glass or
other smooth, glossy surfaces.
To install, insert suction cup head into
larger, top hole of cradle and slide up.
suction cup will lock into place when
seated properly. repeat for lower suction
cup, sliding down to lock.
(verify both the mounting surface and
suction cups are clean before mounting
to ensure proper adhesion).
1
2
pull up on a link
plus
while cradle is secured
Receive Mode
Favorites Mode
Searching
Next Favorite
Bonded to Favorite
(bright)
(dim)
(flashing)
1 click
Searching
Explore Mode
Bonded
(bright)
(dim)
2 clicks
Added to Favorites
Add / Delete
Favorite Manually
Favorite Deleted
(flashing)
hold a few
seconds
Bonded
(bright)
(bright)
bonding your a link
plus
Each
a link
plus
will be set to Receive when initially
powered on. To use a link
plus
, one (1) of the units
must first be set to Transmit.
To set one (1) a link
plus
to Transmit, simply tap the
Power Button after the unit is powered on.
The Status LED will change from green to red.
Your a link
plus
units will automatically Bond, and are
now ready to broadcast audio.*
Tapping the Power Button one (1) time will switch
a link
plus
between Transmit and Receive at any time.
*If your
a link
plus
units do not automatically Bond,
the Transmitting a link
plus
is already a Favorite on
your Receiver’s Favorites List. In this case, switch the
Receiving unit to Favorites Mode ( 1 click), and it
should automatically find the Favorite Transmitter and
Bond to it.
favorites list and explore mode
While Receiving, a link
plus
uses a Favorites List for
storing Transmitters you have Bonded to before.
a link
plus
will automatically add any Transmitter to
your Favorites List if Bonded to it for 30 minutes.
To access your Favorites List, switch the Receiving
unit to Favorites Mode at any time by clicking the
button one (1) time.
To manually add or delete the Transmitter you’re
currently Bonded with to/from your Favorites List,
simply hold the button for a few seconds.
To rotate through your Favorites List, click the
button one (1) time to go to your next Favorite.
a link
plus
can also be set to Explore Mode, to search
for new, unknown Transmitters. To enter Explore, click
the button two (2) times.


