


– 3 –
Setting up the Drive
Windows
Note:
Your WD drive is preformatted as a single FAT32 partition for compatibility with all Windows operating systems. The FAT32 file system
has a maximum file transfer of 4 GB. For more information about file formats and overcoming file size limitations, refer to your operating system
manual or visit
Knowledge Base
, and search for answer ID 1053 for Windows 2000 or answer ID 1021 for Windows XP.
Windows 98SE
1. Go to
support.wdc.com
, click
Downloads
, locate your product name, and download the device driver installer onto your computer desktop.
2. Double-click the device driver icon to begin installation.
3. When driver installation is completed, restart your computer.
4. After restarting, follow the instructions in Section 2 to connect the drive. Windows automatically detects the drive and a new hard drive icon
appears in the My Computer window. Your WD drive is preformatted as a single FAT32 partition and is ready to use.
Windows Me/2000/XP
1. After connecting the drive, Windows automatically detects your WD drive and installs the drivers.
2. If prompted, restart your computer. A new drive icon appears in the My Computer window. Your WD drive is preformatted as a single FAT32
partition and is ready to use.
Macintosh
Important:
You must reinitialize or format your WD drive using Apple’s Disk Utility before using the drive.
Mac OS 9.2.2
1. To format the drive, select
Control Panels
>
Extensions Manager
from the Apple menu.
2. Disable
File Exchange
from the extensions list by clearing the adjacent check box. Click
Restart
.
3. After restarting, a message appears prompting you to initialize the drive. Enter a name, select
Mac OS Extended
, and click
Initialize
.
4. Click
Continue
to confirm drive initialization. A hard drive icon with the name you assigned appears on the desktop after formatting is
completed. To re-enable
File Exchange
, select the check box in
Extensions Manager
and click
Restart
. Your new WD drive is ready to use.
Mac OS X 10.1.5 or Later
1. To format the drive, select
Applications
>
Utilities
>
Disk Utility
. Select your new drive on the left panel, and click the
Erase
tab on the right
panel. If prompted, click
OK
.
2. Select
Mac OS Extended
from the Volume Format menu, and enter a name for your drive.
3. Click
Erase
to begin drive formatting. A hard drive icon with the name you assigned appears on the desktop after formatting is completed.
To partition the drive into multiple volumes, select the
Partition
tab from the Disk Utility program menu and follow the instructions.
If prompted, restart the system. A new hard drive icon appears on the desktop and your WD drive is ready to use.
Disconnecting the Drive
CAUTION: To prevent data loss, be sure to close all active applications before shutting down the drive.
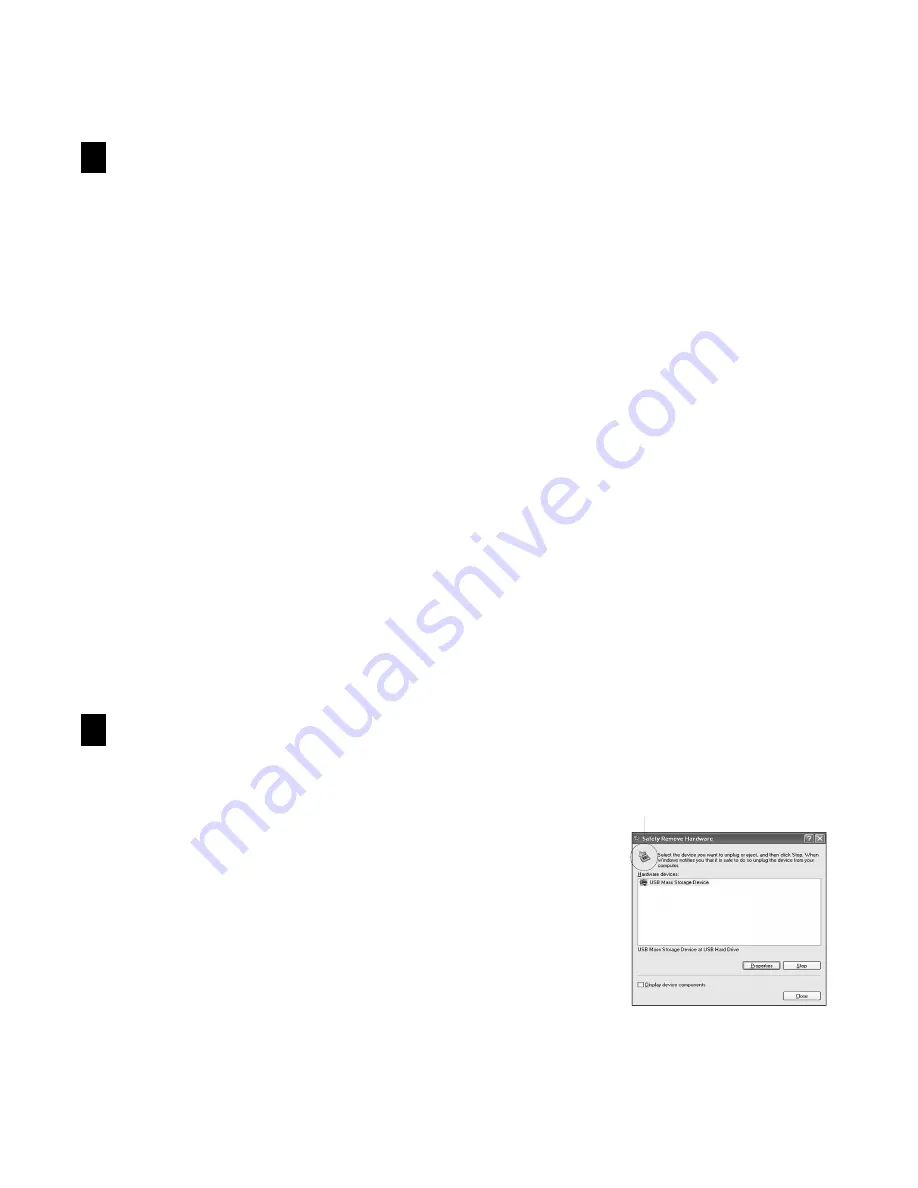
Windows
1. Double-click the Safely Remove Hardware
icon in your system tray (typically located on
the bottom right corner of your desktop).
2. Select
USB Mass Storage Device
from the list and click
Stop
(Figure 5). Click
OK
to
confirm your selection of the drive to be disconnected.
3. Click
Close
and press the Power button once. Now you may safely disconnect the USB
cable from your computer and the power cord from the electrical outlet.
Macintosh
1. Find the Removable Disk icon associated with the drive you want to disconnect and drag
it to the Trash icon on your desktop.
2. After the disk icon disappears from the desktop, you may safely disconnect the USB cable
from your computer and the power cord from the electrical outlet.
Figure 5
3
4
Safely Remove Hardware Icon


