Note : If one drive fails under RAID 0 or JBOD, the data will be lost and the system can’t be accessible until replacing hard drive.
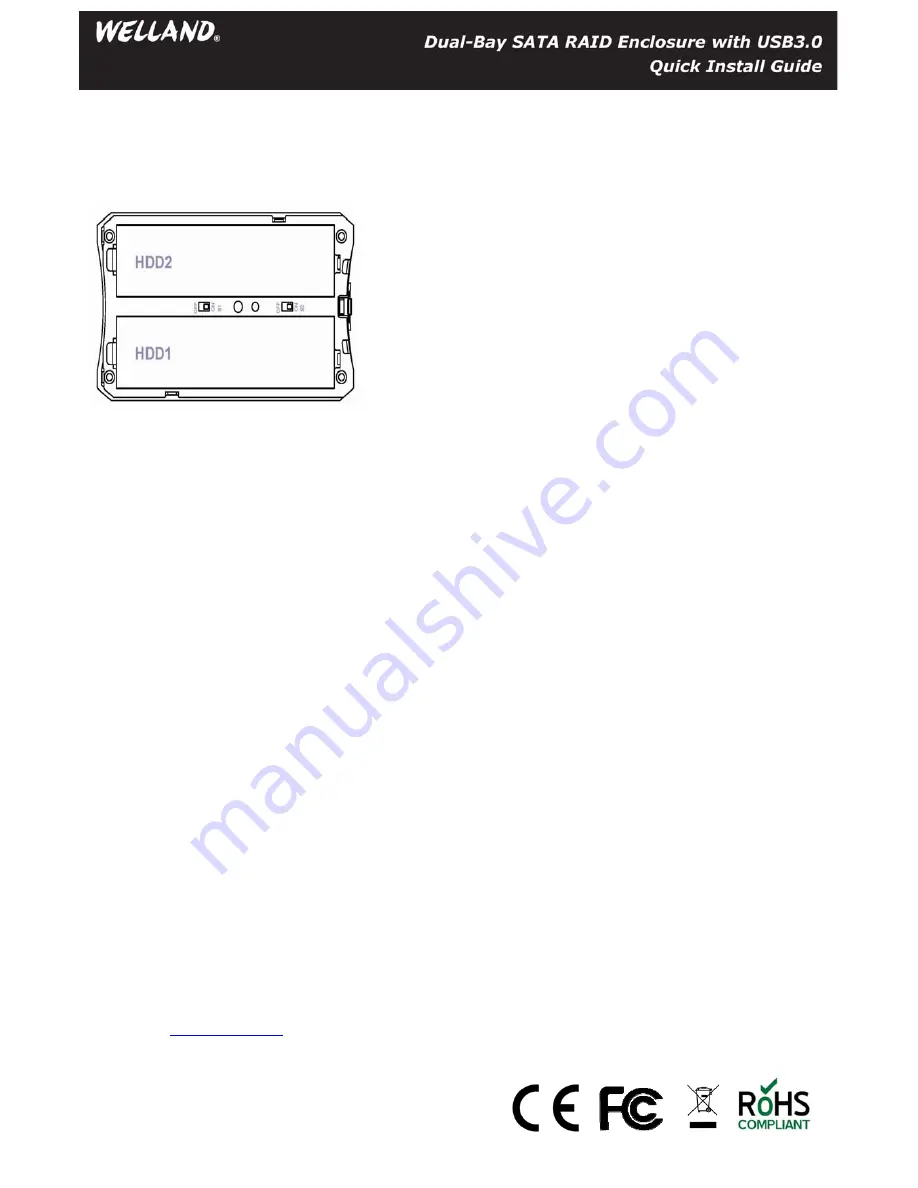
When one drive fails, the HDD LED will display below status :
- HDD1 Fails
: LED flashes once every 3 seconds when the power is on
- HDD2 Fails
: LED keeps off
1. Check the HDD LED status and replace the faulty drive with a new drive. Turn off power when replacing the drive.
2. For RAID 1, the RAID array will be re-built automatically when putting a new drive with capacity larger or equal to the previous drive. During
this process, the HDD LED will flash (HDD R/W). Rebuilding the RAID array will take several hours depending on the drive capacity. When the
rebuilding process is OK, the HDD LED will keep light without flashing. If the capacity of the new drive is smaller than the previous drive, the
rebuild process will not be completed.
3. For using RAID 0 and JBOD, restart the system and then format the drives again.
4. For Non-RAID (Normal Mode), simply format the new drive.
9. Troubleshooting
※
I can’t see my drive(s) ?
A : If you have followed all the setup steps and your drive is operational, you should see it in your Disk Management Utility. If you can’t, then
check the bay itself using a known-working drive in the same slot. If that drive appears when inserted into the same slot, the previous drive may
be defective.
※
I see my drive but it’s offline ?
A : Just right-click the disk number and select Online
※
How do I create a drive that can be used on both Mac and Windows ?
A : You need to format a drive with the FAT32 file system. This can be most easily be done on a Mac, in Disk Utility.
※
But I can see my Windows disk on my Mac already ?
A : Yes, you can often see a Windows disk on a Mac or a Mac disk on Windows. You may even be able to pull files off of it. But you won’t be able
to write that disk unless it is formatted to FAT32.
※
How do I check the health of my slow or unresponsive disk ?
A : In Windows, you right-click the rectangle next to your disk number and select Properties > Tools > Check Now. This will also give you the
option of repairing any corrupted data automatically. Also within the same window, you can select “Defragment Now”. This can make a huge
improvement with older drives. In Mac, select your disk from the left-hand column. Then, choose First Aid > Repair Disk Permissions. This may
take some time. Once it’s finished, it will tell you the status of the repair. You disk should be a lot faster and more stable now.
※
Why the RAID 1 backup function can’t work after I replace the broken hard drive ?
A : Remember, if you want to replace the broken hard drive, the capacity of the new hard drive must be the same with the source disk or larger
than the source disk. If not, RAID1 backup function will not be processed.
※
How to get further support information ?
A : Please check
www.welland.com.tw
for any product update or new information.


