


ENGLISH
5
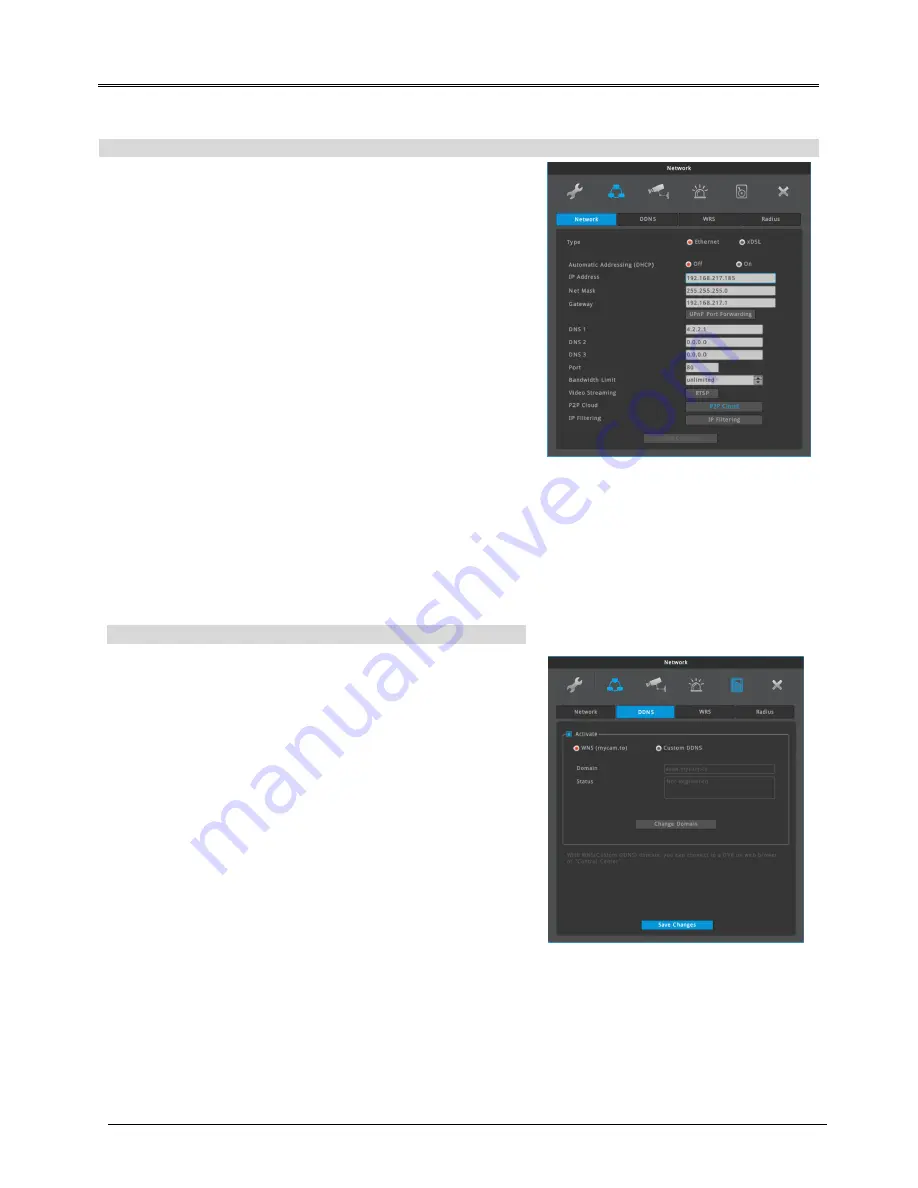
Network settings
IP Address
IP address is used for the communication between DVR and
Control Center, and it is used for Webviewer to connect DVR.
Also Netmask, Gateway addresses given fromt the network
administrator should be properly configured. (When DHCP is
enabled, this item will be disabled)
Net Mask
Net Mask defines the communication range of IP address. This
information should be given from the network administrator.
(When DHCP is enabled, this item will be disabled)
Gateway
DVR should have proper Gateway address to communicate with
external network. This information should be given from the
network administrator. (When DHCP is enabled, this item will be
disabled)
DNS
DVR should have proper DNS address to use various network
services such as WRS, NTP, e-mail and so on. Please ask this
information to network administrator. (When DHCP is enabled,
this item will be disabled)
DDNS
User can give a domain name to a DVR by using WEBGATE’s
DDNS service, WNS(Webgate Naming Service).
DDNS setting at a DVR
1. Change DVR’s port which is not in use (e.g. 8000)
2. Configure router’s port forwarding setting. (i.e. port 8000
should be connected to DVR)
3. Activate DDNS(WNS) at DVR menu
4. Enter domain to use then click on”change domain”.(Ex: test)
5. If the entered domain name is available, DVR shows “Success”.
If the domain name is occupied by another user, DVR shows
“Unavailable domain”.
6. If you can connect a DVR by using assigned domain name, it
means DDNS setting is properly completed.
(e.g. http://test.mycam.to:8000)
<Note>
It takes about 10 min to be connected after domain created.
Menu
Network
DDNS
DDNS setting at DVR
menu
network
network
Ethernet


