Radio Setup
1.
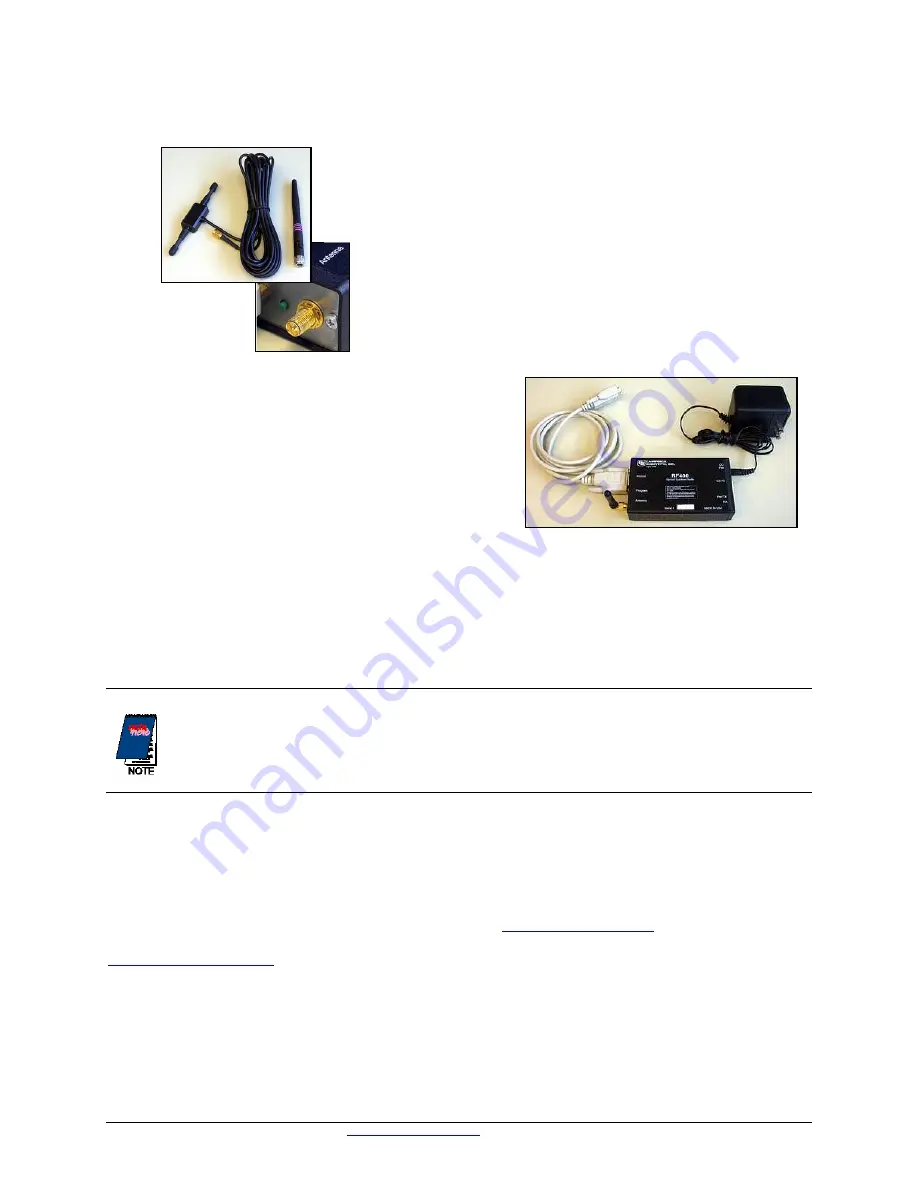
Attach the antenna or cable to the radio connector labeled Antenna (Figures 9 and 10) on the RF401.
WeatherHawk
®
Figure 9: The WeatherHawk antenna may
be a 900 MHz surface mount antenna (left),
or a whip antenna(right) that connects directly
to the radio, or a tri-band surface mount
antenna (not shown).
Figure 10: The connector labeled
Antenna on an RF401-series radio is
where the antennas attach.
2.
Connect the serial cable male connector to the radio
connector labeled RS232 and the female connector to a
computer serial port (Figure 11).
3.
Plug the RF401 AC Adapter into a grounded AC wall
outlet.
4.
Connect the other end of the AC adapter to the RF401
connector labeled DC Pwr input (Figure 11). The red
Pwr/Tx status light should illuminate.
5.
Confirm that the WeatherHawk weather station has an
antenna installed on the connector marked Antenna on the
bottom side of the weather station (Figure 3 above).
Figure 11: Radio connections. The serial
cable (left) connects to the port labeled
RS232 and the AC adapter connects to the
port labeled DC Pwr input.
6.
Start your applications software.
7.
Monitor the sensor displays. After a few minutes, numeric values should appear if the WeatherHawk and
radio are communicating. Also indicator lights on both the RF401 radio and the WeatherHawk will blink.
If the radio is not communicating properly, you may be experiencing interference from nearby
equipment such as wireless phones, other spread spectrum radios, or another WeatherHawk. Changing
some settings on your radio and WeatherHawk station should rectify this situation. The procedure for
changing these settings is provided in the WeatherHawk Advanced Radio Settings.
8.
If your radio is working properly, close the software and turn the key to the off position. You are now
ready to install your WeatherHawk station at the site (see Site Installation Guide).
Help and Support
For product support, specifications, and installation troubleshooting, refer to the WeatherHawk Site Installation
Guide or the Frequently Asked Questions (FAQ) on our website (
). Customers may also
call us at 435-866-670-5982 (toll-fee in US) or 435-750-1802 (international) or email us at
Notes
1. WeatherHawk
®
and WeatherHawk XP/X
TM
are trademarks of Campbell Scientific Inc.
2.
Virtual Weather Station Software
®
is a trademark of Ambient L.L.C., used by permission.
815 W. 1800 N. Logan Utah 84321-1784, Email:
Copyright © 2004, 2005, 2006
Toll free in USA: 866-670-5982, International: 435-750-1802, FAX: 435-750-1749 Printed June 2006


