background image

TM

TM


Wavetronix LLC 


Step 5 – Configure the SmartSensor HD 


To confirm the configuration of lanes (detection zones) on the SmartSensor HD connect to the 
SmartSensor HD through a serial, Internet, or modem connection.  To do this you must first 
install the SmartSensor Manager CE on a pocket PC or laptop; second, connect the SmartSensor 
HD to your pocket PC or laptop; third, use the Lane Configuration utility under Lane Setup in 
SmartSensor Manager CE to confirm and save the configuration of lanes in the sensor. 


Step 5.1 - Installing the SmartSensor Manager Software 

 
SmartSensor Manager CE 1.0 is the software that enables users to configure and interact with the 
unit.  This software is contained on the compact disc that is shipped with each sensor.  Before 
installing SmartSensor Manager CE 1.0 you must install the .Net framework which is included in 
the setup CD.  To install SmartSensor Manager CE, place the CD in the CDR drive and double 
click the icon labeled Setup.exe listed in the contents of the CD.  This executes the setup program 
that will copy all the necessary files to the hard drive and create icons for the start menu and 
desktop on the PC or laptop.   
 

Step 5.1.1 Installing the SeaLink

TM

 Serial Communication Drivers (Optional) 


(

IMPORTANT NOTE

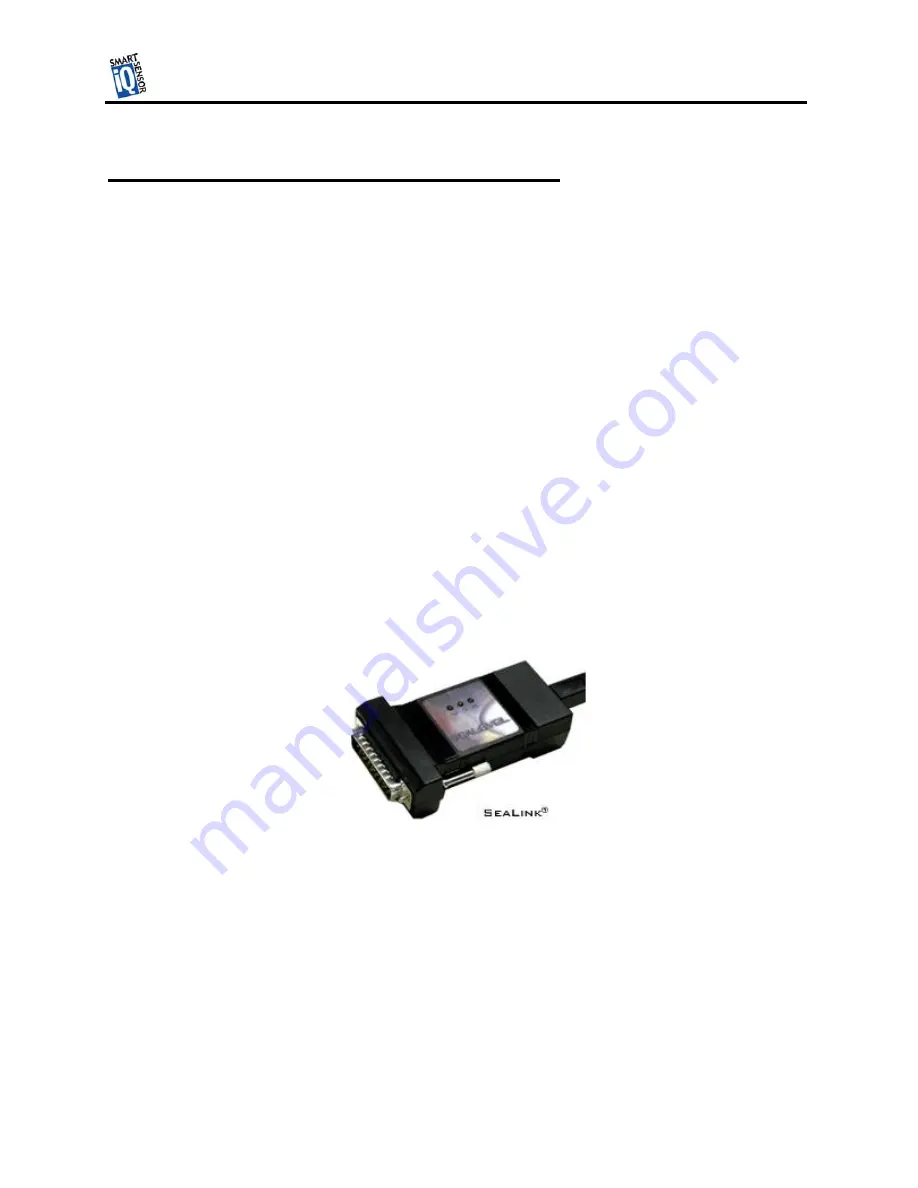
:  it is only necessary to install the SeaLink drivers if you are going to use 

the SeaLink USB/RS-485 adapter (see Figure 6) to connect to the SmartSensor HD) 


Figure 6 

Once the InstallShield setup program has finished installing the SmartSensor HD Manager 
software it may be necessary to install the SeaLink serial communication drivers so that you can 
connect to the sensor using the USB/RS-485 serial cable.  To do this simply click on the Start 
icon, choose Programs, SmartSensor HD Manager v1.0, then click on the SeaLink setup.exe icon 
that was placed there for you when the SmartSensor HD manager Software was installed.  This 
will run another InstallShield wizard, which will guide you through the install process.  When this 
wizard is finished reboot your computer.  However, before rebooting, connect the USB to RS-485 
serial cable to a USB port on your computer as described below.  

10 

Содержание SmartSensor HD SS 125

Страница 1: ...Wavetronix LLC www SmartSensor us TM SmartSensor HDTM SS 125 User s Manual Version 1 0 January 13 2006 5314 N 250 W Suite 110 Provo UT 84604 USA 801 764 0277 ...

Страница 2: ... 10 Step 5 2 Connecting Your Computer to the SmartSensor 11 Serial Cable there are two serial options available for connecting to the SmartSensor 11 Serial Connection 12 Modem Connection Error Bookmark not defined Internet Connection 13 Additional Features of the SmartSensor Manager 16 Manual Configuration 16 Saving the Configuration 16 Undoing Manual Changes 16 Restarting LaneSmart 16 Using Data ...

Страница 3: ...evel Systems Inc All other product or brand names as they appear are trademarks or registered trademarks of their respective holders The Company shall not be liable for any errors contained herein or for any damages arising out of or related to this document or the information contained therein even if the Company has been advised of the possibility of such damages This document is intended for in...

Страница 4: ...lation and operation of this unit Persons other than authorized and approved electrical technicians should NOT attempt to connect this unit to a power supply and or traffic control cabinet as there is a serious risk of electrical shock through unsafe handling of the power source Extreme caution should be used when connecting this unit to an active power supply Technical Service Do not attempt to s...

Страница 5: ...s Symbol Legend The lightning bolt within an equilateral triangle symbol is intended to alert the user to the risk of electric shock The exclamation point within an equilateral triangle is intended to alert the user to the presence of important installation operating and maintenance instructions 4 ...

Страница 6: ...25 GHz K band operating radio frequency Classified as Frequency Modulated Continuous Wave FMCW radar the SmartSensor HD detects and reports traffic conditions simultaneously over as many as ten lanes of traffic Once SmartSensor HD is installed the configuration process is quick and easy After installation this unit will require little or no on site maintenance and can be remotely reconfigured for ...

Страница 7: ...ounting fasteners Sensor mount bracket Sensor cable User s Manual CD and or diskette with software If any of these items are missing note the serial number located on the side of the sensor and contact the Wavetronix support Additional products may be purchased through your distributor software and firmware may be obtained through Wavetronix sales 6 ...

Страница 8: ...Assemble the Mounting Bracket Secure stainless steel mounting plate item 1 to sensor mount bracket item 2 with enclosed tapered mounting fasteners item 3 as shown in Figure 1 Figure 1 Bracket Assembly Step 2 Attach the SmartSensor HD to the Mounting Bracket Take assembled sensor mount bracket from step 1 and align stainless steel mounting plate to the threaded holes on the back of the SmartSensor ...

Страница 9: ...e detection area If the SmartSensor is installed closer than 5 m to the first lane of traffic point the sensor up smaller tilt angle and choose a lower mounting position as shown in table 3 1 Adjust the side to side angle to within 2 of perpendicular to the flow of traffic Connect the power communication cable to the SmartSensor and attach the modem antenna if applicable Attention should be given ...

Страница 10: ...t to reduce the strain on the cable Figure 5 a Sensor Connector b Service End The service end of the cable Figure 5 b has a DC and GND for a power supply of 12 to 24 VDC Up to three communication ports either RS 232 or RS 485 are available to connect the SmartSensor to a modem or other communication device Typically one RS 485 port is available plus one or two RS 232 ports Figure 5 shows 2 communi...

Страница 11: ...exe listed in the contents of the CD This executes the setup program that will copy all the necessary files to the hard drive and create icons for the start menu and desktop on the PC or laptop Step 5 1 1 Installing the SeaLinkTM Serial Communication Drivers Optional IMPORTANT NOTE it is only necessary to install the SeaLink drivers if you are going to use the SeaLink USB RS 485 adapter see Figure...

Страница 12: ...dard RS 232 serial port on your PC This configuration is shown in Figure 7 below 9 pin connector labeled RS 232A 12 Volts DC Null Modem cable Figure 7 Smart Sensor cable 2 Universal Serial Bus USB to RS 485 using a SeaLink adapter shown in Figure 8 that plugs directly into the 25 pin connector on the Sensor cable 25 pin connector labeled RS 485 12 Volts DC SeaLink adapter USB cable Smart Sensor ca...

Страница 13: ...h a Click 301 serial to Ethernet adapter that is Internet addressable making it possible to connect to the sensor from anywhere the adapter s address is accessible Step 5 2 2 Establishing a Connection Using SmartSensor Manager CE 1 0 Once your computer is physically connected to the SmartSensor HD by one of the methods described above use SmartSensor Manager CE to visually configure and interact w...

Страница 14: ...ck 301 Ethernet to Serial adapter The second box expects an integer value in the range of 0 65536 which is the port number also assigned to the CDMA modem or the Ethernet to Serial adapter Once an IP address and port number are input set the subnet and sensor ID to the correct values or their maximum values 255 and 65535 to search for the correct values You can then press the Connect button to con...

Страница 15: ...ty After a connection is made to the SmartSensor the home page as shown in Figure 11 appears To configure lanes click on Lane Setup Figure 11 The lane setup options window then appears as shown in Figure 12 To start the lane configuration process the Lane Configuration button Figure 12 14 ...

Страница 16: ... the normal installation and configuration process The remainder of this document explains some of the added features of the SmartSensor Manager software and how it allows you to manually configure lanes monitor and record traffic data and upgrade your SmartSensor HD 15 ...

Страница 17: ... newly activated buttons remain pressed when you click them to enable the drawing function of the button you press To change the configuration click the appropriate button and move your cursor over the window showing roads and vehicles Then make the changes Figure 14 Saving the Configuration Undoing Manual Changes Restarting LaneSmart Using Data Viewing and Logging Tools Event Data Time Interval D...

Страница 18: ...y Detection Range 250 ft Measured Quantities Speed occupancy volume presence classification Communications RS 485 or RS 232 connection Power 8 watts 9 30 VDC Weight 5 lbs Physical Dimensions 27 cm H x 33 5 cm W x 8 3 cm D Zone Resolution 3 m Ambient Operating Temp 40C to 70C Humidity Up to 95 RH Shock 10 g 10ms half sine wave Transmitted Power at 3m 100dBuV m 24 125Ghz 17 ...

Страница 19: ... N C 2 Data from Modem 7 N C 3 Data to Modem 8 N C 4 N C 9 N C 5 GND RS 485 Communication Port The RS 485 Communication Port is configured in a 25 pin D female connector that with the following pin out RS 485 Pin Out 1 N C 10 N C 18 N C 2 RS 485 11 N C 19 N C 3 RS 485 12 N C 20 N C 4 N C 13 N C 21 N C 5 N C 14 RS 485 22 N C 6 N C 15 N C 23 N C 7 GND 16 RS 485 24 N C 8 N C 17 N C 25 N C 9 N C 18 ...

Отзывы: