3
Use on-device configuration features
Next, use the device’s configuration features to
make sure it’s wired and working properly. The
Click 304 has three LEDs that monitor device ac-
tivity and help you select operating modes, as well
as a push-button, labeled Mode Switch, also used
for operating modes.
1
Check LEDs to make sure the device has
power.
2
Autobaud device to make sure it can talk to the sensor or other attached serial devices (see table).
Hold the push-button to cycle through modes, then release when the desired mode is reached.
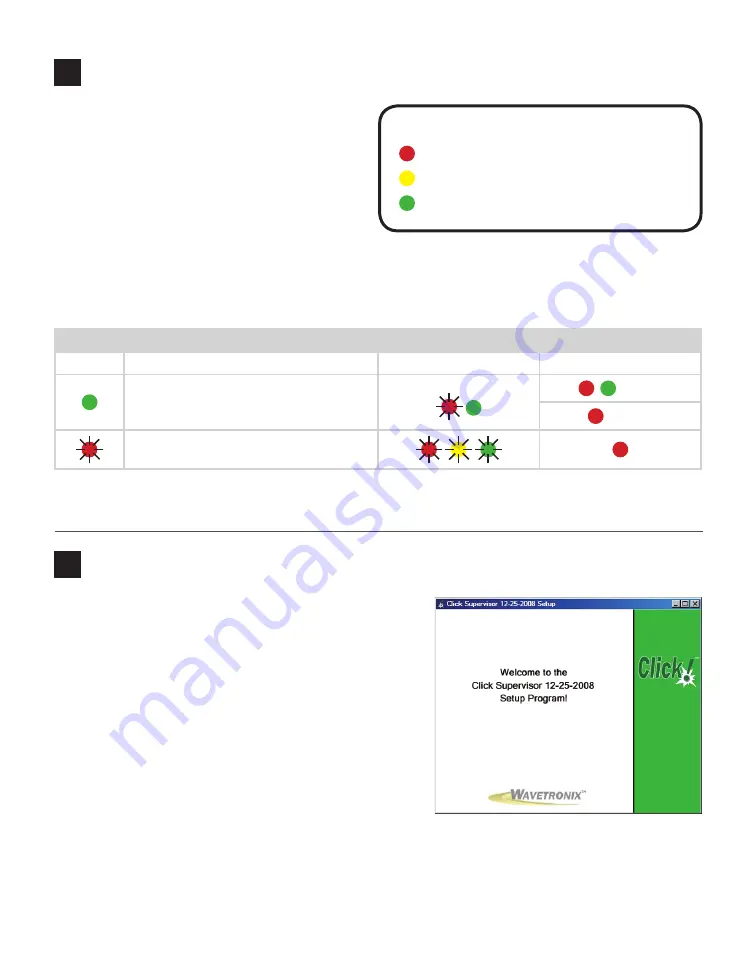
LED operating mode indicating functions:
Selection Operating mode
Running
Completed
Autobaud – Release push-button when
green LED is solid to autobaud to sensor.
Failure
Success
Reset – Release push-button when red LED
is blinking to reset to factory defaults.
Note.
On certain devices, the yellow LED may replace the green LED in the autobaud process—that is, the
yellow LED selects the autobaud process, is on during the autobaud process, etc.
LED activity indicating functions:
Red
– Shows device has power
Yellow
– Shows device is transmitting data
Green
– Shows device is receiving data
4
Install Click Supervisor
Note.
Your device is now fully functional. If you don’t wish
to make any other changes to configuration, you don’t need
to follow the rest of the steps. However, the device can be
further configured using Click Supervisor, software available
from Wavetronix. Click Supervisor will enable you to view
and change certain settings that mostly help in identifying
your device.
If you would like to install Click Supervisor, follow these
steps:
1
Download the setup file from www.wavetronix.com
(under
Support
).
2
Double-click on the file to run the setup wizard. Follow
the steps to install.


