background image

4.3inch HDMI LCD User Manual 


4

  / 

8


HOW TO USE 

The touch of the LCD can be driven in two ways: Method 1: Install driver manually; 

Method 2: Using ready-to-use Image 

HARDWARE CONNECTION 


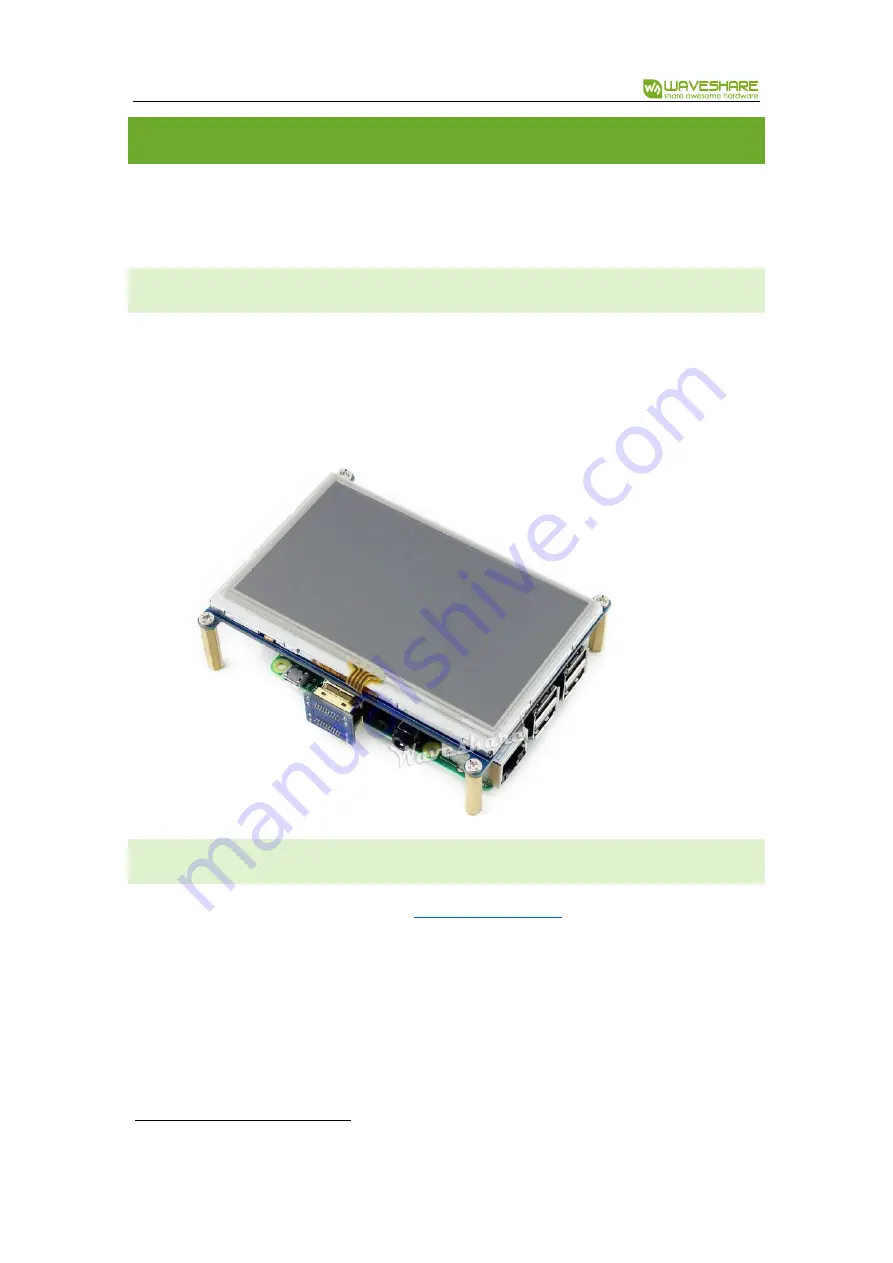
Insert LCD directly to 40PIN header of Raspberry Pi. 


Using the HDMI adapter or HDMI cable to connect HDMI interface of LCD to 

Raspberry Pi’s


METHOD 1, INSTALL DRIVER 

1.


Download lasted OS

1

  image from 

Raspberry Pi website

. 

2.


Extract image from ZIP archive and write it to SD card 

3.


After writing, modify the config.txt file which is located at root directory (BOOT) of 

SD card. Append these statements to the end of config.txt file 


1

  This instruction is based on Raspbian OS 

Содержание 4.3inch HDMI LCD

Страница 1: ...FEATURES 480x272 hardware resolution Resistive touch control Supports Raspberry Pi Zero Zero W Zero WH A B 2B 3B the Pi 1 model B or Pi Zero requires an HDMI cable Drivers provided works with your own...

Страница 2: ...DMI LCD User Manual 2 8 CONTENT Overview 1 Features 1 Versions 3 How to use 4 Hardware connection 4 Method 1 Install driver 4 Method 2 Using ready to use image 6 Setting orientation 6 Calibration 6 In...

Страница 3: ...inch HDMI LCD User Manual 3 8 VERSIONS We updated of the controller from TFP401A to RTD2660H because of supply reasons RTD2660H has higher compatibility than TFP401A however higher the consumption V1...

Страница 4: ...erry Pi Using the HDMI adapter or HDMI cable to connect HDMI interface of LCD to Raspberry Pi s METHOD 1 INSTALL DRIVER 1 Download lasted OS1 image from Raspberry Pi website 2 Extract image from ZIP a...

Страница 5: ...60 6 0 0 0 6 dtoverlay ads7846 cs 1 penirq 25 penirq_pull 2 speed 500 00 keep_vref_on 0 swapxy 0 pmax 255 xohms 150 xmin 200 x max 3900 ymin 200 ymax 3900 7 hdmi_drive 1 8 hdmi_force_hotplug 1 4 Inser...

Страница 6: ...ard to Raspberry Pi and power on SETTING ORIENTATION After installing driver you can set the orientation as below For V1 version cd LCD show Choose one command to execute sudo LCD43 show X For V2 vers...

Страница 7: ...xserver xorg input evdev sudo cp rf usr share X11 xorg conf d 10 evdev conf usr share X11 xorg conf d 45 evdev conf sudo reboot 3 Running calibrator and finish calibration DISPLAY 0 0 xinput_calibrato...

Страница 8: ...sitive 5V power input 3 5 7 8 10 11 12 13 15 16 18 24 NC NC 6 9 14 20 25 GND Ground 19 TP_SI SPI data input of Touch Panel 21 TP_SO SPI data output of Touch Panel 22 TP_IRQ Touch Panel interrupt low l...

Отзывы: