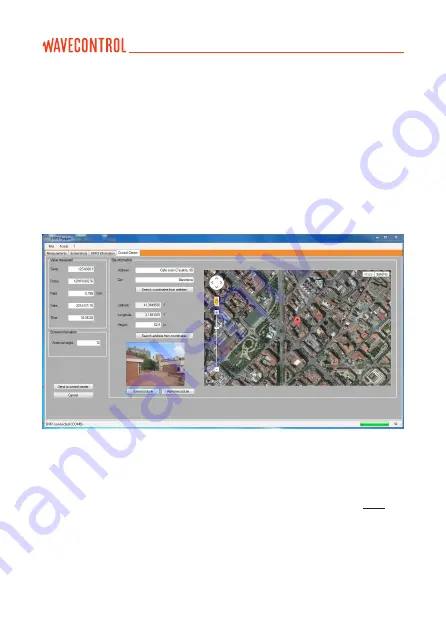
A new window will open with a new tab “Control Centre” (Figure 17), where you
can:
• Find the co-ordinates using an address.
• Find the address using the co-ordinates.
• Adjust the actual position of the measurement by dragging the position icon
on the map.
• Upload a photograph associated with the measurement. When this is done,
click on “Send to Control Centre”.
8.4. Live measurements
This screen is only available with a fibre optic connection (see section
4.3.2). It
provides a real-time display on your PC screen of the data being measured by
the
SMP2
. It also allows you to change settings for the device, such as:
• Measurement mode (time, frequency or time at one frequency).
• Field type (electric or magnetic).
• Limit, span, filter (for
WP400
and
WP400-3
).
Figure 17:
Settings screen to upload data to a control centre
User’s Manual
Electromagnetic Field Meter SMP2
P.
54
Содержание SMP2
Страница 2: ......
Страница 49: ...Figure 11 Installation of the program User s Manual Electromagnetic Field Meter SMP2 P 47...
Страница 79: ...Screenshot 4A Screenshot 4B User s Manual Electromagnetic Field Meter SMP2 P 77...
Страница 95: ......
Страница 96: ...www wavecontrol com...
Страница 97: ...Safety Quality Service info wavecontrol com www wavecontrol com 34 93 320 80 55...


