PRISM QUICK START GUIDE
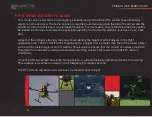
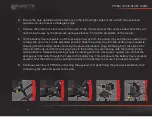
6. Ensure the data uplink/downlink antennas on the left and right sides of the aircraft are positioned
outward and up at about a 45-degree angle.
7. Remove the protective cloth covers from each of the motors and set the covers aside where they will
not be blown away by the propwash during operations. Unfold the propellers on the motors.
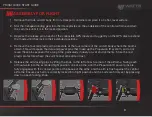
8. On the battery tray receptacle, pull the locking pin away from the battery tray and rotate a quarter turn
to allow the pin to lock in the extended position. Slide the battery tray into the battery tray receptacle,
ensuring that the battery leads are facing the power distribution plugs emerging from the side of the
main aircraft body, and that the locking holes in the battery tray are lined up with the locking knobs
on the airframe. Release the locking knobs by rotating each one clockwise a quarter turn so that the
springs push the bolts through the holes in the battery tray. This will ensure the battery tray is properly
secured. Test the battery tray by pulling forcefully on the battery to ensure it is properly secured.
9. Continue assembly of PRISM by attaching the payload, first performing the physical installation, then
connecting the data and power connectors.
7


