7
**SUGGESTION** To avoid scratching your new airplane, do not unwrap the pieces until they are
needed for assembly. Cover your workbench with an old towel or brown paper, both to protect the aircraft
and to protect the table. Keep a couple of jars or bowls handy to hold the small parts after you open the
plastic bags.
**NOTE** Please trial fit all of the parts. Make sure you have the correct parts and that they fit and are
aligned properly before gluing! This will assure proper assembly. Since the Whisper is hand made from
natural materials, every airplane is unique and minor adjustments may have to be made. However, you
should find the fit superior and assembly simple.
If you should find a part missing or have questions about assembly, please call or write to the address below:
Wattage Customer Care
18480 Bandilier Circle
Fountain Valley, CA. 92728
Phone: (714) 963-0329
Fax: (714) 964-6236
E-Mail: [email protected]
MOTOR BREAK-IN
q
1) Set out the electric motor, battery, charger,
radio system and the electronic speed control onto
your workbench.
q
2) Charge the motor battery using the peak
charger according to the charger's instructions. In-
stall the 8 AA batteries into the transmitter (Focus 3)
or fully charge the transmitter batteries (radios using
rechargeable batteries).
q
3) Once the batteries are ready, plug the two
servos and electronic speed control into the receiver.
Plug the motor lead into the speed control lead.
The prewired plastic connector on the motor is
called a Tamiya Connector. Most electronic
speed controls also use this style of connector, but
some do not. If your speed control does not have this
type of connector, you will need to change the con-
nector to a compatible one at this time.
q
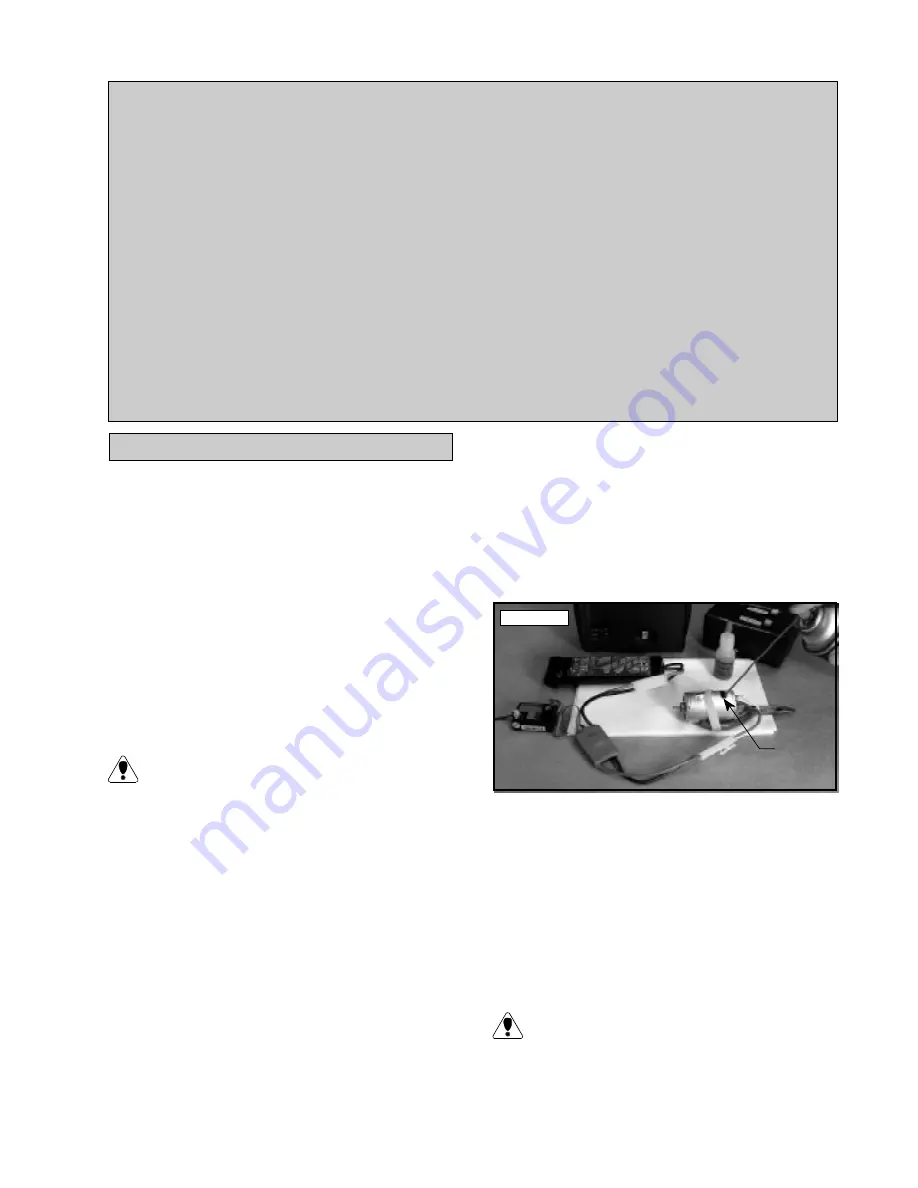
4) Set the motor, without the propeller installed,
between the handles of a pair of pliers. Secure the
motor to the handles using three # 64 rubber bands.
This will keep the motor secure enough for the break-
in procedure.
q
5) Turn on the transmitter and then plug the
motor battery into the speed control. If the motor
immediately turns on, use the throttle stick (on the
Focus 3, the throttle lever is on the back of the trans-
mitter) to turn off the motor.
q
6) With the motor turned off, test the operation
of the servos. They should move when you move the
control stick.
q
7) Carefully spray a couple of light sprays of
motor spray inside the motor opening and apply a
small drop of bushing oil onto each of the two motor
bushings. See photo # 1 below.
Photo # 1
q
8) Using paper towels, wipe off the excess oil.
q
9) Slowly turn on the motor using the transmit-
ter throttle lever. Position the throttle lever to about
1/3 throttle and let the motor run. While the motor is
running, apply a light spray of motor spray inside the
motor opening once every minute, followed by a drop
of oil on each bushing. Do this until the battery is
fully discharged (i.e. the motor stops).
If you have chosen a on-off only motor con-
troller, complete the same process but only run
the motor in two minute intervals, letting the motor
cool between each interval.
Motor
Opening


